Turn Shipping Pallets Into Bathroom Storage Shelves
Brian Patrick Flynn
Materials Needed:
- discarded wooden shipping pallet
- mini crowbar
- hammer
- nails
- drill
- 1/8-inch drill bit
- 1-inch paddle bit
- precut 1-inch black iron pipe
- 1-inch black iron pipe cap
- circular saw with miter setting
- orbital sander
- sanding pads
- can of spray sealant
- measuring tape
- 3-inch wood screws
- picture hangers
Choose the Right Pallet
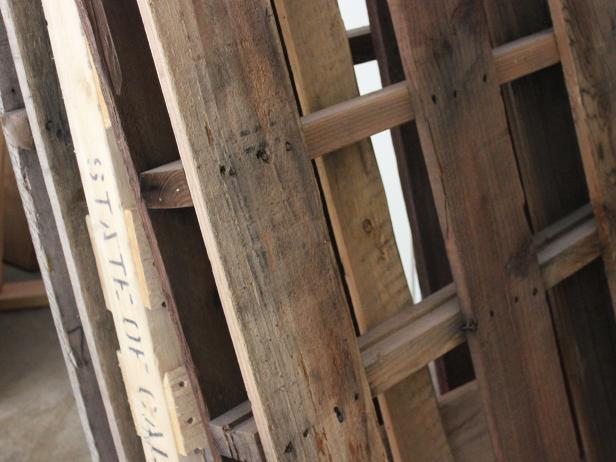
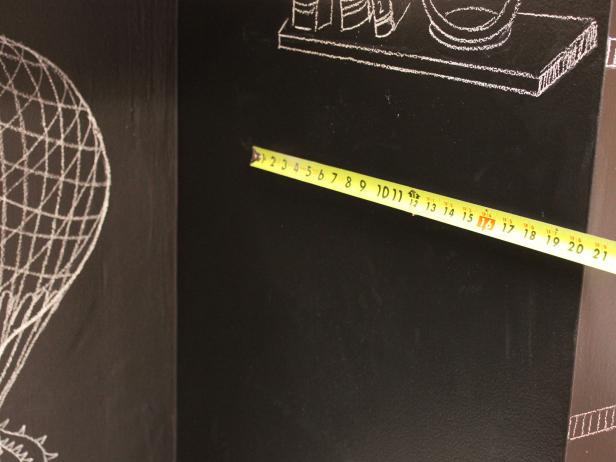
Shipping pallets are readily available either for free or for a small price through salvage yards, big-box retail stores and supermarkets. Since the pallets will be used as decorative shelving, it's important to choose pallets with intact wood, avoiding those with severe splits and/or cracks (Image 1). In addition to choosing the right pallet, it's also important to measure the wall along which the shelving will be installed (Image 2). These measurements will come in handy when deciding on the overall intended height and width for the shelf unit.
Brian Patrick Flynn
Brian Patrick Flynn
Dismantle Pallet
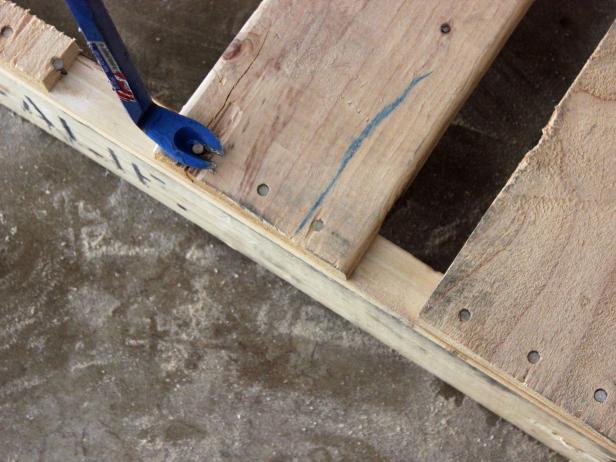
In order to cut each strip of wood to size, the pallet will need to be disassembled. To do this, use mini crowbar to loosen nails from each strip of wood, continually adding pressure until the nail is pulled completely from the wood. Note: Most pallets are made up of two types of wood: thin planks used as the top and bottom surfaces, and structural lumber used to create the frame. Thin planks tend to be more decorative and are a better fit as shelf fronts while structural lumber is a better fit for creating vertical supports and shelf bottoms.
Brian Patrick Flynn
Measure, Mark + Cut Structural Lumber
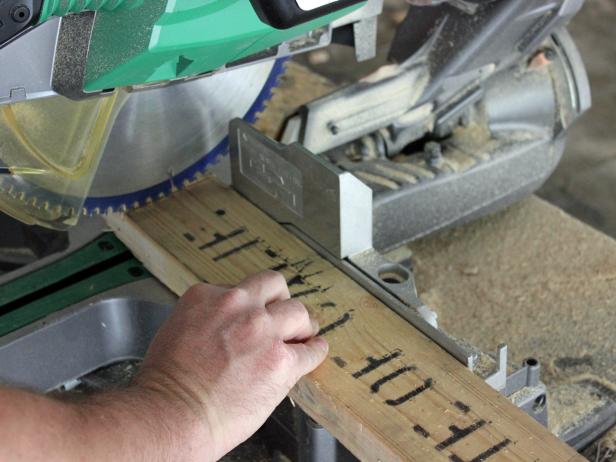
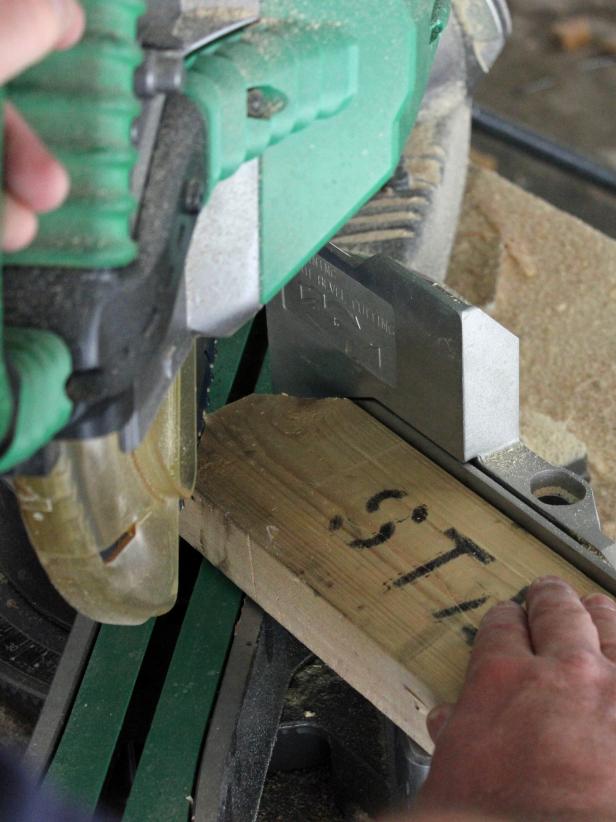
Referring to measurements taken with measuring tape, measure, mark and cut structural lumber for use as vertical supports and the top shelf's bottom surface with circular saw (Image 1). For proper top shelf bottom-surface sizing, deduct the width of each structural support from the overall intended width of the shelf unit, mark with pencil, then cut to size using circular saw. Next, use circular saw to cut two pieces of structural lumber to size, then use miter setting to add 45-degree angles to three of the four corners of each piece (Image 2). One corner along each piece will remain flat and be used as the top surface of the shelf unit. This flat surface is essential for the proper fitting of back support panels (made from the thin planks of the pallet), which will fasten directly to the wall.
Brian Patrick Flynn
Brian Patrick Flynn
Make Final Measurements + Cuttings
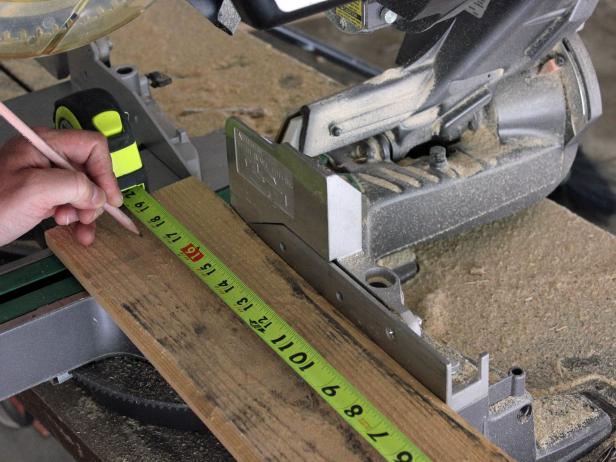
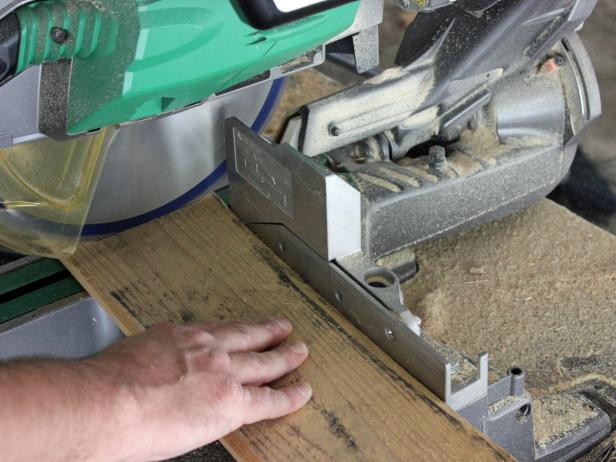
Referring to measurements taken with measuring tape, measure, mark and cut five thin planks of the pallet to size with circular saw. One thin plank will be used as the shelf front while three others will make up the back support. A fifth plank will be cut to size for use as an accent shelf.
Brian Patrick Flynn
Brian Patrick Flynn
Sand Surfaces
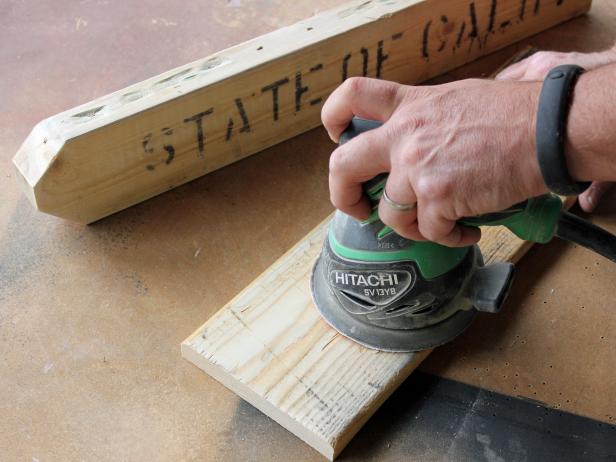
Use orbital sander to smooth finishes of vertical supports, top shelf bottom surface, shelf fronts, accent shelf and back supports.
Brian Patrick Flynn
Attach Shelves
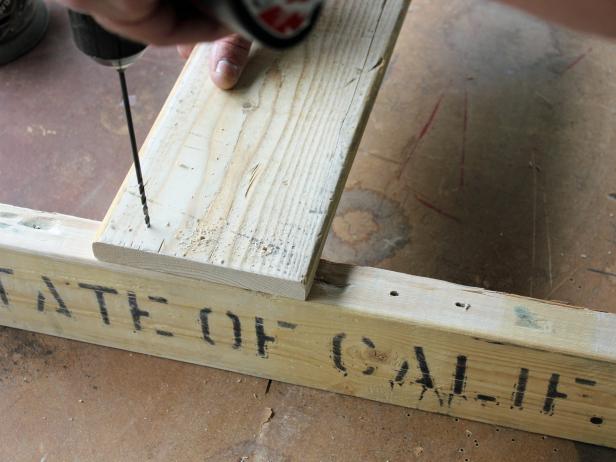
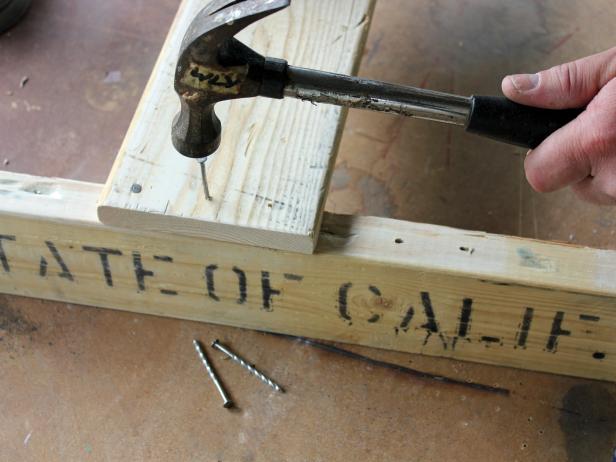
Once all surfaces are smooth, attach the top shelf front by first pre-drilling with 1/8-inch drill bit (Image 1), then securing with nails using hammer (Image 2). After top shelf front is attached, repeat the same process for attaching the top shelf bottom surface, accent shelf and back supports.
Brian Patrick Flynn
Brian Patrick Flynn
Drill Hole for Towel Rod
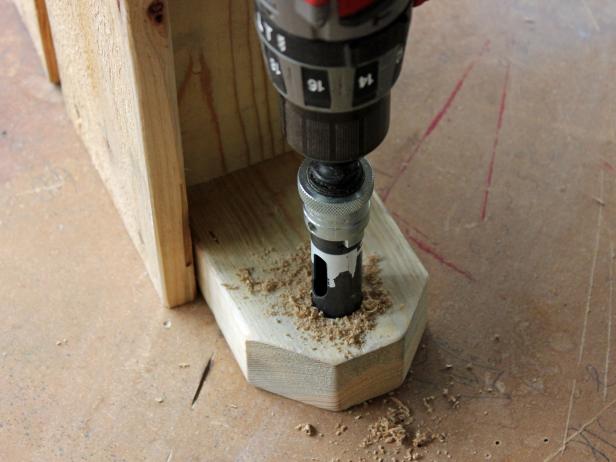
Along the bottom of the shelf, a towel rod made from precut 1-inch black iron pipe and 1-inch black iron pipe caps will be installed. In order to fit the pipe to the wood, drill holes approximately 2 inches up from the bottom of each of the two vertical supports. Tip: When having iron pipe precut at a home improvement store, make sure the overall length of the pipe is equal to the overall width of the shelf unit to ensure the pipe caps fit along the outside edge of the vertical supports. If cut too small, the caps won't have enough thread to screw into.
Brian Patrick Flynn
Attach Towel Rod
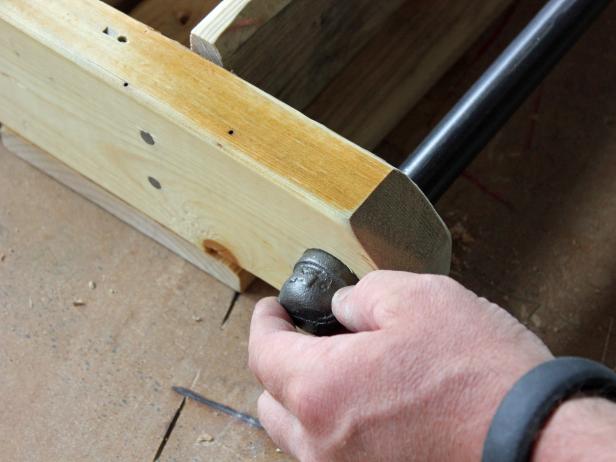
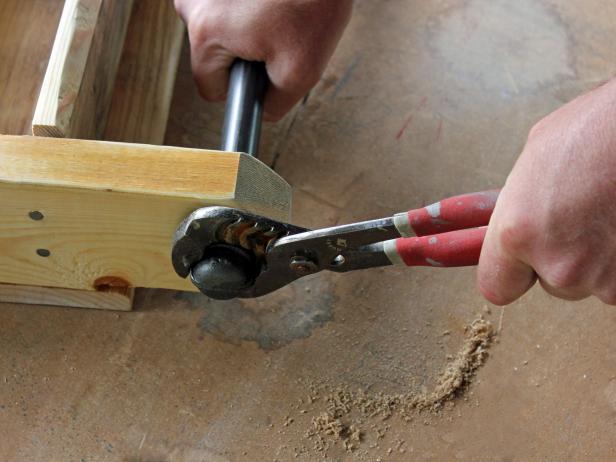
Place precut black iron pipe through drilled holes. Next, loosely fit the black iron pipe caps on each end of the pipe with fingers (Image 1). Use wrench to securely fit pipe caps in place (Image 2).
Brian Patrick Flynn
Brian Patrick Flynn
Seal Wood
Since the shelf unit is made for use in a wet space, it's important to seal its wood surfaces. To do this, add an even coat of spray sealant by holding the can approximately 8 inches from the surface of the wood, moving back and forth in a slow, controlled manner. Once sealant is dry, hang shelf unit on wall either with 3-inch wood screws using drill or with picture hangers fastened to the back.

Brian Patrick Flynn

.-Battle-on-the-Beach-courtesy-of-HGTV.-.jpg.rend.hgtvcom.196.196.suffix/1714761529029.jpeg)


