Turn a Vintage Dresser Into a Bathroom Vanity
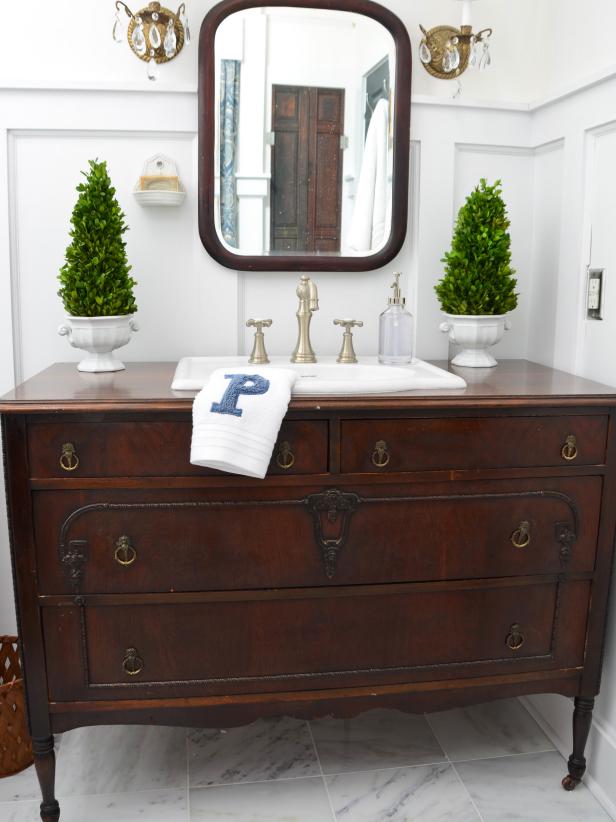

Materials Needed:
- dresser or buffet
- drop-in sink(s)
- faucet
- table saw or circular saw
- jigsaw
- drill equipped with drill bits
- clamps
- wood glue
- brad nailer and nails (or hammer and small finishing nails)
- measuring tape
- 1/2" MDF or cabinet-grade plywood board (enough to build plumbing recesses in drawers)
- safety glasses
- chalk
- pencil
- silicone caulk
- caulking gun
- clean, damp cloth
1. Select Dresser and Sink
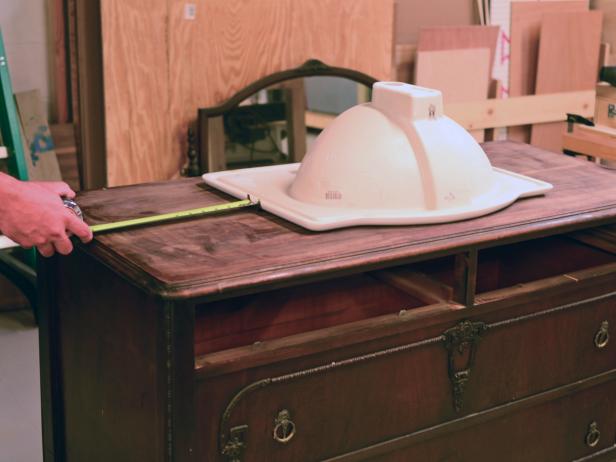
Select a dresser or buffet suited to space available in bathroom. Piece should be very sturdy and preferably solid wood to support weight of sink and faucet. (Remember, a sink is much heavier when filled with water.) Purchase a drop-in sink that will fit inside frame of dresser or buffet. Place sink upside down on dresser top and use measuring tape to center.
2. Mark Cut Line for Sink
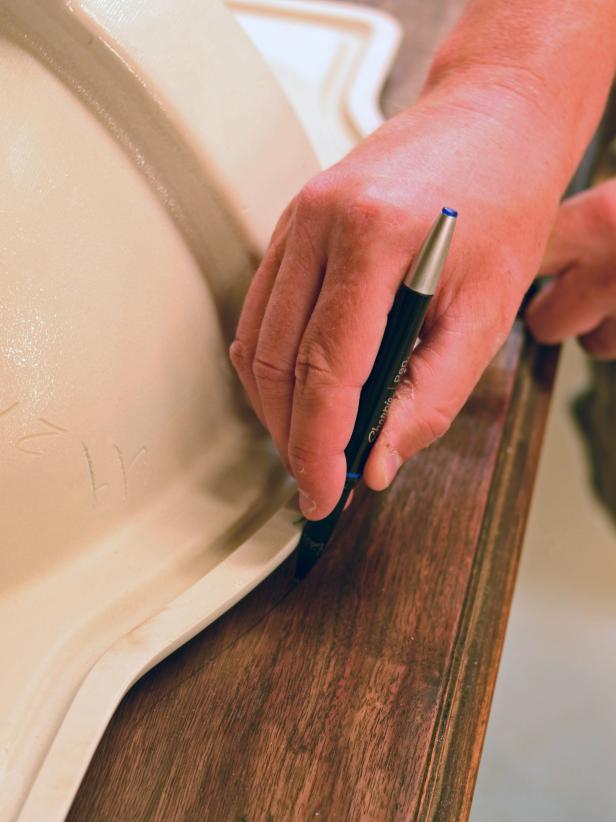
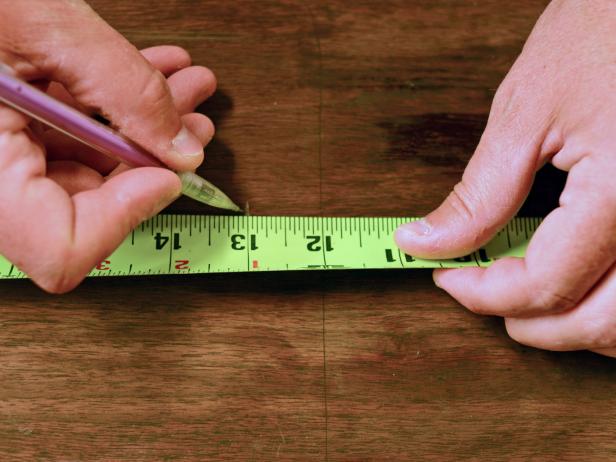
Once sink is centered, trace outline with a pencil directly on top surface of dresser. Draw a line approximately one inch inside traced line to show where cut should be made.

3. Cut Sink Hole
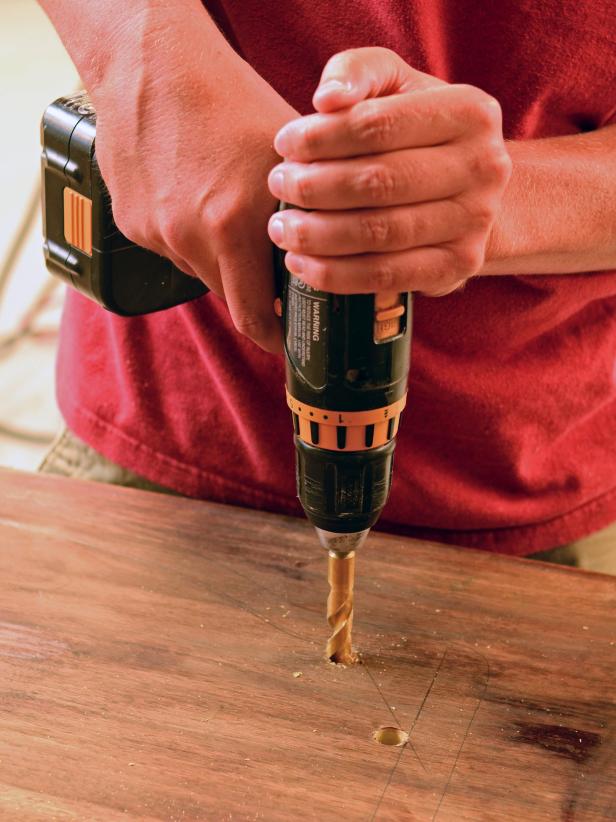
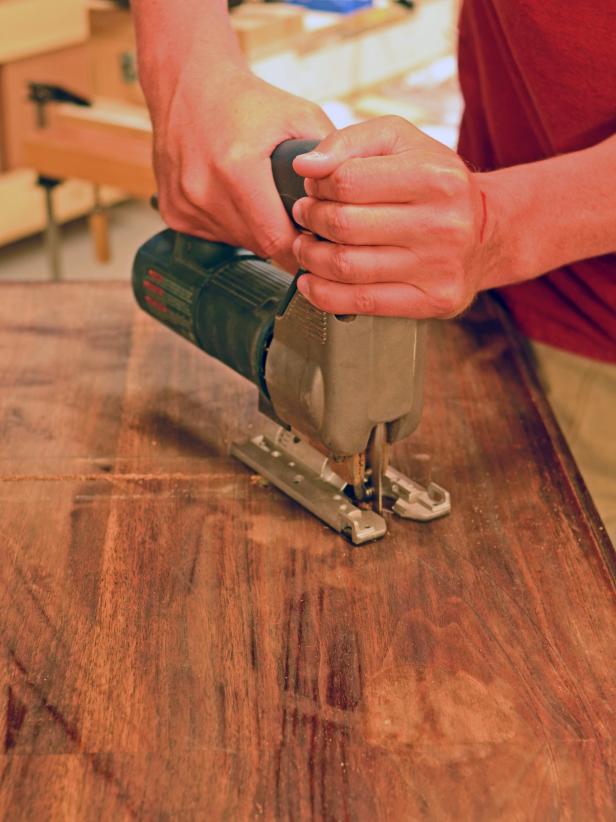
Drill a hole (large enough to accommodate jigsaw blade) at each corner of sink, just inside cut line. If using a round or oval sink, evenly space 4 to 6 holes around circle. Insert jigsaw into one hole and cut to next hole. Repeat until entire piece is cut out. Test-fit sink and make any adjustments necessary. If refinishing dresser top, do it after hole is cut, so finish isn't marred. Tip: Double-check measurements before cutting. It's better to make the hole too small initially than too large.
4. Disassemble Drawers
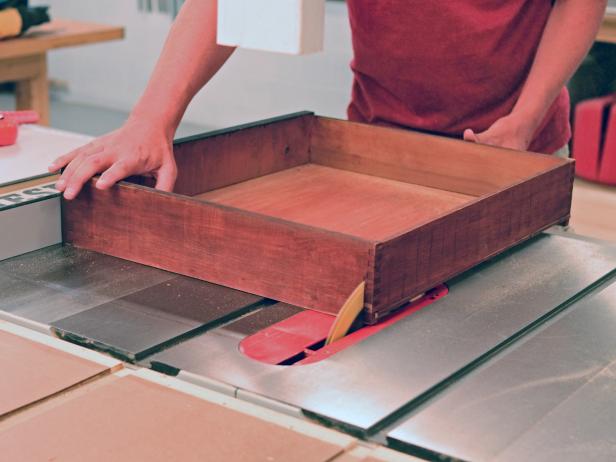
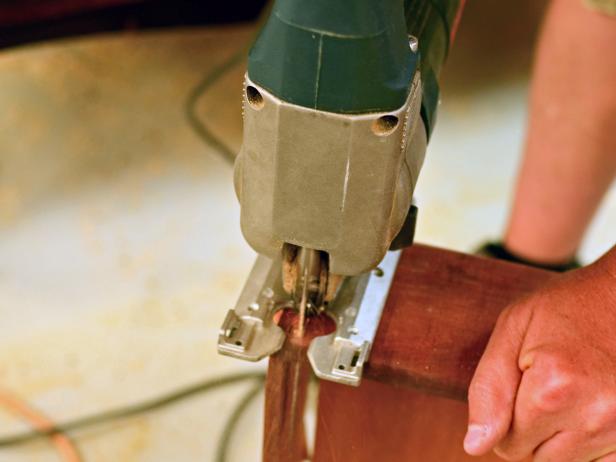
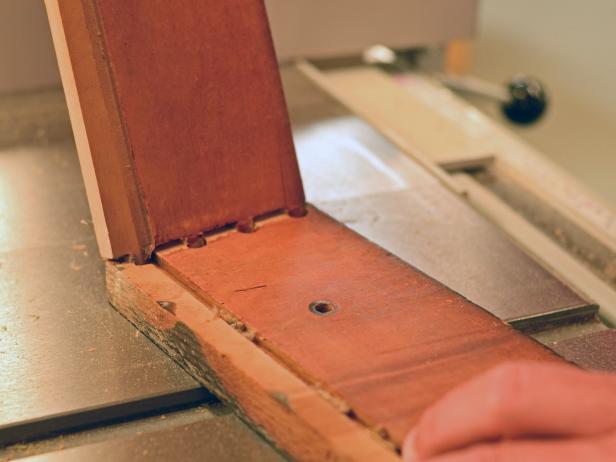
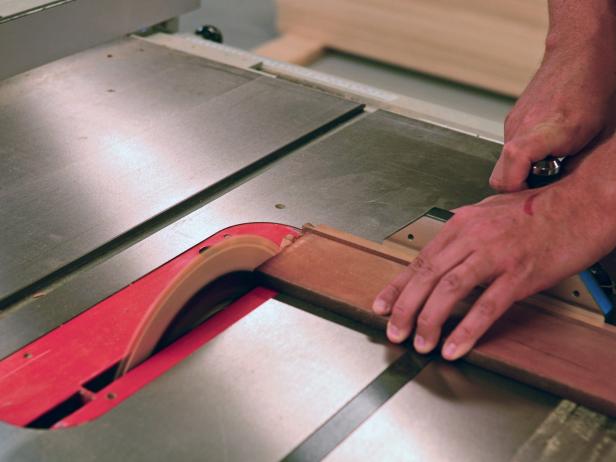
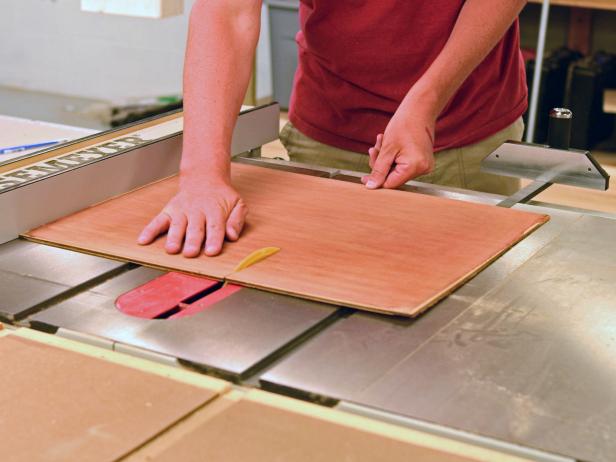
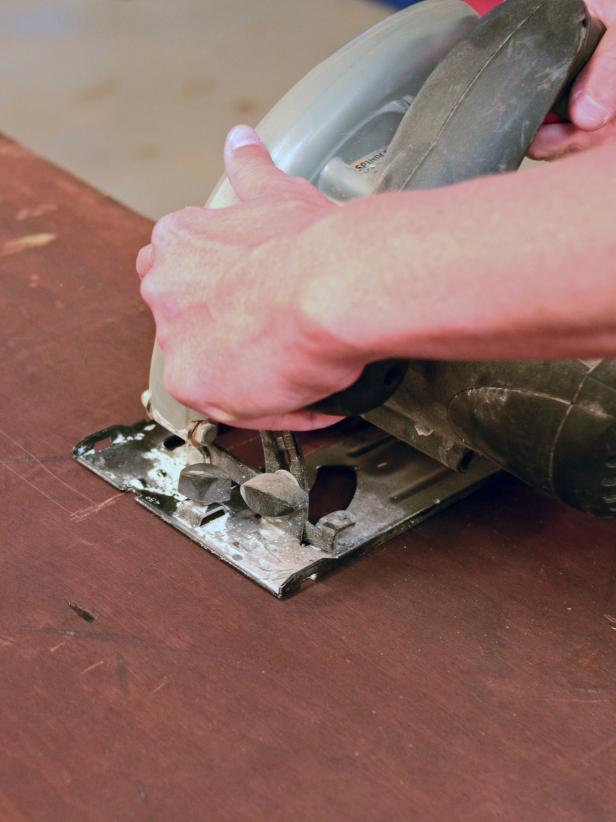
Determine what portion of drawers will interfere with sink and plumbing and transfer measurements to drawers. For drawers directly under sink, cut off back of drawer using table or circular saw. It may be necessary to complete cut with jigsaw if blade is not big enough to cut all the way through. In the case of this dresser, the interior side of two top drawers needed to be removed. Remove drawer bottom and set aside. Gently loosen tongue and groove to remove side that needs to be trimmed. (It may be necessary to cut side off if glued tight.)
5. Cut Drawer Bottom and Side
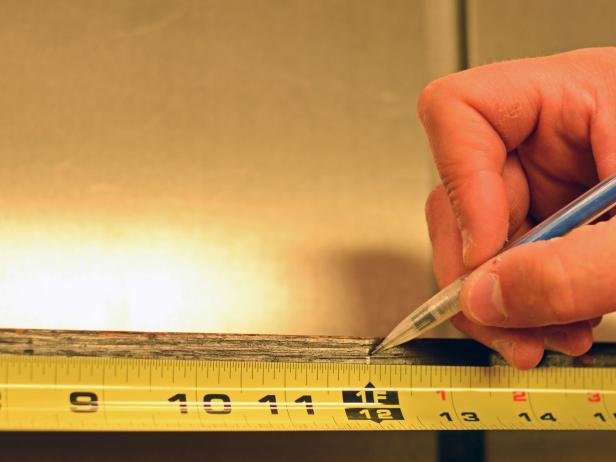
The bottom and side of drawers can be reused. Cut removed side so it can fit behind drawer front. Cut bottom and back of drawer to size needed to accommodate sink.
6. Reassemble Drawers
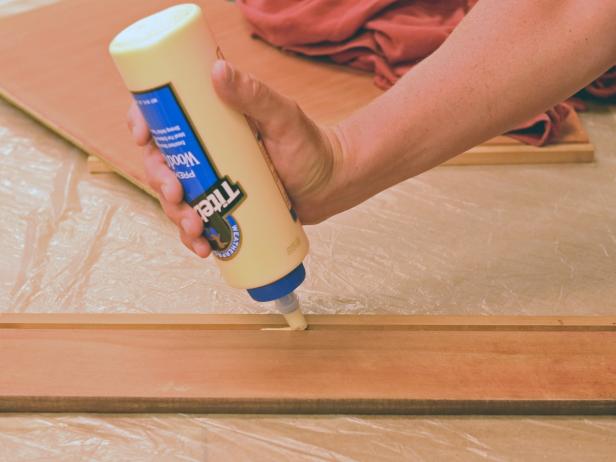
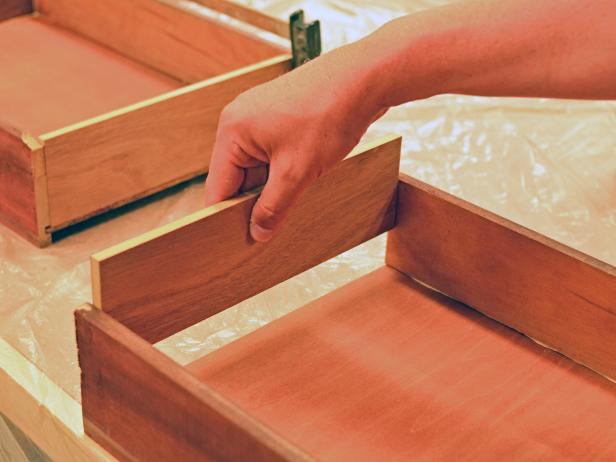
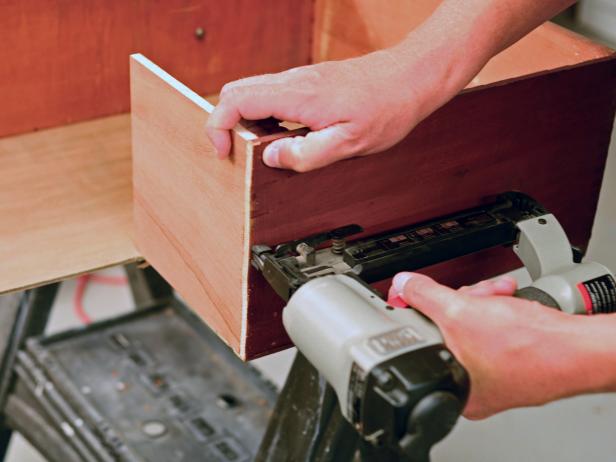
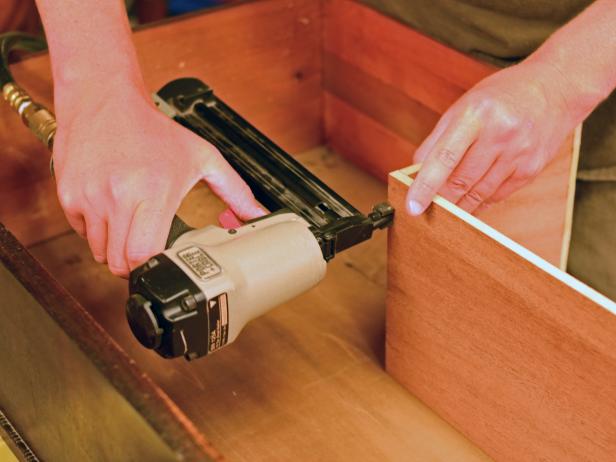
Assemble drawers first without glue to ensure a proper fit. Make any adjustments necessary. Squeeze wood glue into channel for drawer bottom and slide bottom in. Insert back and sides and glue and/or tack into place with a brad nailer or a hammer and small finishing nails. Clamp together until glue dries. Use a scrap piece of wood between front of drawer and clamp to prevent denting finish. The drawer front has been untouched, so it will appear as a full drawer when closed. Tip: Since drawer is narrower than it was originally constructed to be, it may be necessary to add a runner just under new inside edge of drawer for support.
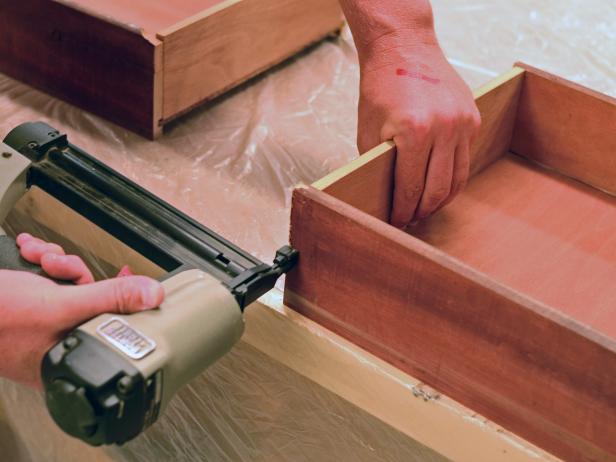
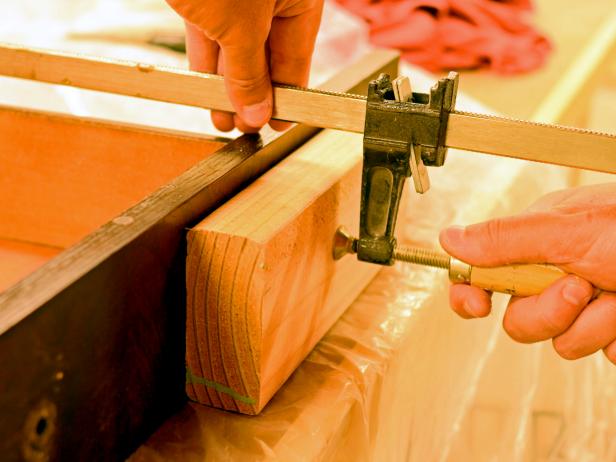
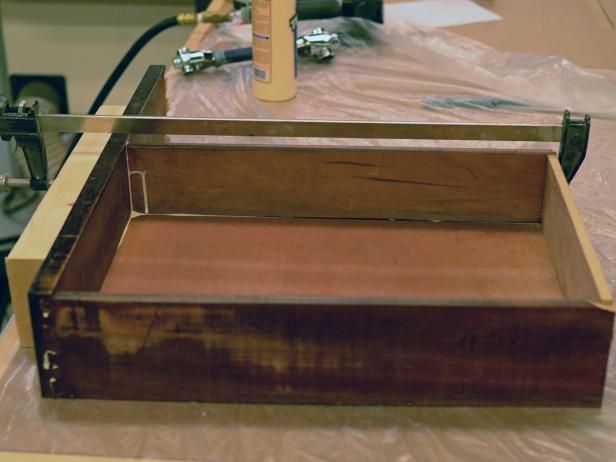
7. Create Recess for Plumbing in Lower Drawers
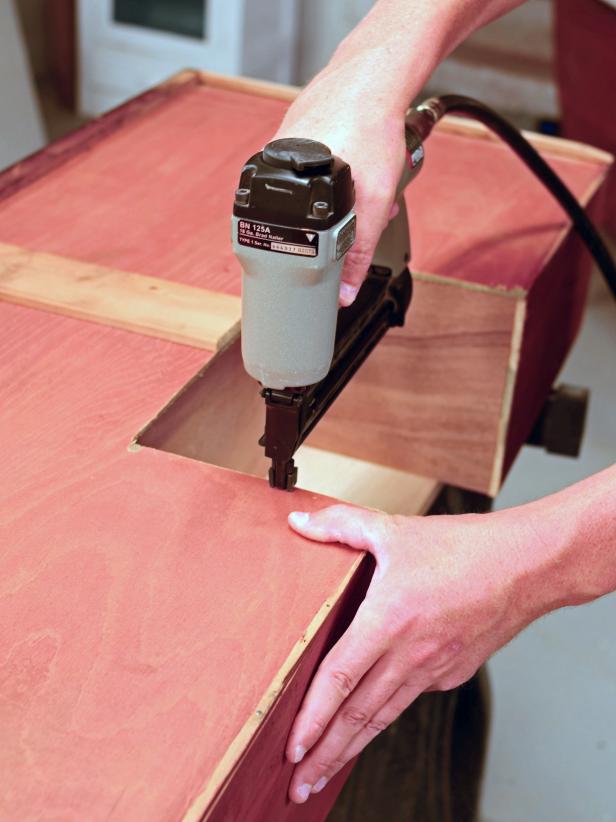
For drawers that only need a portion removed from the center back (to accommodate plumbing pipes), measure and mark area on back and bottom that need to be removed. Cut out with a jigsaw. Cut pieces of 1/2-inch MDF or cabinet-grade plywood to create new interior sides and back. Reassemble drawer by tacking sides and back of plumbing recess into place with brad nailer. Glue and clamps may also be used for additional support. Repeat with all other drawers.
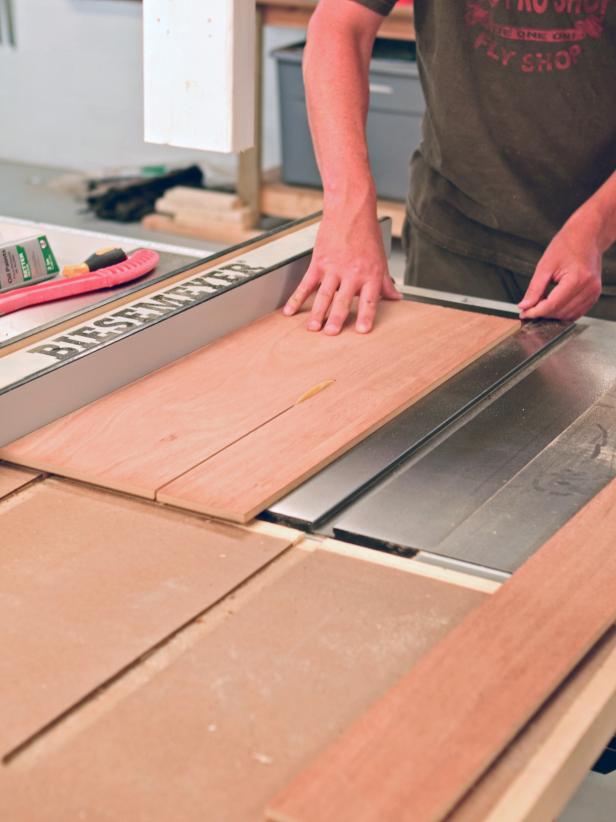
8. Cut Back and Bottom of Dresser
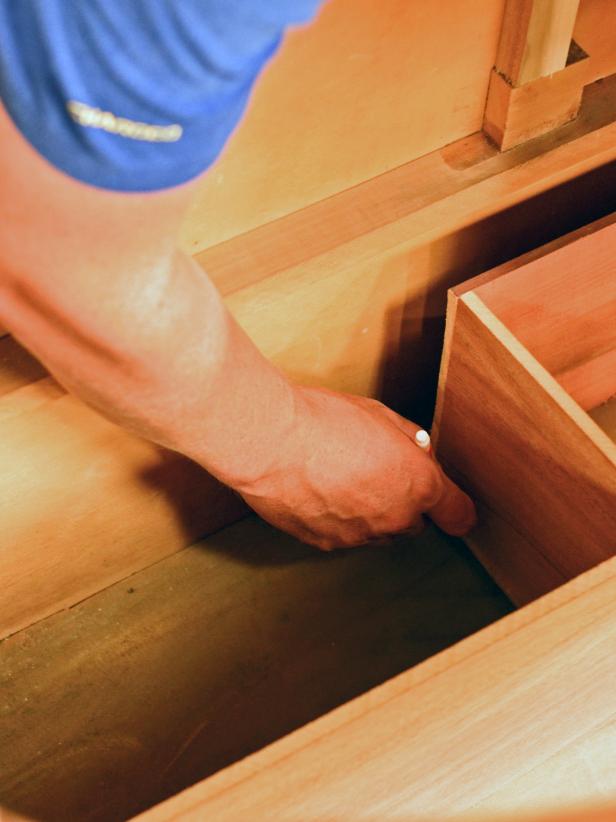
Insert bottom drawer into dresser frame. Trace around recess with pencil onto dresser bottom and back. Remove drawer and transfer measurement to outside of dresser (or drill holes at corners in order to see where cuts need to be made.) Flip dresser over on its front side and cut out marked area on back and bottom with circular saw or jigsaw. Put drawers and sink in dresser to ensure everything fits and there is enough room for plumbing pipes. Tip: It may be necessary to add an additional support along back or bottom of dresser to shore up the frame. In this project, the cross support pieces were intact after cutting, so additional supports weren't necessary.
9. Install Plumbing
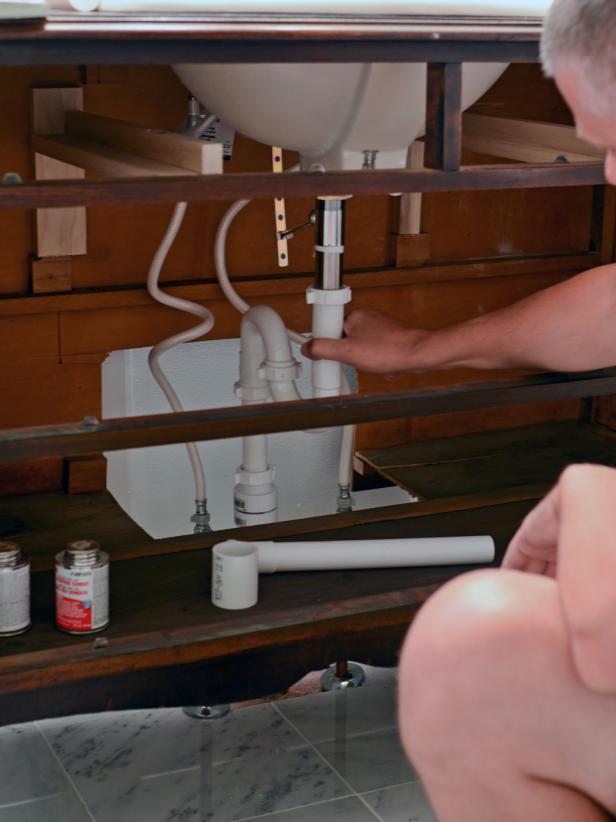
Connect plumbing pipes to sink and faucet. Dry-fit only at this stage, in order to make sure everything lines up properly and further adjustments do not need to be made to drawers or back of dresser.
10. Install Sink
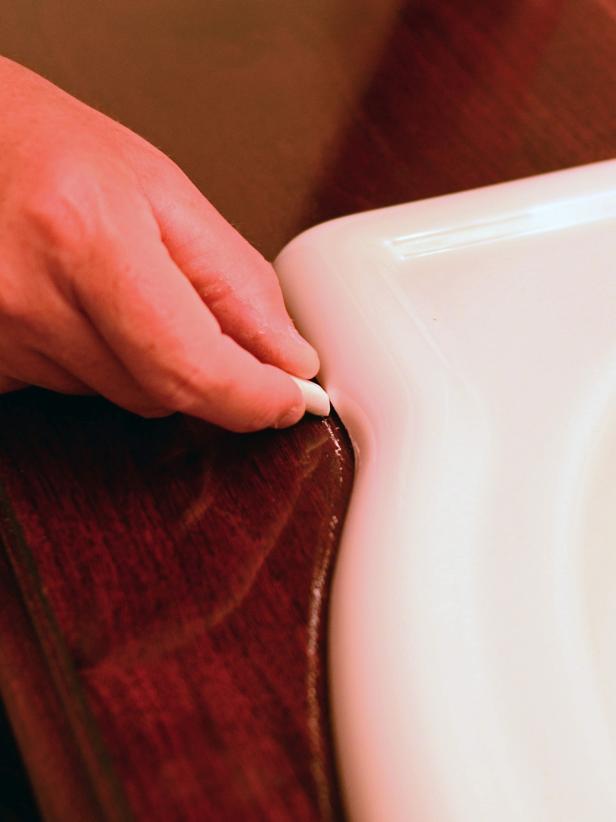
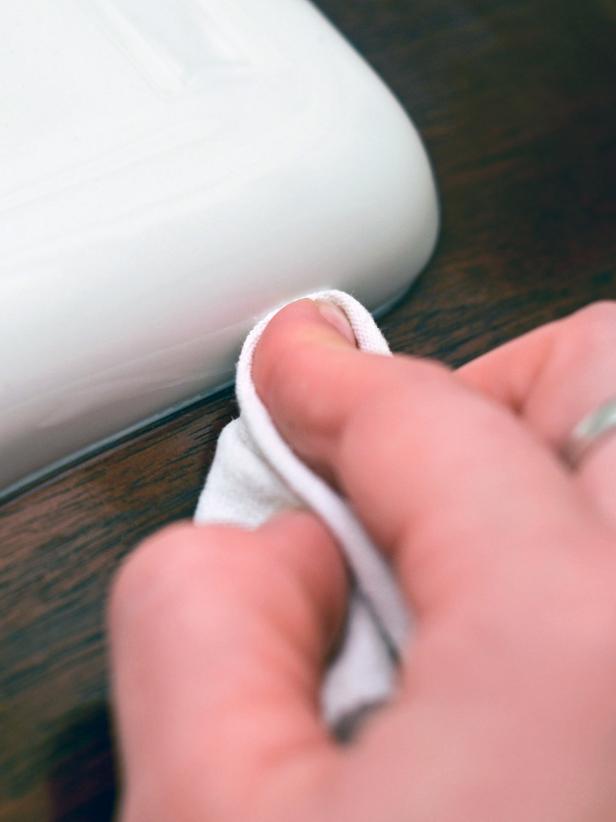
Use a piece of chalk to trace outline of sink. Remove sink from dresser and run a bead of silicone just to the inside of chalk outline. Make sure silicone is applied around entire sink perimeter without gaps. This will provide a watertight seal around sink. Gently drop sink in place. Press down and wiggle slightly to distribute silicone. Use a damp cloth to wipe away excess silicone and chalk line. Reconnect plumbing and faucet and insert dresser drawers. Tip: Always wear safety glasses when using power tools during this project.

.-Battle-on-the-Beach-courtesy-of-HGTV.-.jpg.rend.hgtvcom.196.196.suffix/1714761529029.jpeg)


