Transform a Dresser Into a Potting Bench + Buffet Station
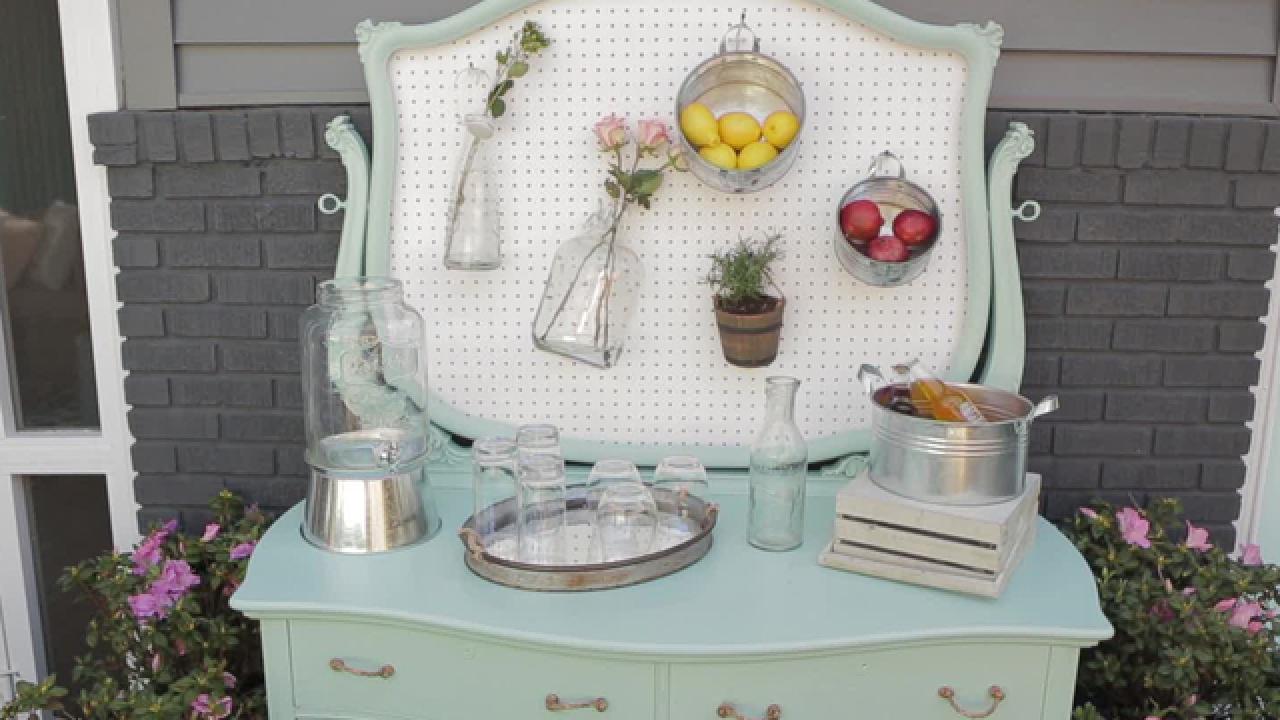
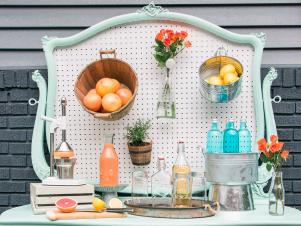
Before you kick that old dresser to the curb, transform it into a vibrant, outdoor potting bench that also doubles as a party-ready buffet station.
Materials Needed
- old dresser with attached mirror
- 4' x 4' piece of pegboard
- drop cloth
- pliers
- drill
- 1/2" drill bit
- flat-head screwdriver
- sander with fine-grit paper
- 2 shades of exterior paint
- damp cloth
- 2 paintbrushes
- 2 paint trays
- work gloves
- pencil
- jigsaw
- safety glasses
- 3/8" sisal rope
- scissors
- measuring tape
Remove Mirror
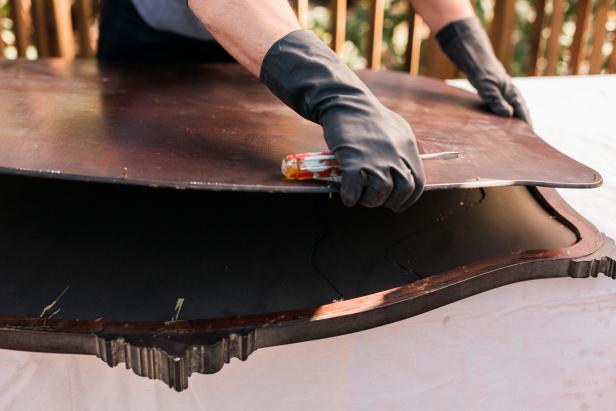
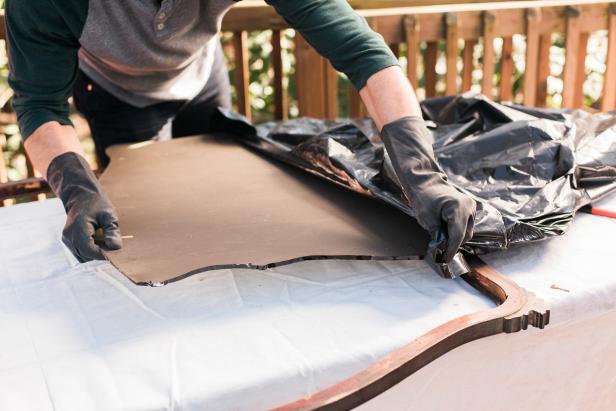
After taking off the mirror, remove the mirror from the frame by gently prying the backing off using a flat-head screwdriver (Image 1). Don't damage the backing, as it will serve as a template for the pegboard later. Be sure to dispose of the mirror safely (Image 2).
Brian Patrick Flynn, Flynnsideout.com
Image 1
Brian Patrick Flynn, Flynnsideout.com
Image 2
Prep for Painting
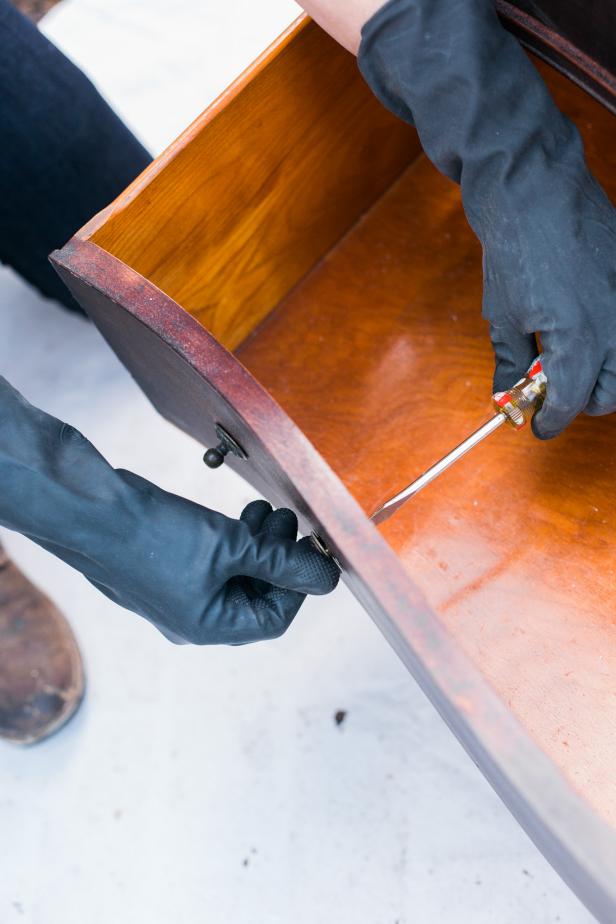
Remove all hardware (Image 1), then give the dresser and mirror frame a good sanding with a fine-grit paper (Image 2). Wipe it down thoroughly to remove excess dust (Image 3).
Brian Patrick Flynn, Flynnsideout.com
Image 1
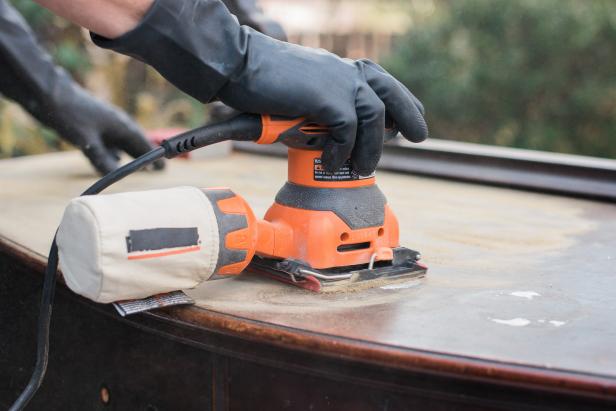
Brian Patrick Flynn, Flynnsideout.com
Image 2
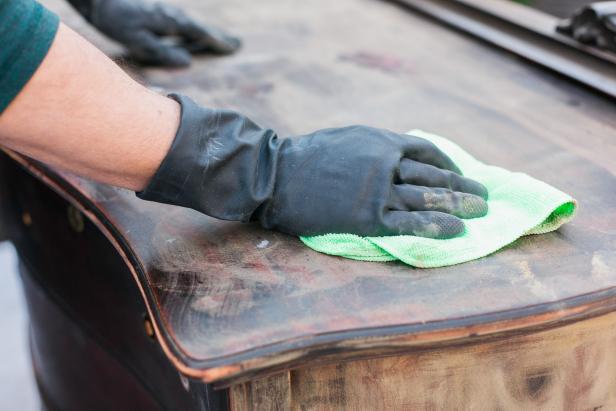
Brian Patrick Flynn, Flynnsideout.com
Image 3
Trace + Cut Pegboard
To ensure the pegboard fits into the mirror frame perfectly, use the backing as your template (Image 1). Trace around the backing (Image 2), then cut the pegboard out using a jigsaw (Image 3).
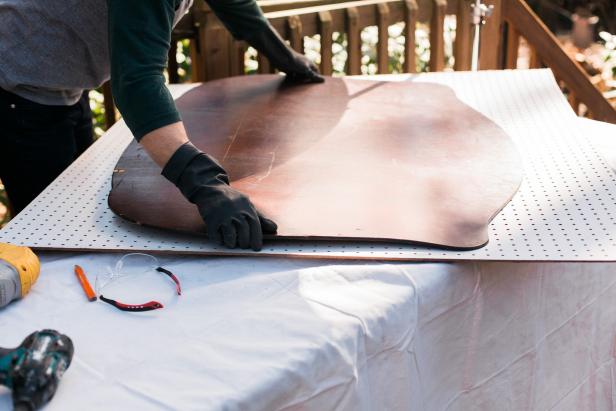
Brian Patrick Flynn, Flynnsideout.com
Image 1
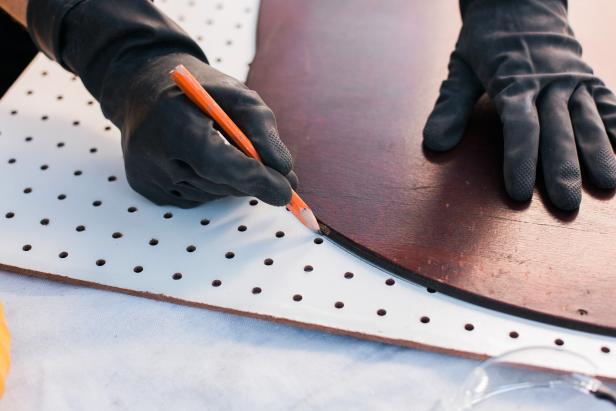
Brian Patrick Flynn, Flynnsideout.com
Image 2
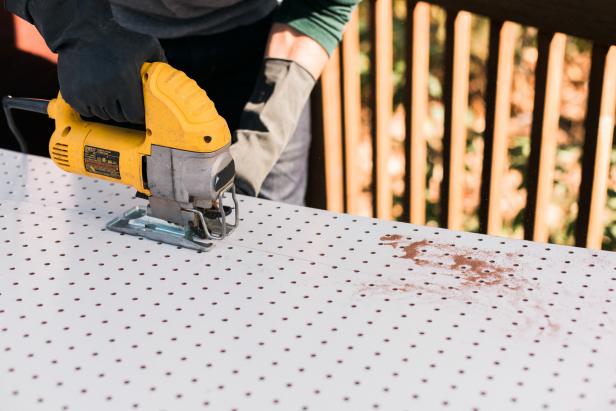
Brian Patrick Flynn, Flynnsideout.com
Image 3
Paint Dresser + Pegboard
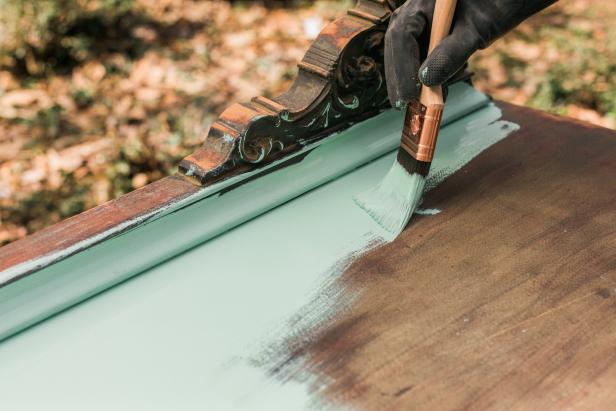
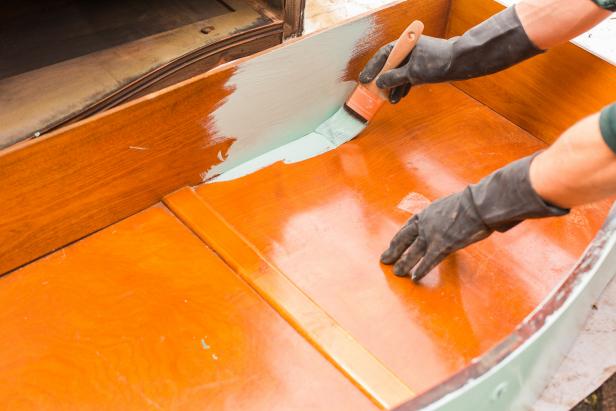
Remove all the dust, then paint the mirror frame and dresser inside and out (Images 1, 2) with a bright coat of high-quality exterior paint. Allow the paint to dry overnight.
Brian Patrick Flynn, Flynnsideout.com
Image 1
Brian Patrick Flynn, Flynnsideout.com
Image 2
Paint + Install Pegboard
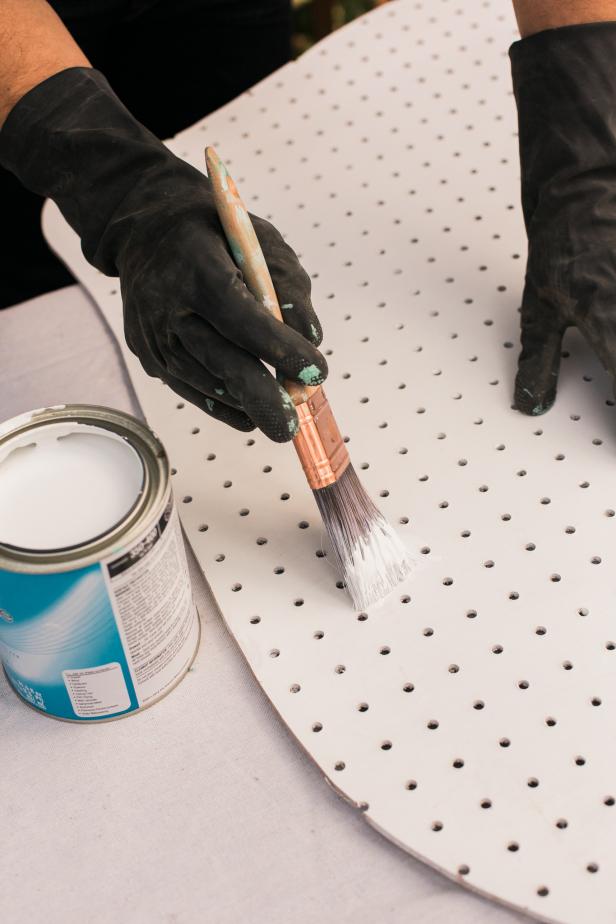
Paint the pegboard. We chose a crisp, clean exterior shade of white (Image 1). Allow to dry, then secure the pegboard into the frame, using small wood screws (Image 2).
Brian Patrick Flynn, Flynnsideout.com
Image 1

Brian Patrick Flynn, Flynnsideout.com
Image 2
Add Rope Pulls
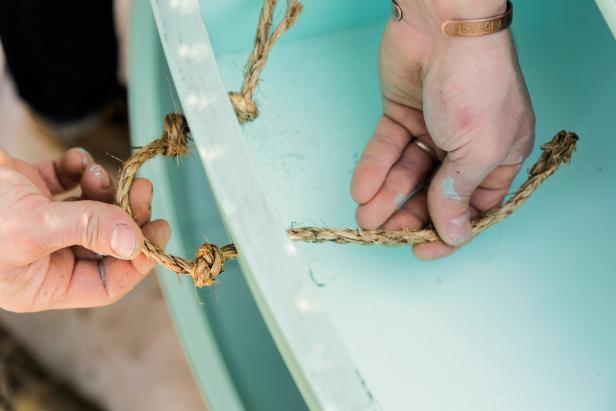
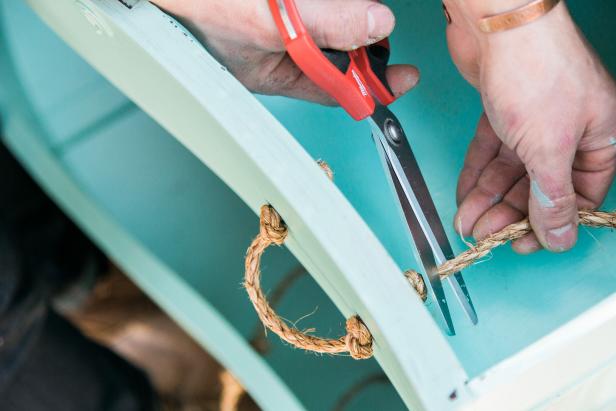
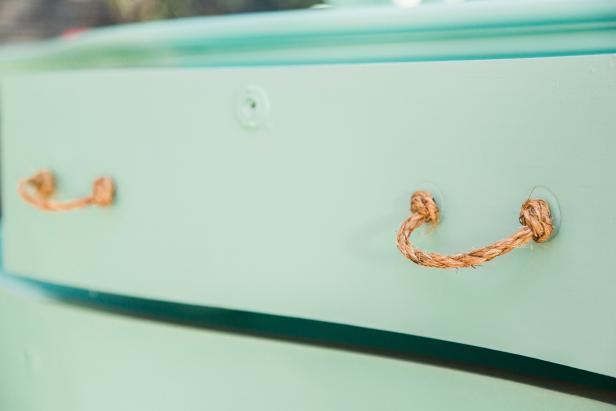
Instead of re-installing the original hardware, go with something a bit more imaginative like these simple rope pulls. Using a drill and a 1/2-inch bit, make the existing hardware holes larger to accommodate the rope. Then, take a 12-inch section of rope, knot it at one end, push it through the hole and tie it off again snuggly on the other side of the dresser front. Tie off another knot 6 inches down, push it through the adjacent hole and tie it off again snuggly on the inside of the drawer (Image 1). Snip off the excess rope on the inside of the drawer (Image 2). Now you’ve got a clever and inexpensive drawer pull (Image 3).
Brian Patrick Flynn, Flynnsideout.com
Image 1
Brian Patrick Flynn, Flynnsideout.com
Image 2
Brian Patrick Flynn, Flynnsideout.com
Image 3
Multipurpose Rules!
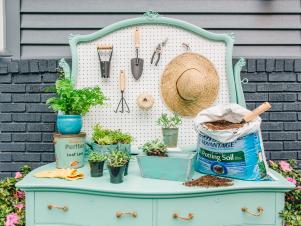
Once you’ve finished upcycling your dresser, you can easily take it from a storage-packed potting bench to a posh, party-ready buffet station with just a few minor styling tweaks.
Potting Bench
Buffet Station

.-Battle-on-the-Beach-courtesy-of-HGTV.-.jpg.rend.hgtvcom.196.196.suffix/1714761529029.jpeg)


