
.-Battle-on-the-Beach-courtesy-of-HGTV.-.jpg.rend.hgtvcom.196.196.suffix/1714761529029.jpeg)


Make Microwave Pressed Flowers in Minutes + Four Easy Crafts to Display Them
Gussy up a gift tag, craft some colorful coasters or dress up a phone case with a handful of basic supplies.

Liz Gray

From four-leaf clovers to bright botanical blooms, you don’t need luck to make pressed flowers in the microwave. Collect a few fresh flowers and ferns from the yard, or purchase some from the grocery store, and follow along with this super easy hack by HGTV Handmade’s Liz Gray. Then, whip up some wall art or create a fancy gift box with one of these four floral projects.
Materials + Tools:
- fresh flowers, leaves and ferns
- microwave
- paper towels
- microwave-safe dish
- scissors
Note: Lower-moisture plants and fresh flowers press best using the microwave method. White flowers are more challenging as they tend to discolor when heated. Use brighter colors for best results.
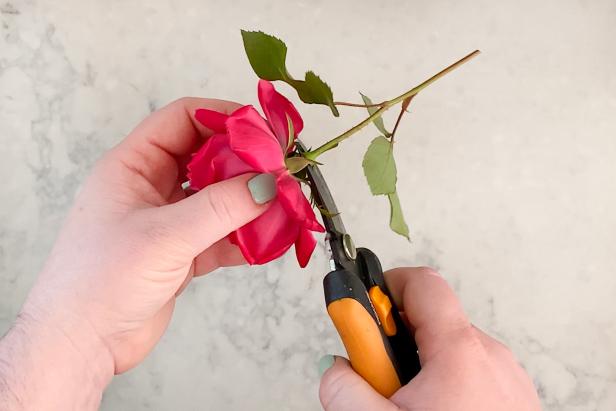
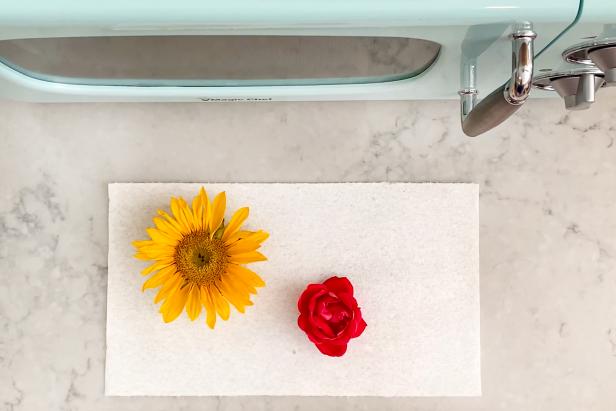
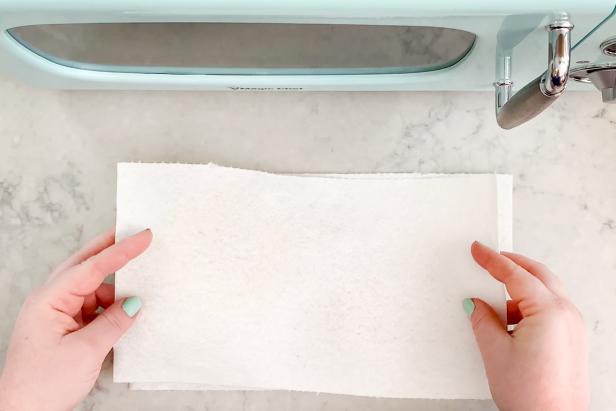
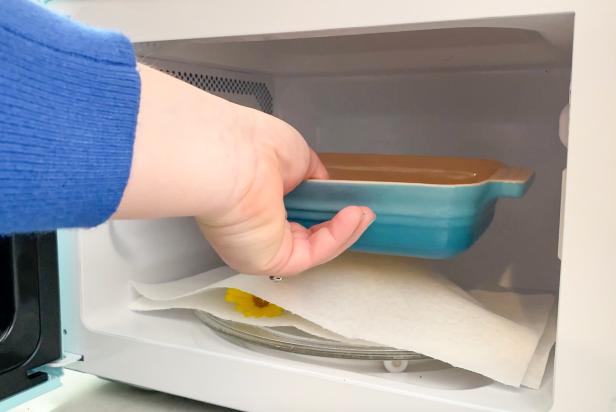
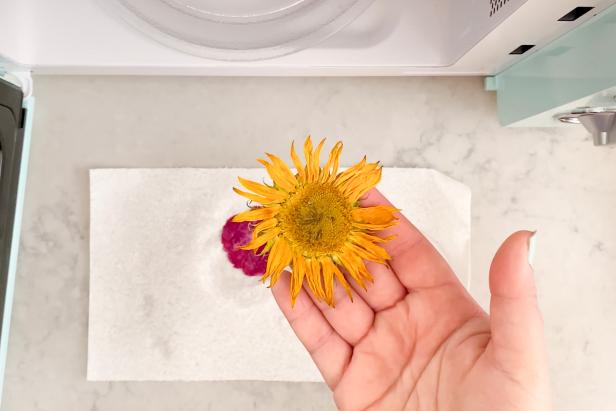
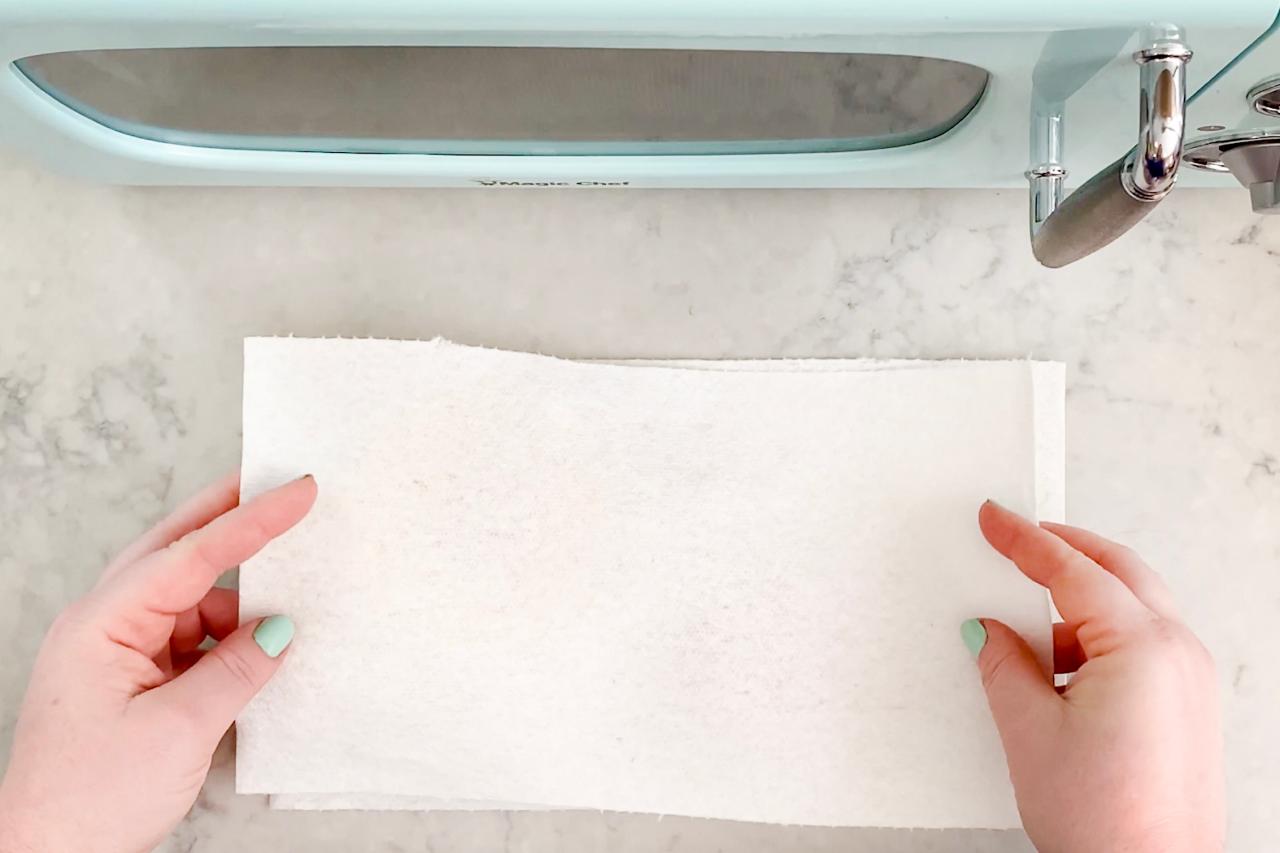
Prepare + Heat Flowers
Use scissors to cut the flower as close to the bottom of the bloom as possible (Image 1). Place the blooms on a paper towel (Image 2) and lay another paper towel on top (Image 3). Place them inside the microwave and weigh down the flowers with a microwave-safe dish (Image 4). Make sure the entirety of the flowers are under the weight. Tip: Microwave strength will vary, so use the defrost setting if you have one. If not, microwave your flowers for a minute to start and check the flowers as you go. Heat the flowers until they are dry and appear flat (Image 5).
Liz Gray
Liz Gray
Liz Gray
Liz Gray
Liz Gray
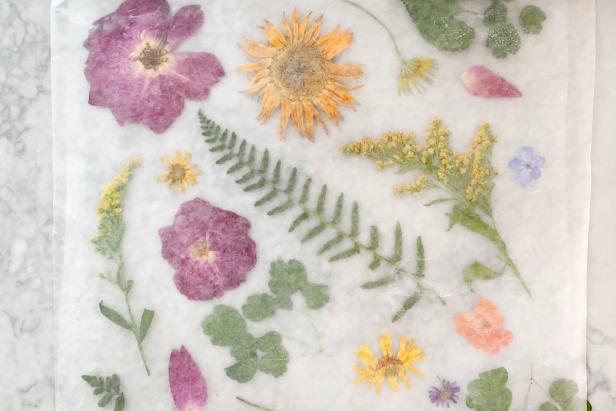
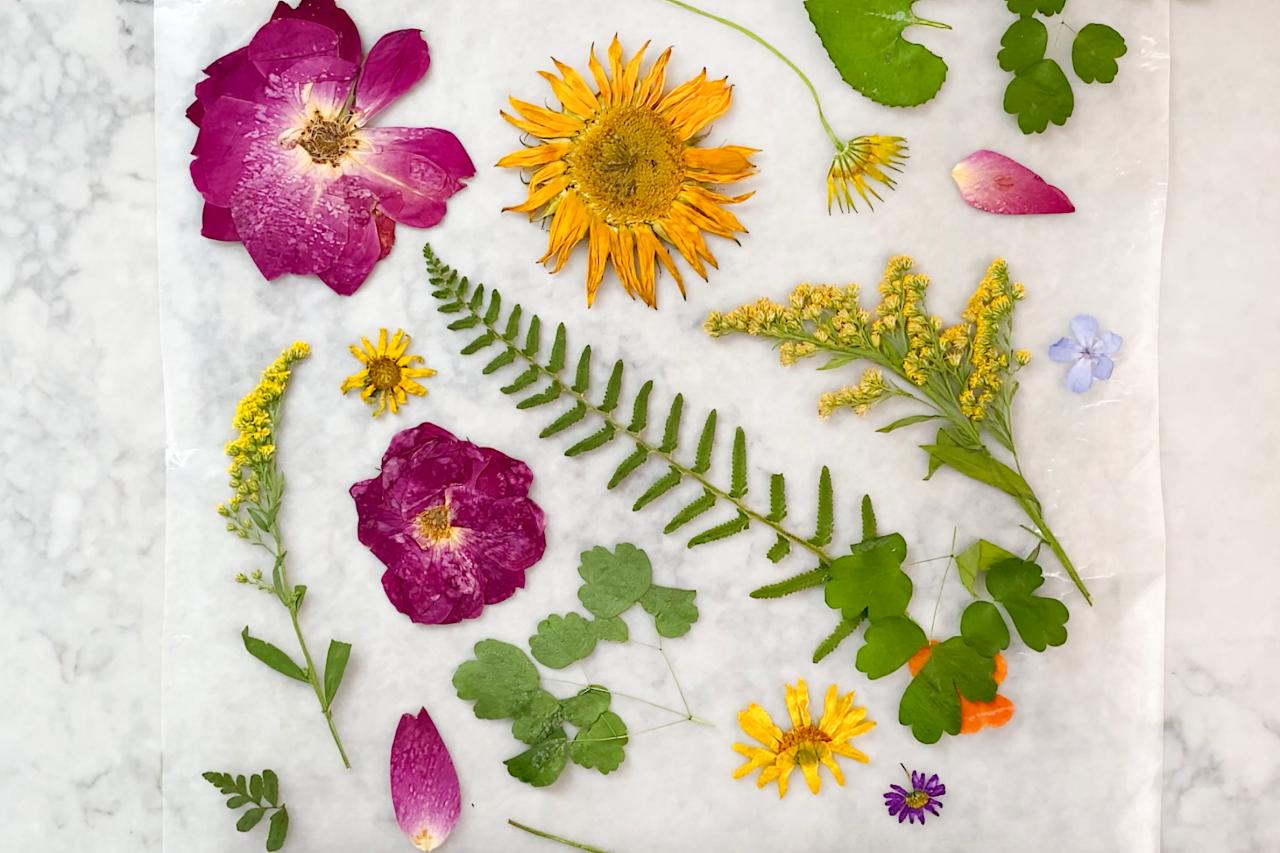
Use Now or Later
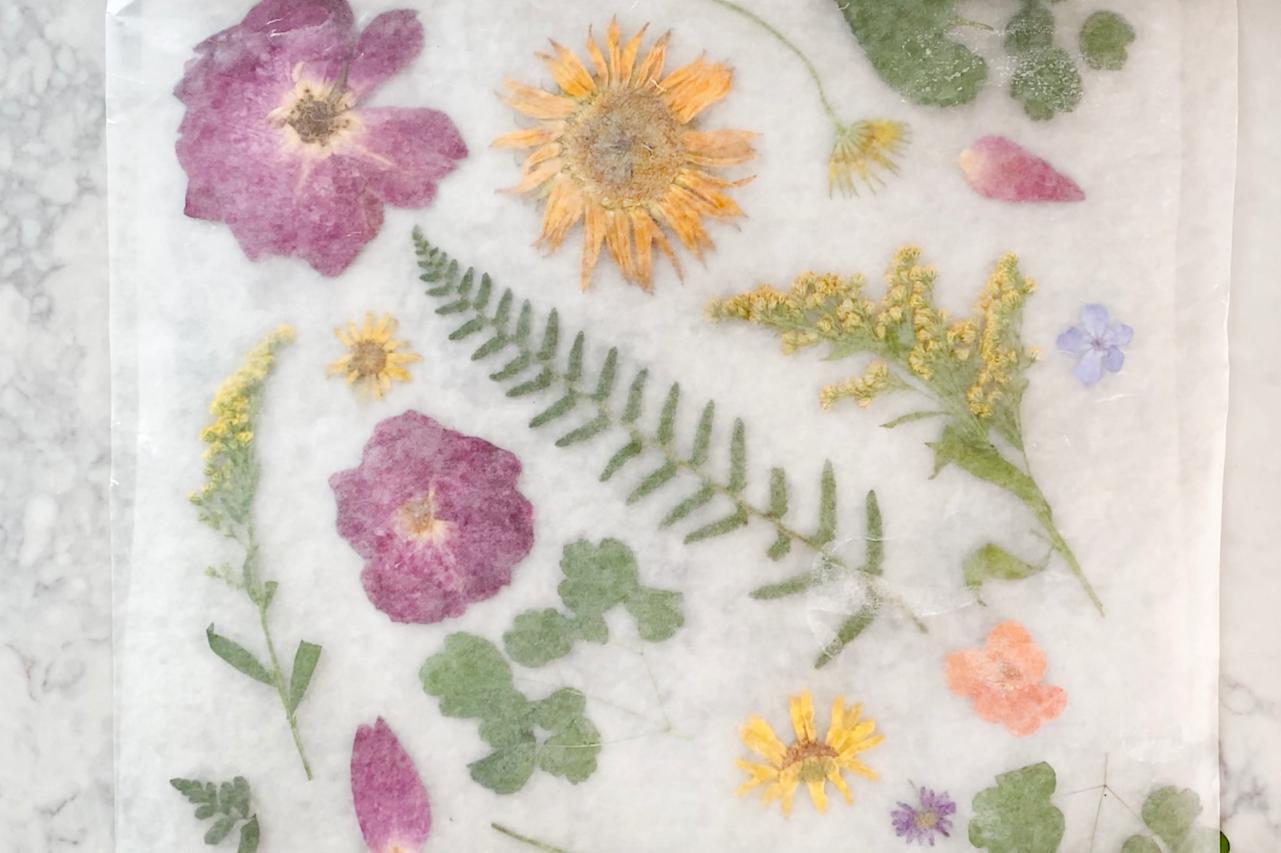
Once the flowers are dry (Image 1), use them right away, or place them between two pieces of wax paper (Image 2) and top with a book to keep them flat until ready to craft.
Liz Gray
Liz Gray
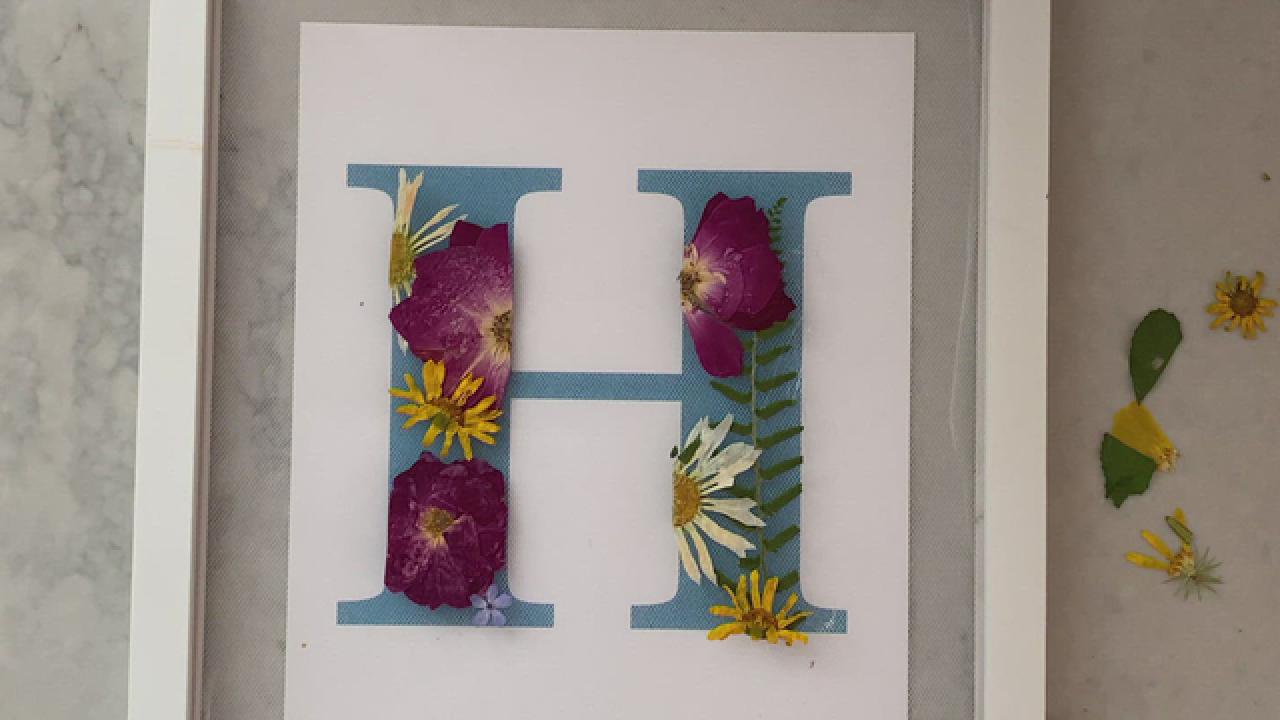
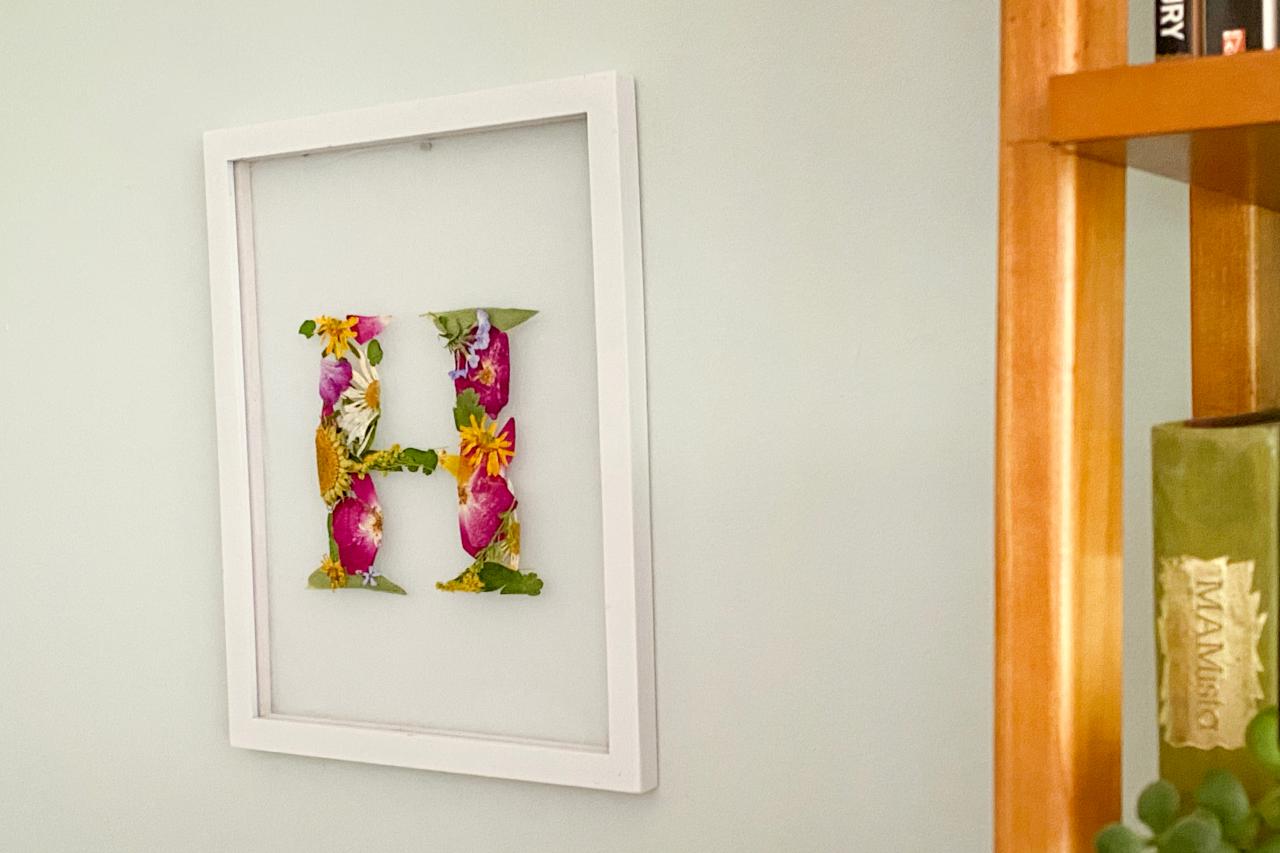
Pressed Flower Monogram Wall Art

Liz Gray
Materials + Tools:
- pressed flowers, leaves and ferns
- white tulle
- float frame
- printed letter or icon
- low-temp hot glue gun
- scissors
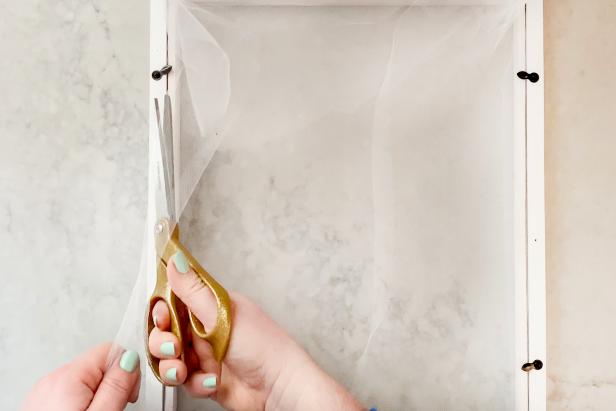
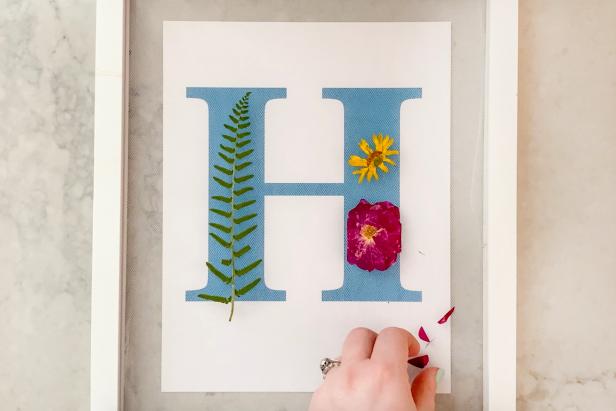
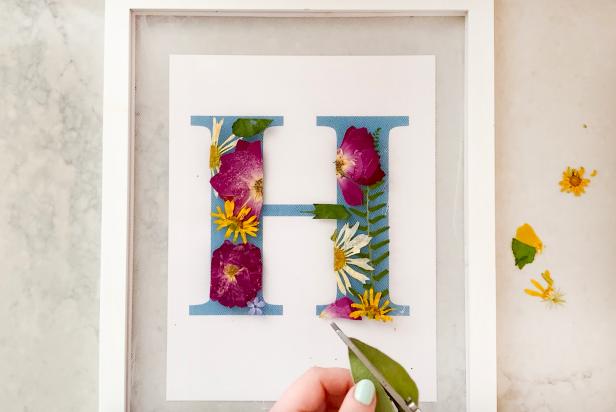
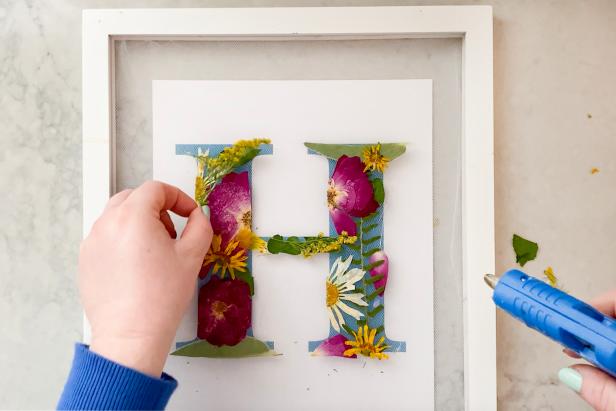
Prep Frame + Add Tulle + Glue Flowers
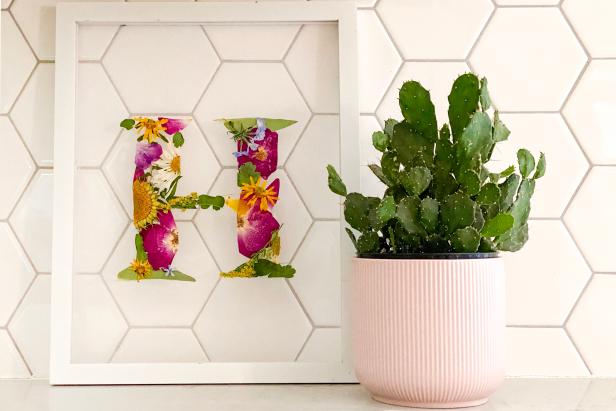
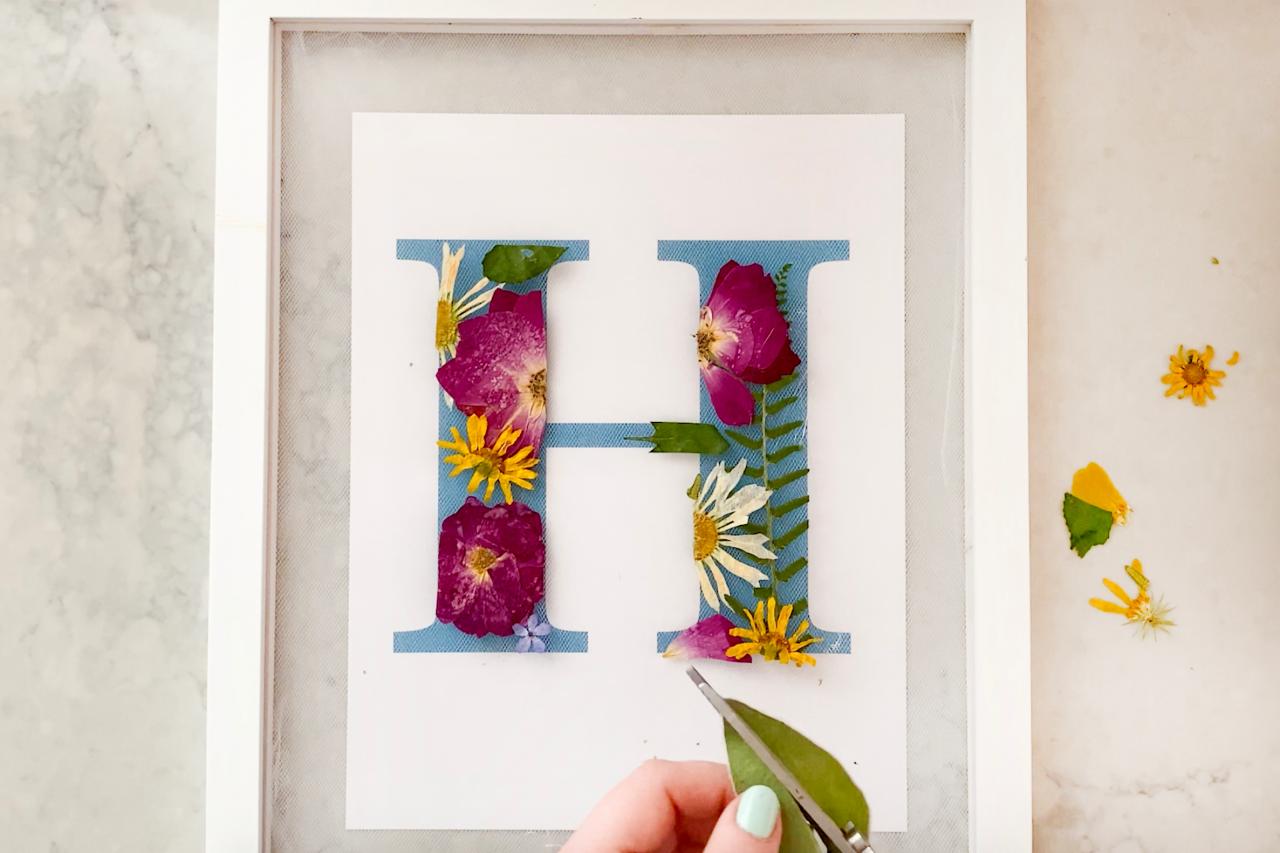
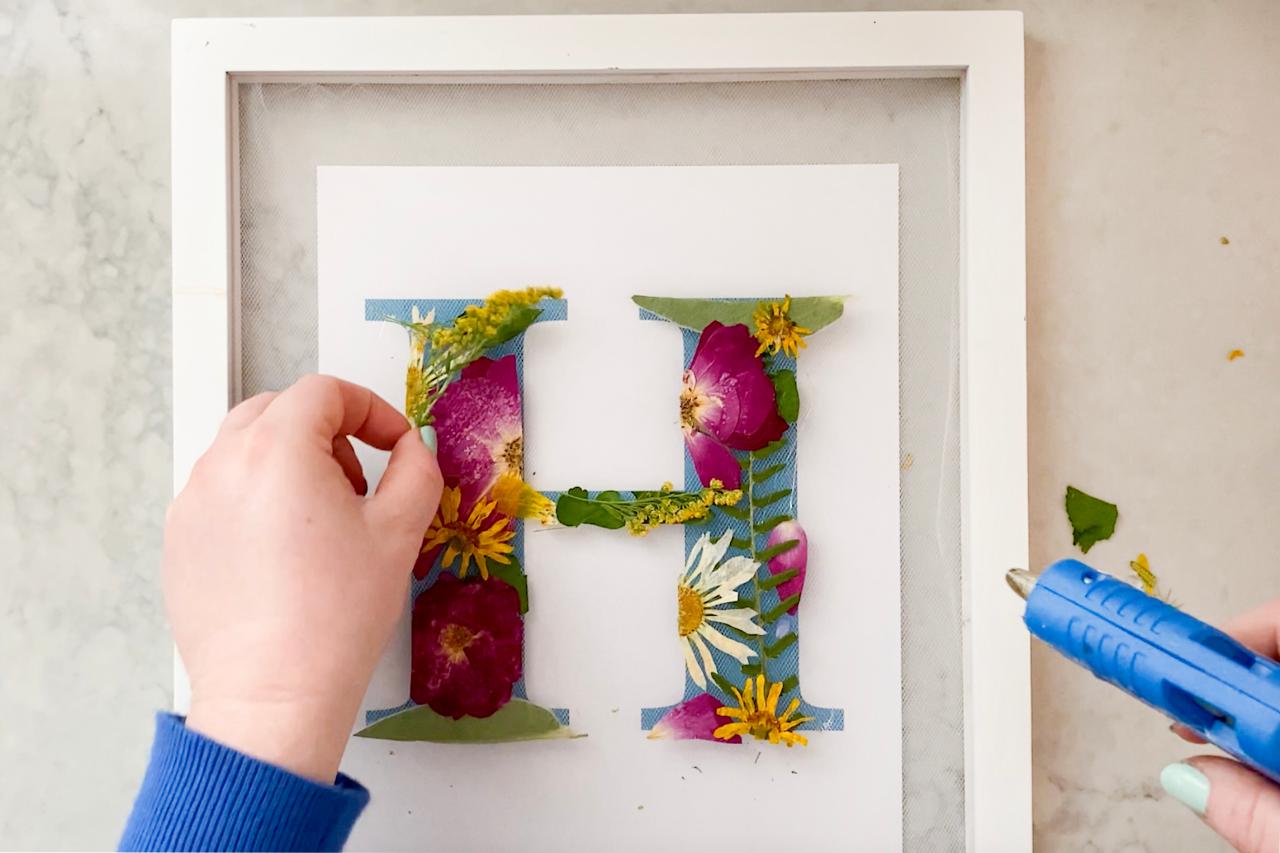
Remove the backing from a float frame and stretch two layers of white tulle around the frame, using scissors to trim excess (Image 1). Secure the tulle in place with a low-temp hot glue gun, then put the frame back together. Now place the frame on top of the chosen letter or icon and arrange pressed flowers in the shape of your design (Image 2). Tip: Cut or trim your flowers to create crisp edges (Image 3). Use a low-temp hot glue gun to adhere the flowers to the frame, occasionally pulling up the tulle to keep it from sticking to the paper template (Image 4). Once the design is complete, display and enjoy (Image 5).
Liz Gray
Liz Gray
Liz Gray
Liz Gray
Liz Gray
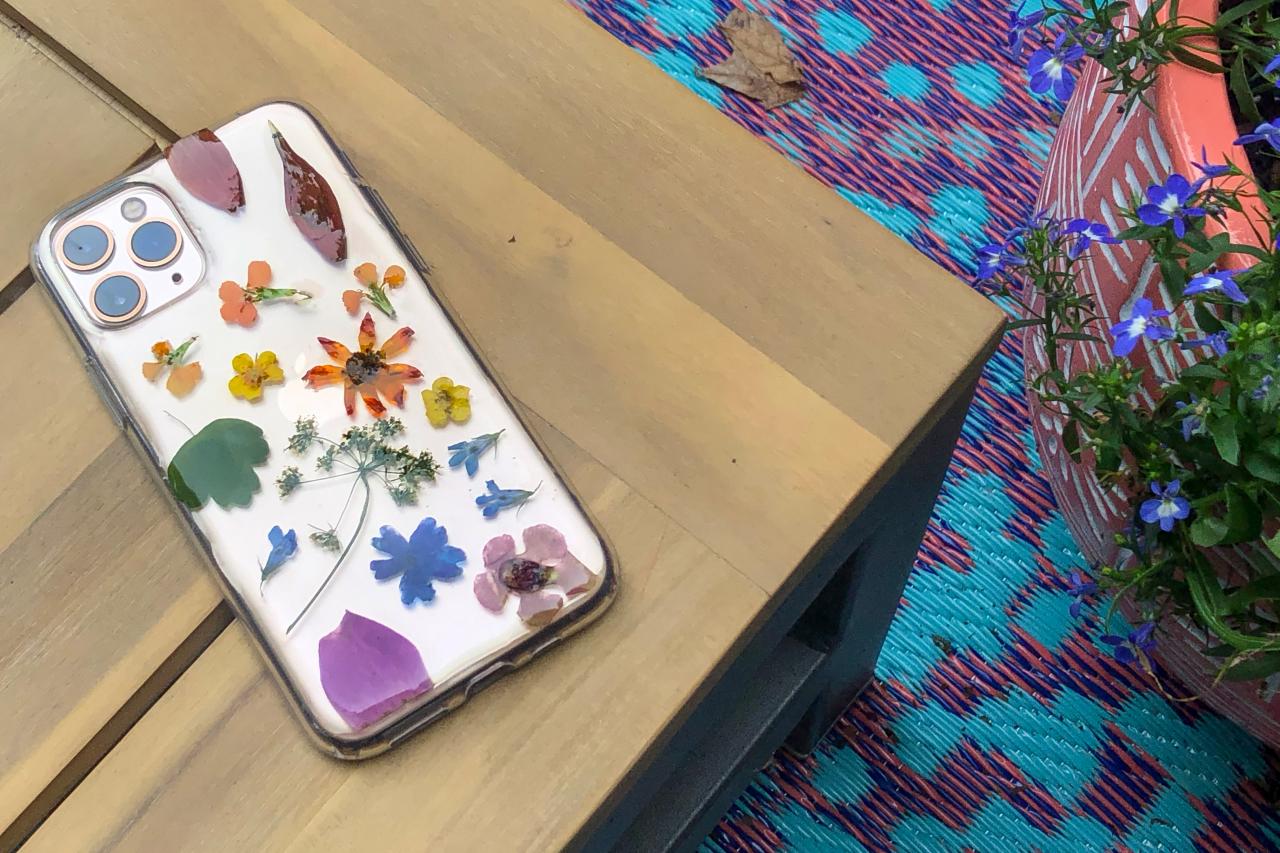
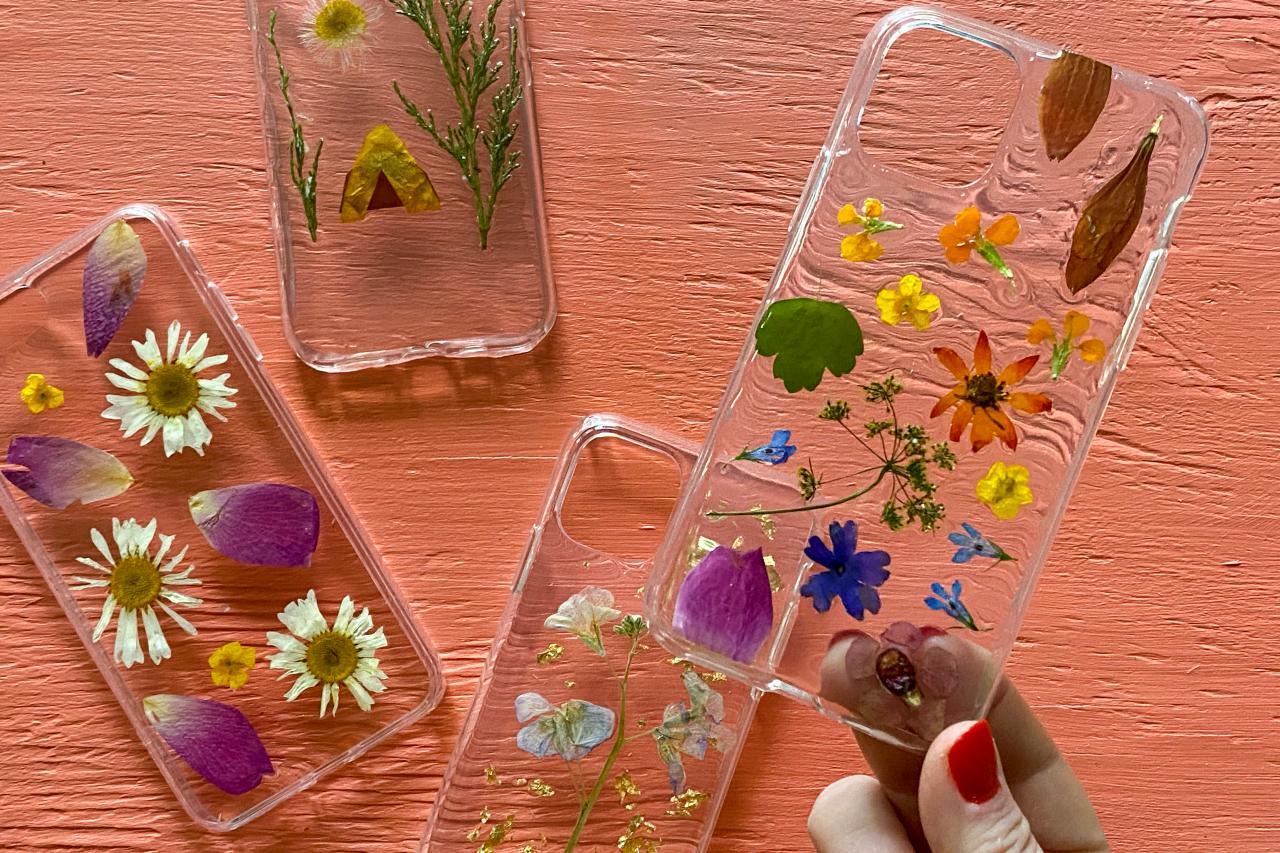
Pressed Flower Phone Case

Liz Gray
Materials + Tools:
- pressed flowers, leaves and ferns
- clear phone case
- resin kit
- gloves
- disposable cups
- craft stick
- toothpick
- alcohol wipe
- clear permanent adhesive
- tweezers
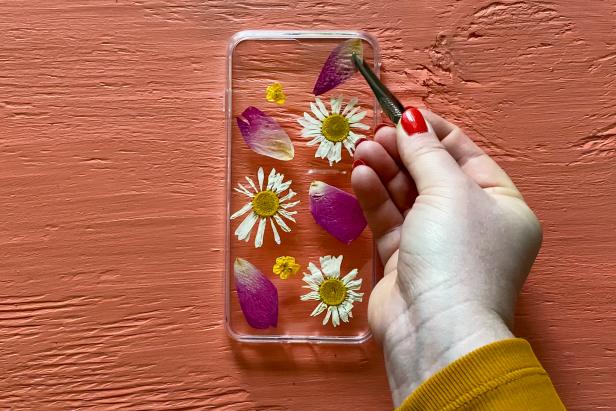
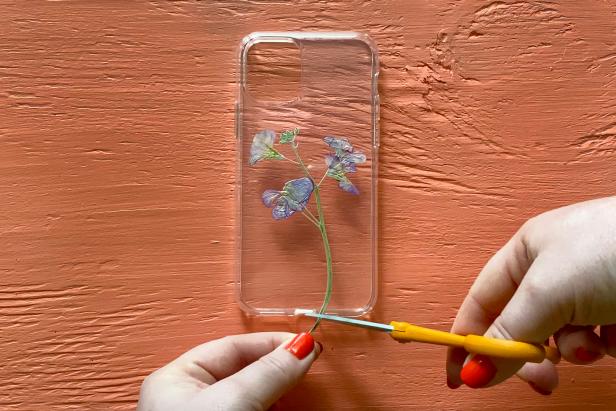
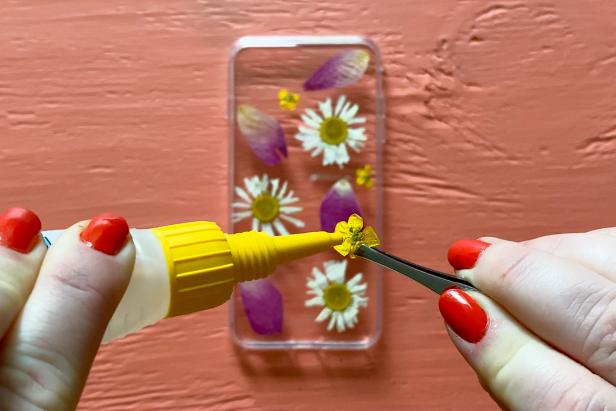
Prep Case + Arrange Flowers
First, clean the phone case with an alcohol wipe to remove any oils or fingerprints. Then arrange a selection of pressed flowers into a pattern of your choice on top of the phone case (Image 1). Tip: Use scissors to trim the length of longer pressed flowers to ensure a good fit on the case before adhering (Image 2). Once the design is complete, add a small drop of clear permanent adhesive to the back of each flower using tweezers (Image 3). This ensures the flowers will stay in place when adding the resin. Leave the phone case to dry for a few minutes.
Liz Gray
Liz Gray
Liz Gray
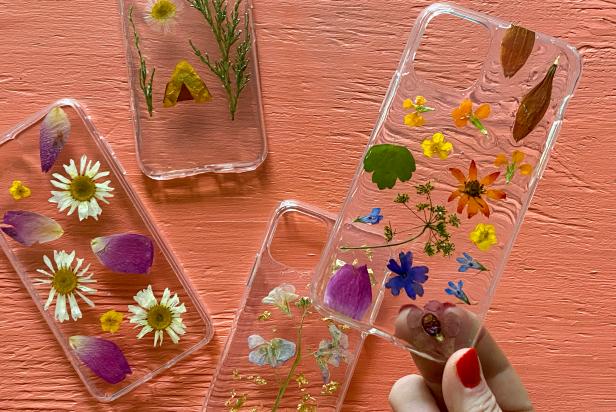
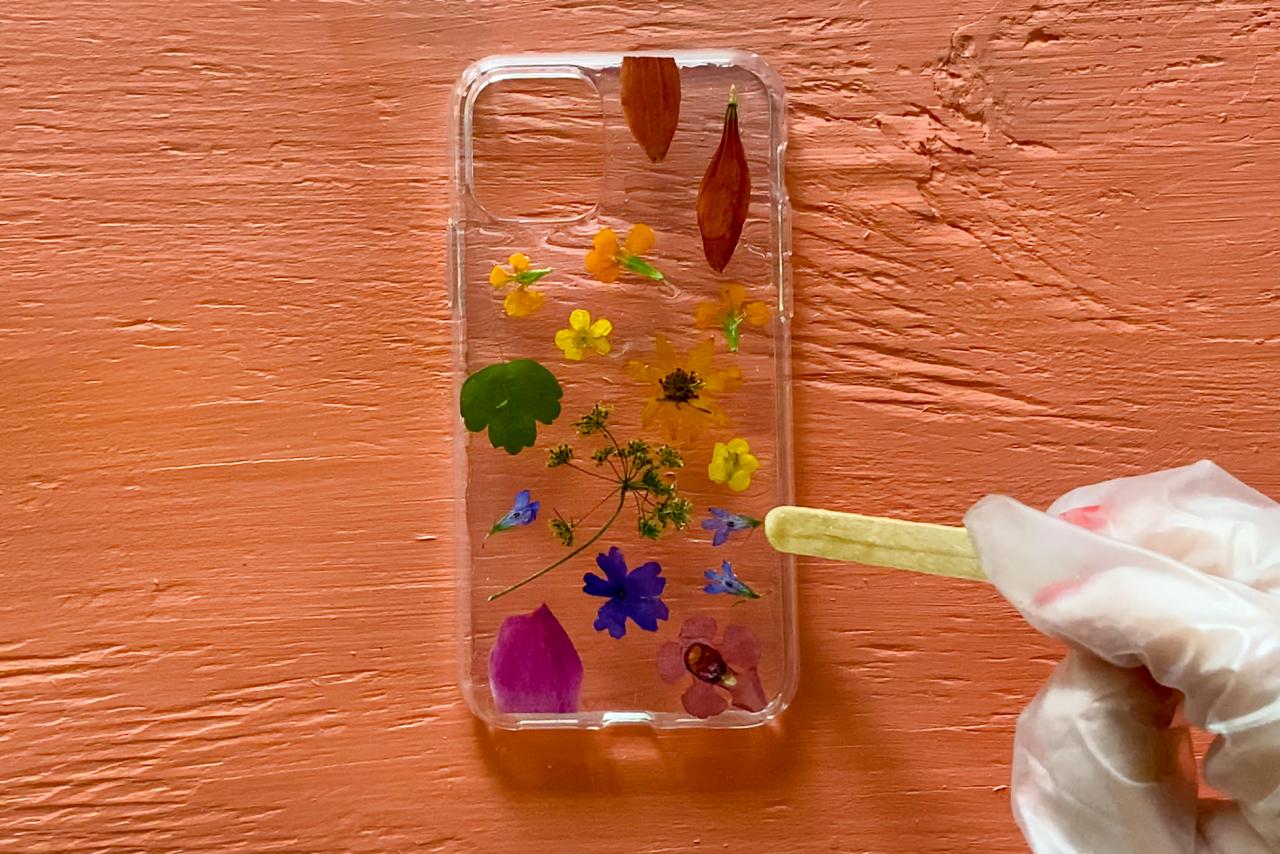
Add Resin + Dry Case
Note: Prepare the resin by following the instructions on your two-part epoxy resin kit. Wearing protective gloves, start by pouring a few small drops of resin onto the center of the phone case (Image 1). Then use a craft stick to spread an even layer of resin over each flower (Image 2) and lightly spread the resin to the corners of the case. The resin will level as it dries. Tip: Use a toothpick to pop any bubbles if they begin to form. Now let the case dry for about 8 hours. Once dry, add your phone to the case and show it off (Image 3).

Liz Gray

Liz Gray
Liz Gray
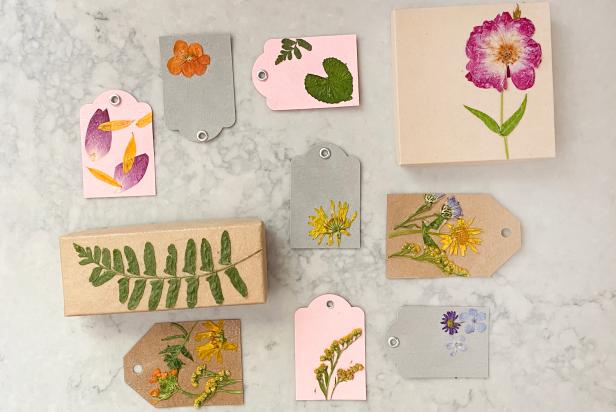
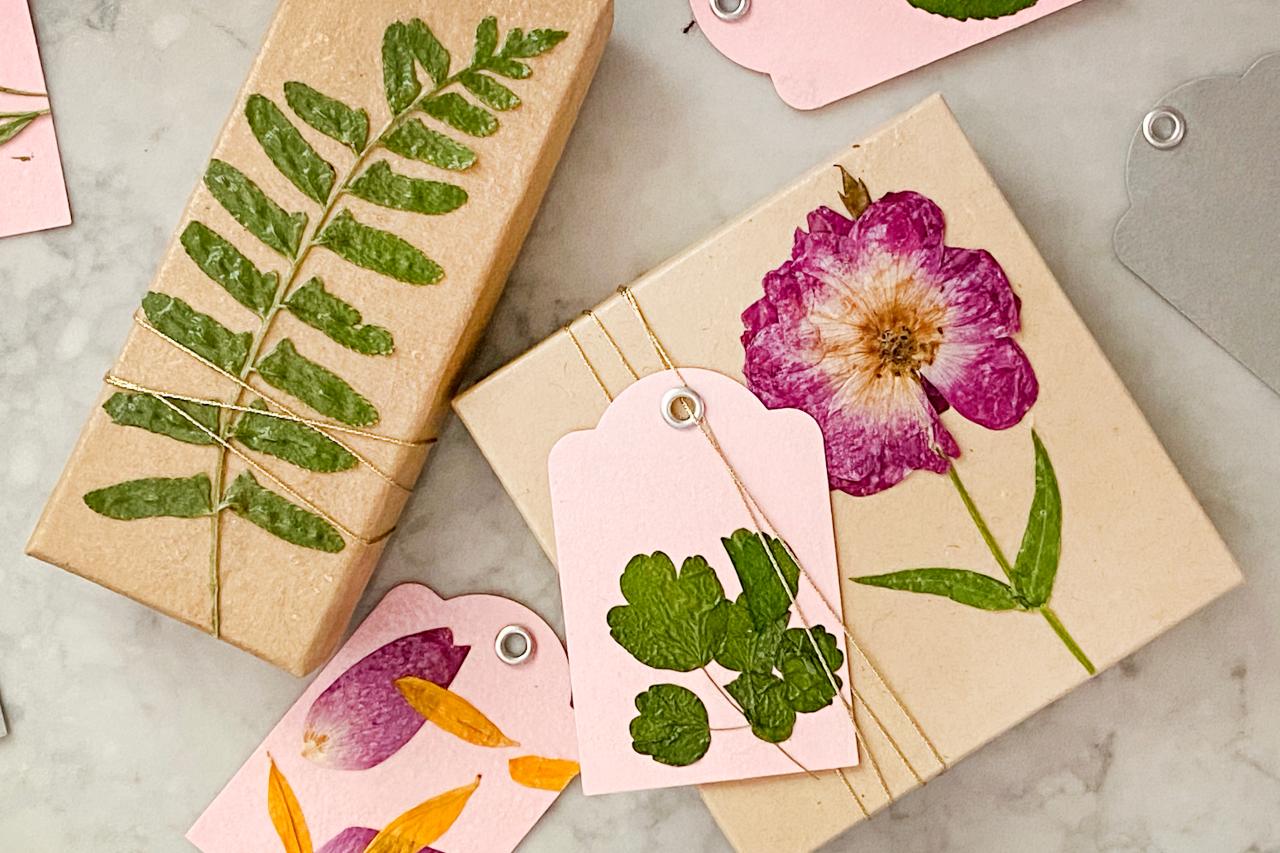
Pressed Flower Gift Tags and Gift Boxes

Liz Gray
Materials + Tools:
- pressed flowers, leaves and ferns
- thick card stock gift boxes and gift tags
- decoupage glue
- paint brush
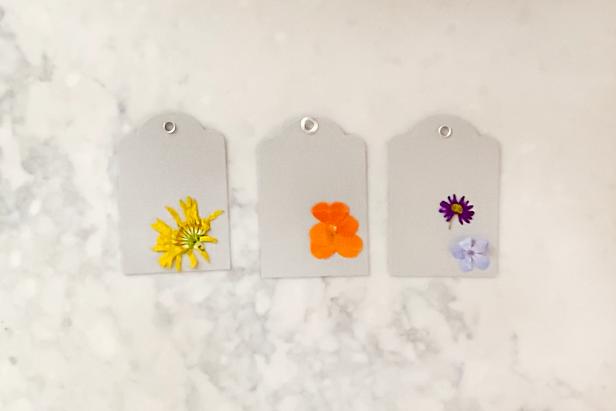
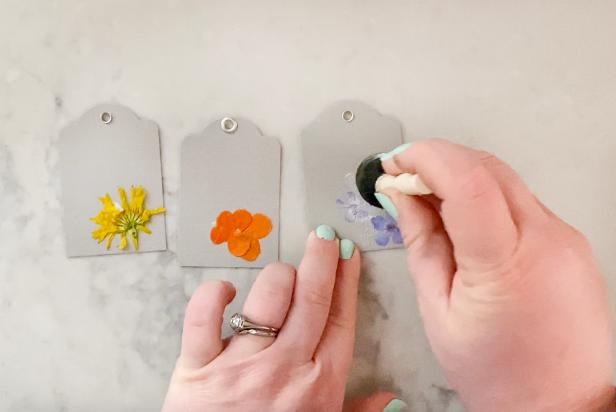
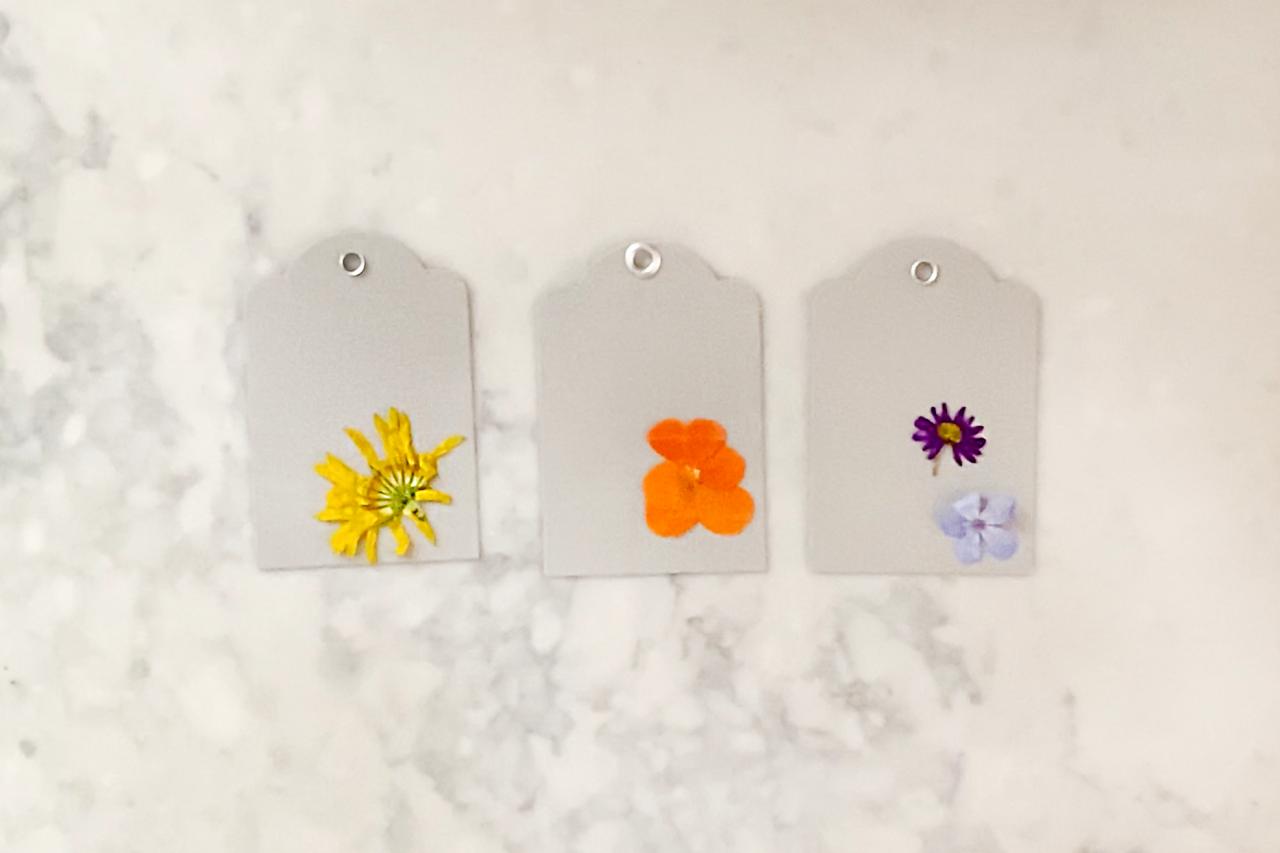
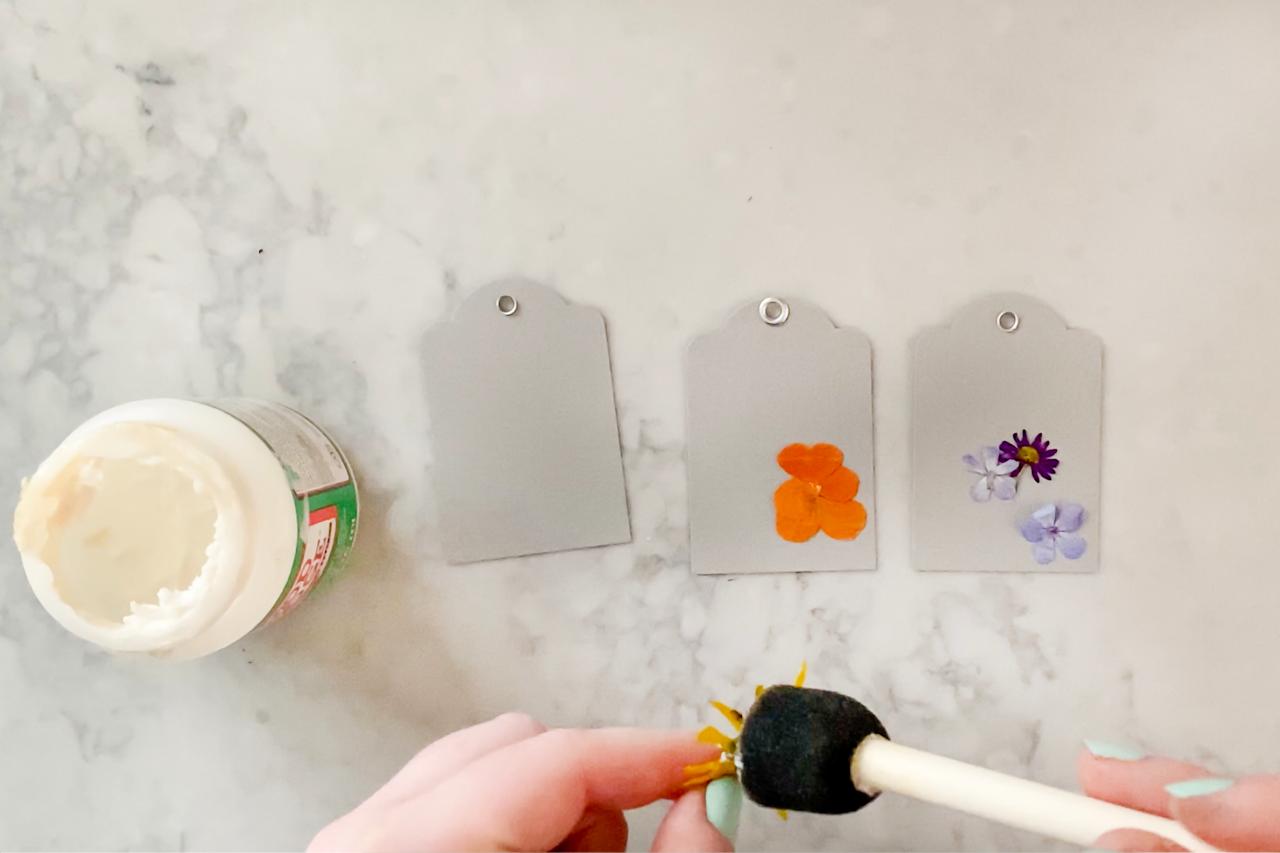
Arrange + Glue + Enjoy
Start with a thick card stock gift tag or gift box and arrange pressed flowers on top (Image 1). Add a bit of decoupage glue to the back of each flower with a paint brush and place on the tag or box (Image 2). Then add another layer of glue to the top of the flowers to seal them in (Image 3). Tip: You may need to add a couple of coats depending on the size of the flower. Let them dry for a few hours, then give someone special a crafty gift (Image 4).
Liz Gray

Liz Gray
Liz Gray
Liz Gray
Pressed Flower Coasters

Crafty Lumberjacks
Materials + Tools:
- pressed flowers, leaves and ferns
- glass photo frame coasters
- wooden skewers
- gold foil tape
- decoupage glue
- craft knife
- adhesive rubber bumpers
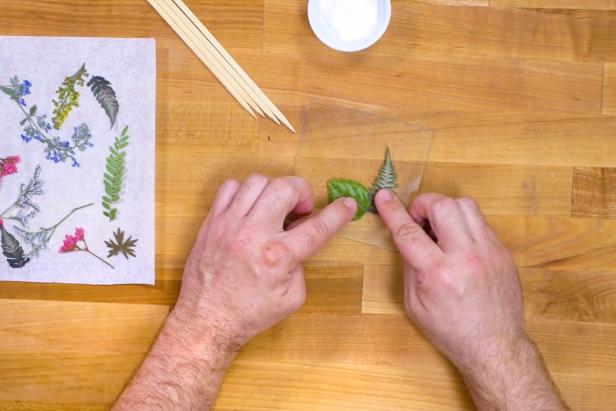
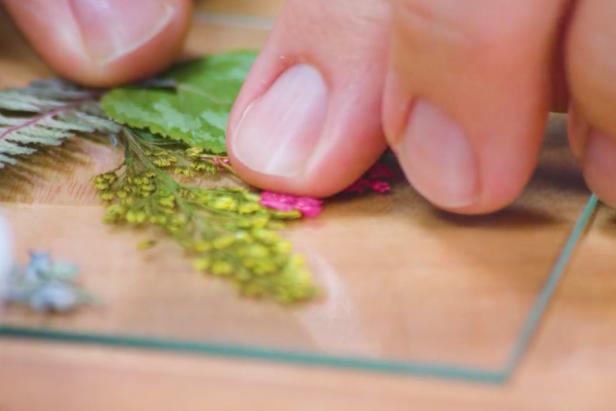
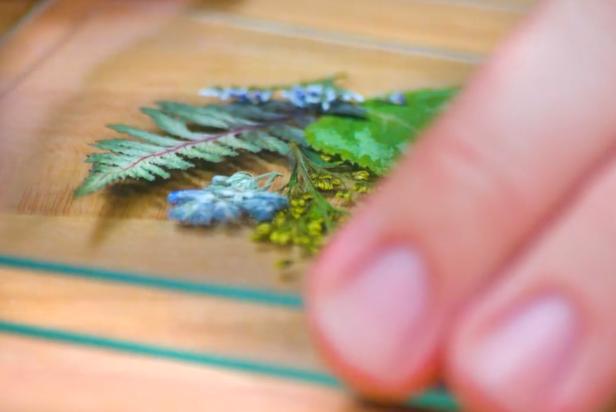
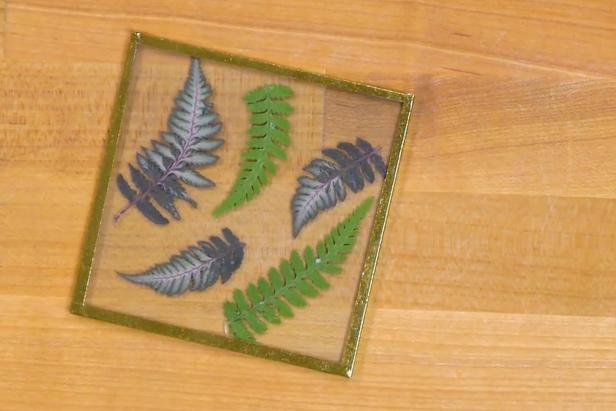
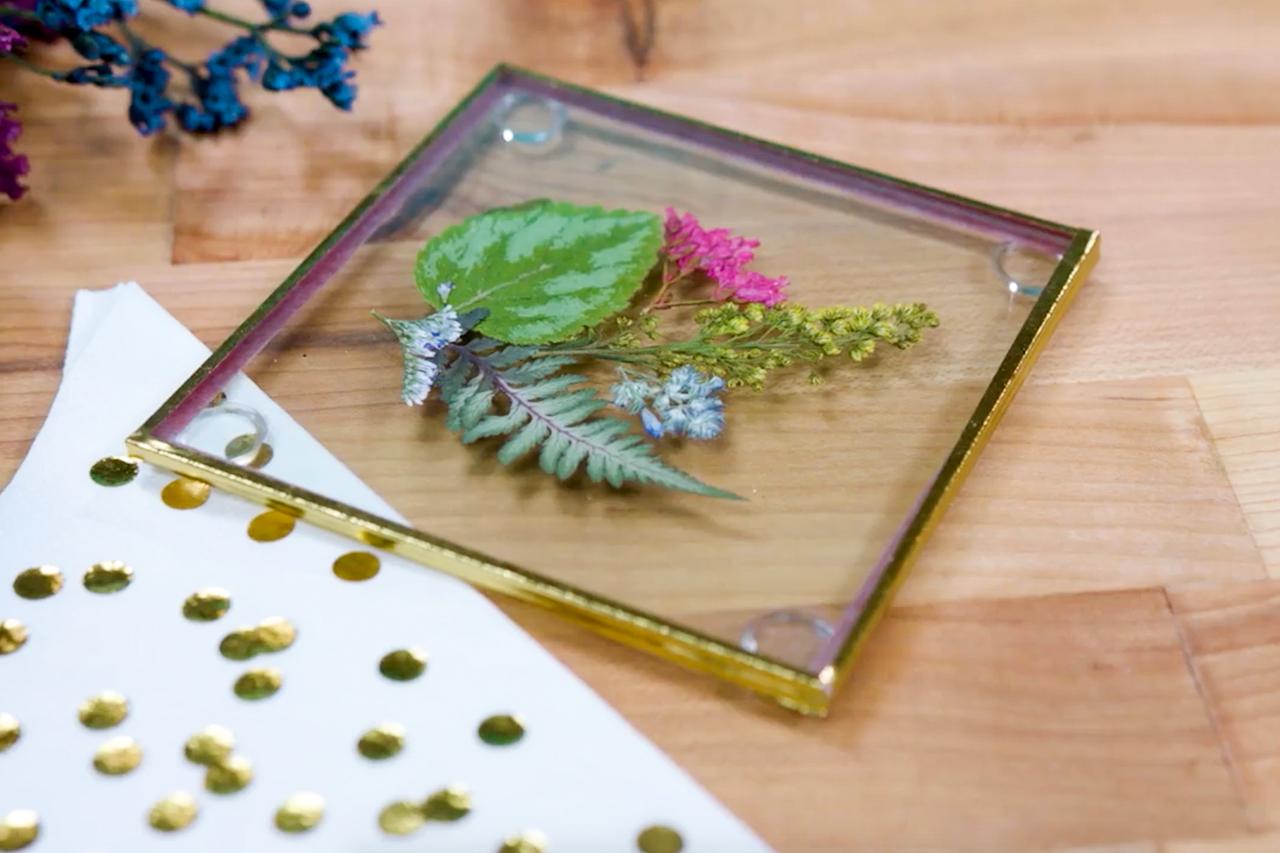
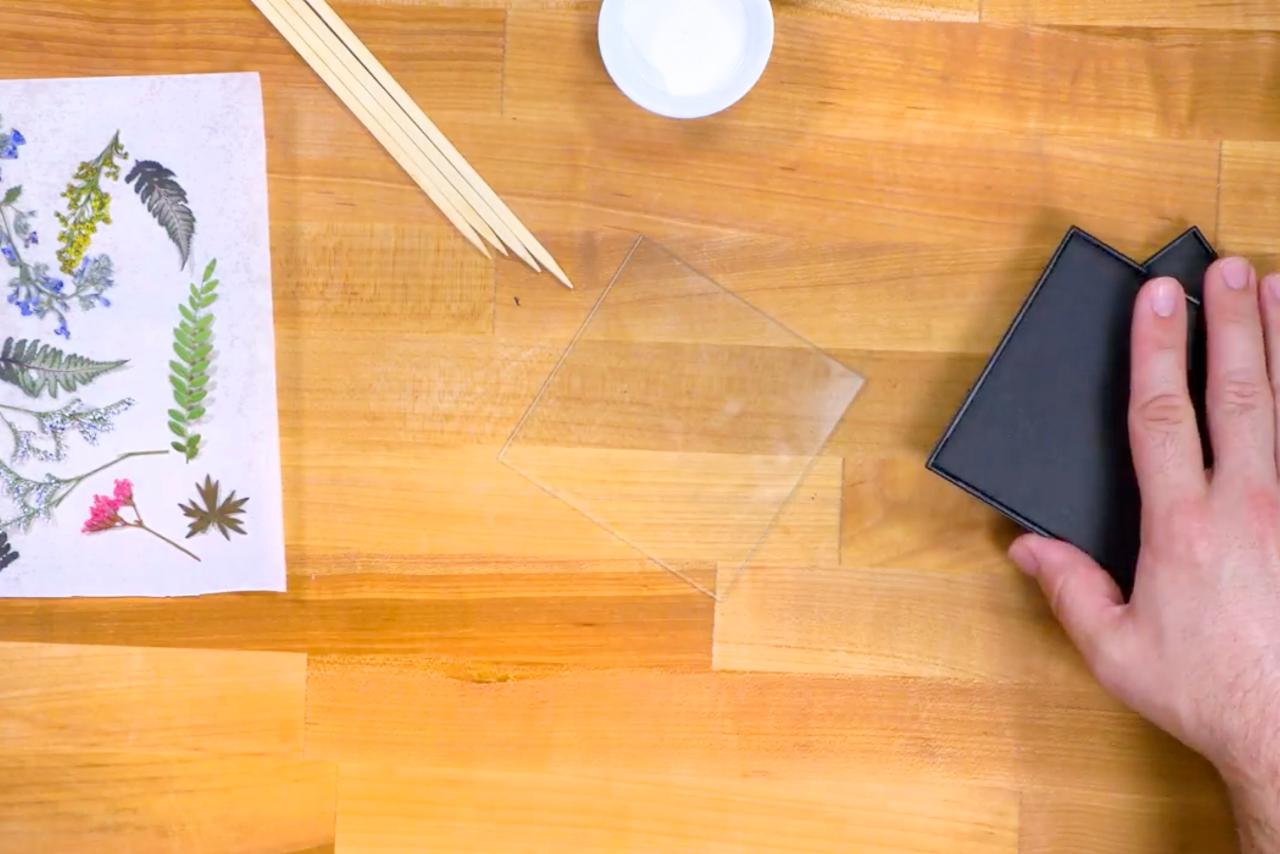
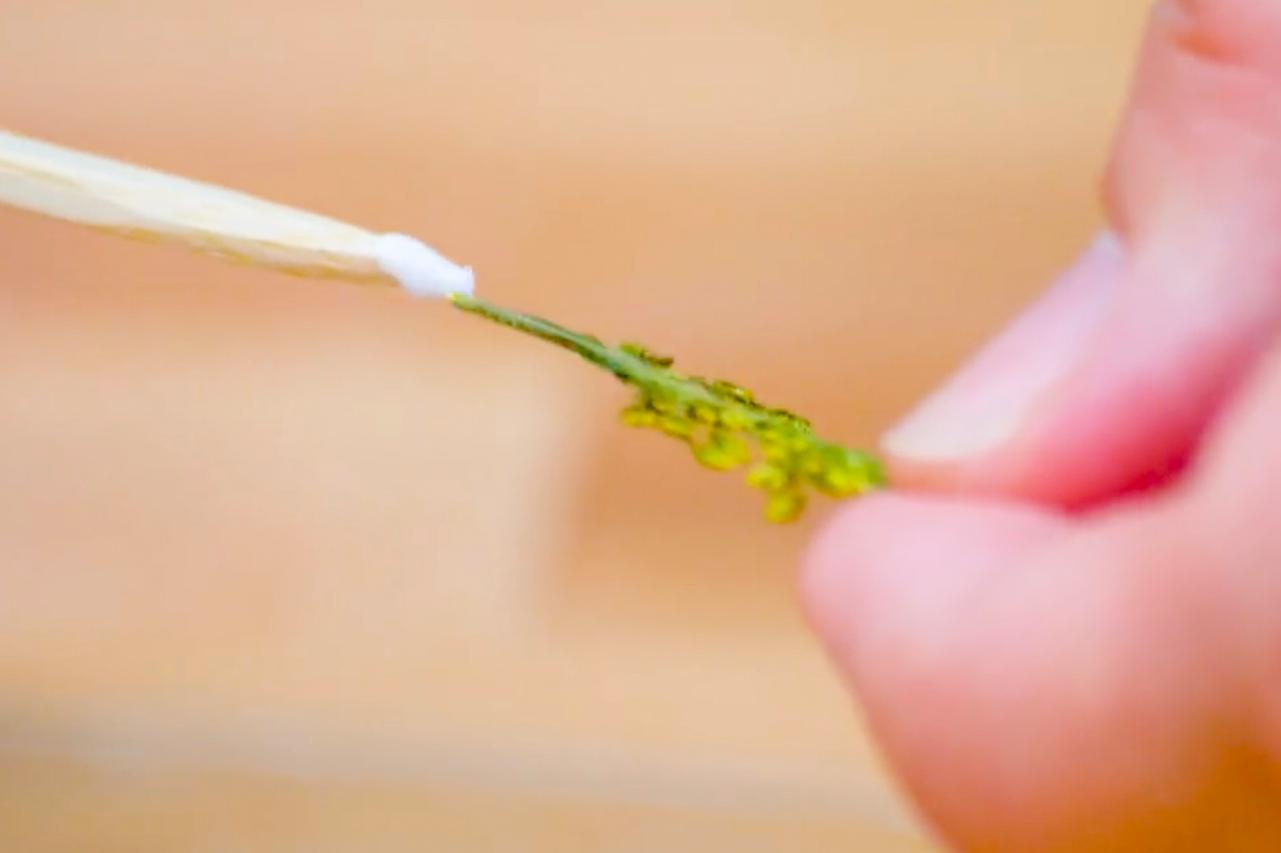
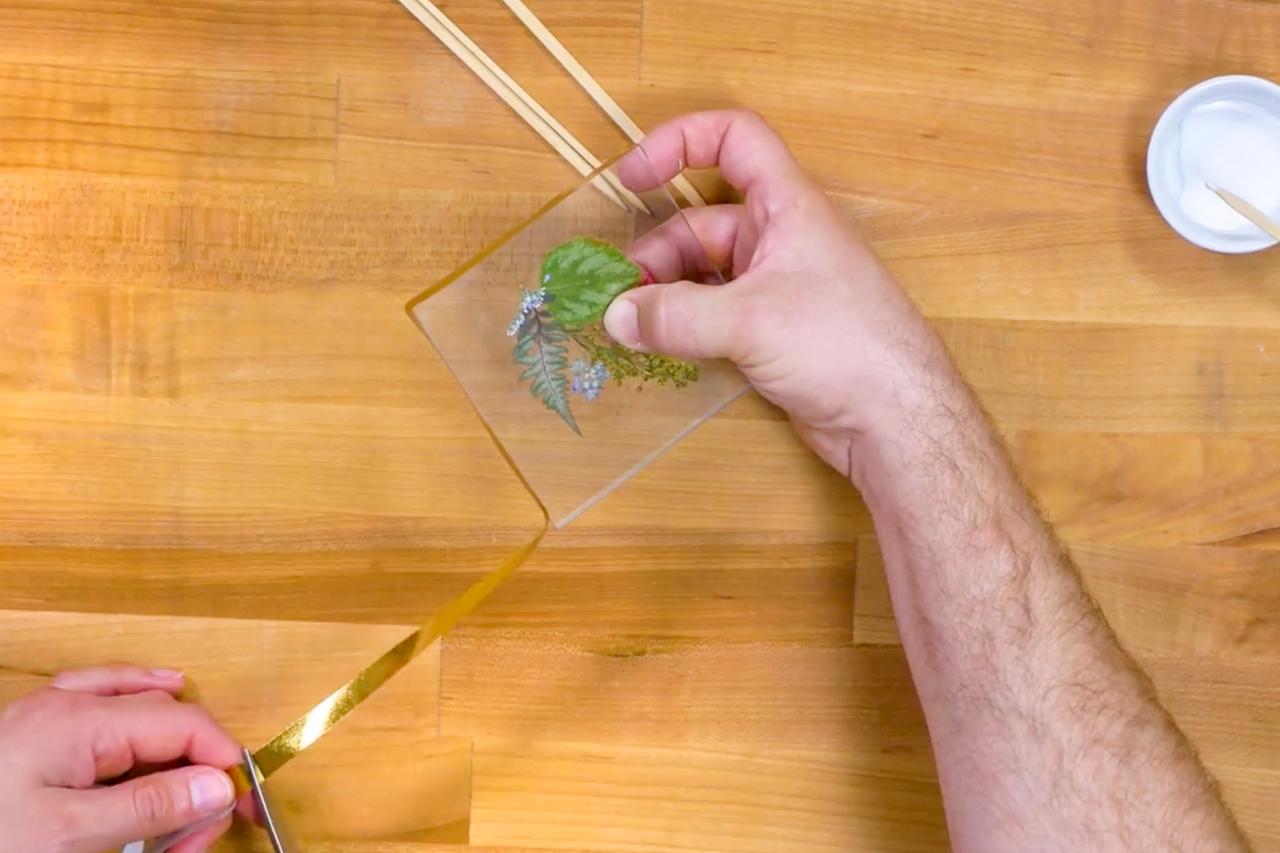
Arrange Flowers + Glue
Remove glass from the photo frame coasters (Image 1). Arrange a selection of flowers on one piece of glass to create a design (Image 2). Now use a wooden skewer to add a bit of decoupage glue to the back of each flower (Image 3) and press firmly on the glass to place (Image 4). Add the top piece of glass (Image 5).

Crafty Lumberjacks
Crafty Lumberjacks

Crafty Lumberjacks
Crafty Lumberjacks
Crafty Lumberjacks
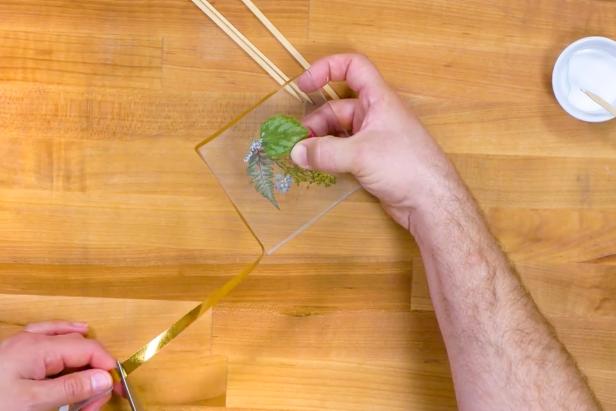
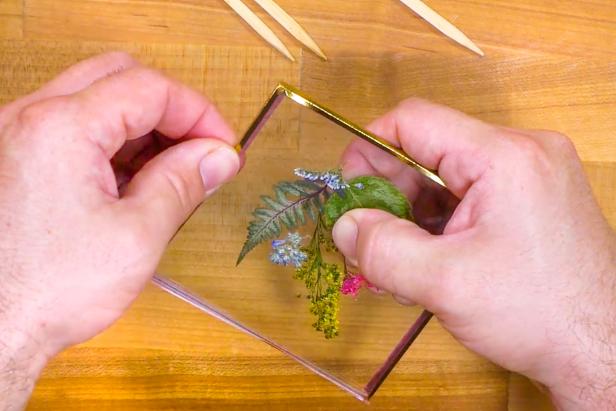
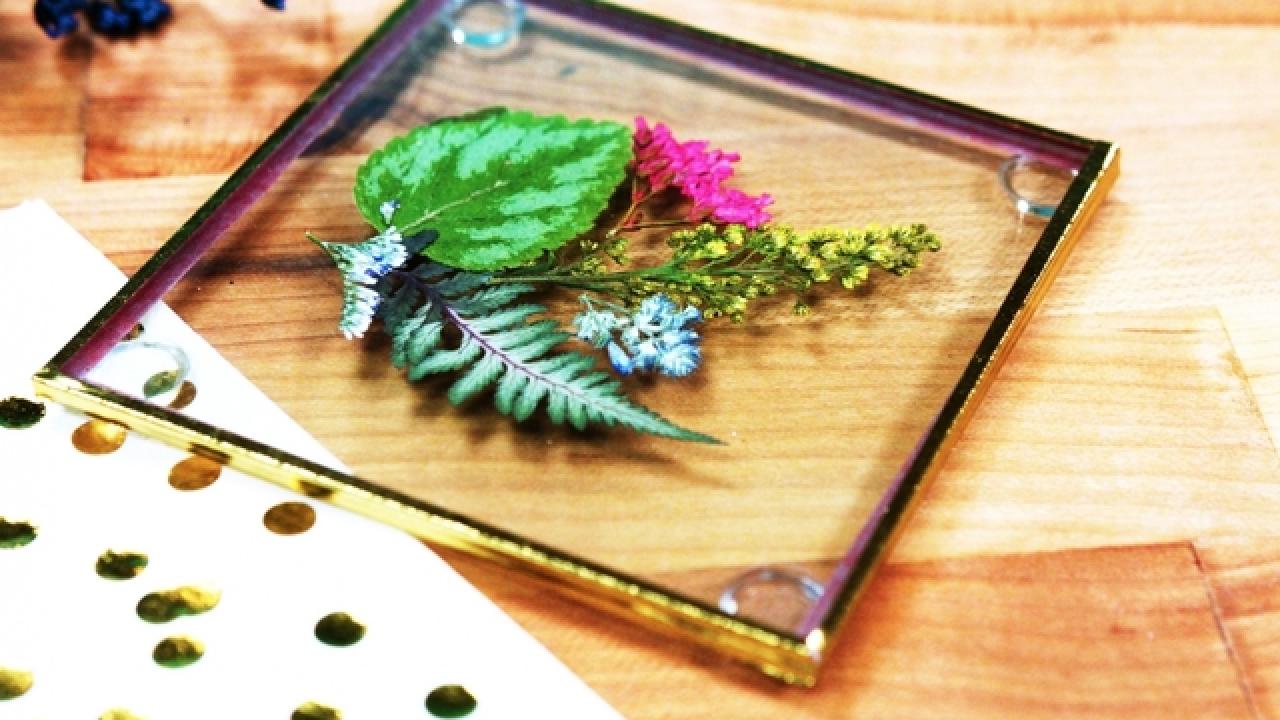
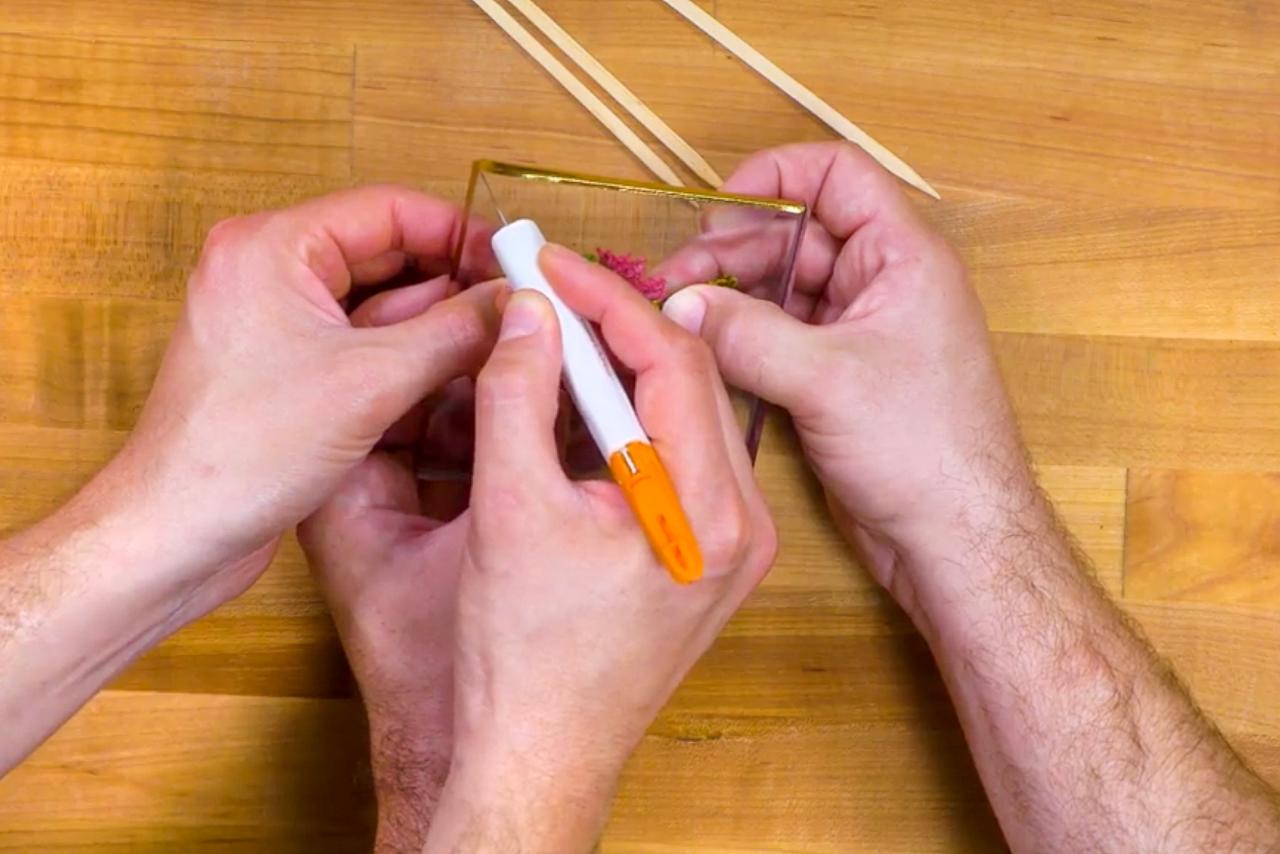
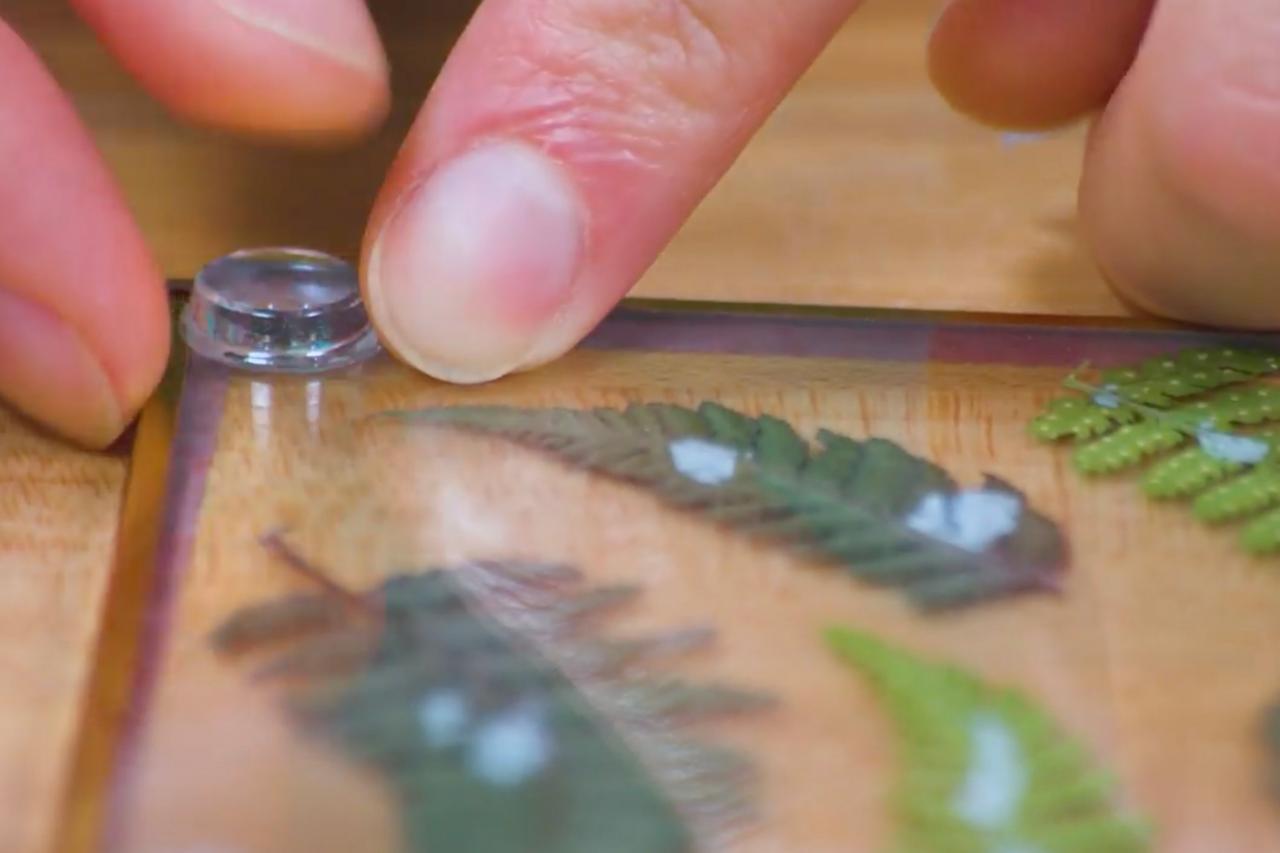
Add Gold Tape + Enjoy
Now wrap the edges of the coaster with gold foil tape (Image 1). Use a craft knife to score the corners of the tape so they fold down flat (Image 2). Press the tape firmly around the edges to secure the glass (Image 3). Finally, add clear adhesive bumpers to the back side of the coaster (Image 4). Display and top with a cold drink (Image 5).
Crafty Lumberjacks

Crafty Lumberjacks
Crafty Lumberjacks

Crafty Lumberjacks
Crafty Lumberjacks
Pressed Flower Crafts

How to Make Pressed Flower Lanterns 14 Photos
Illuminate your garden with these handmade pressed flower lanterns.

11 Ways to Preserve Petals 11 Photos
Make the beauty of your blooms last with these fun and easy floral crafts.


