Make a Tie-Dye Shower Curtain
It only takes 24 hours to brighten up a basic bathroom.

From free-spirited festival clothing to trendy home decor, it's clear tie-dye is here to stay. Stop scrolling for the perfect find and make your own trendy tie-dye shower curtain with some liquid dye, household crafting supplies and an easy, step-by-step guide by HGTV Handmade's Crafty Lumberjacks.
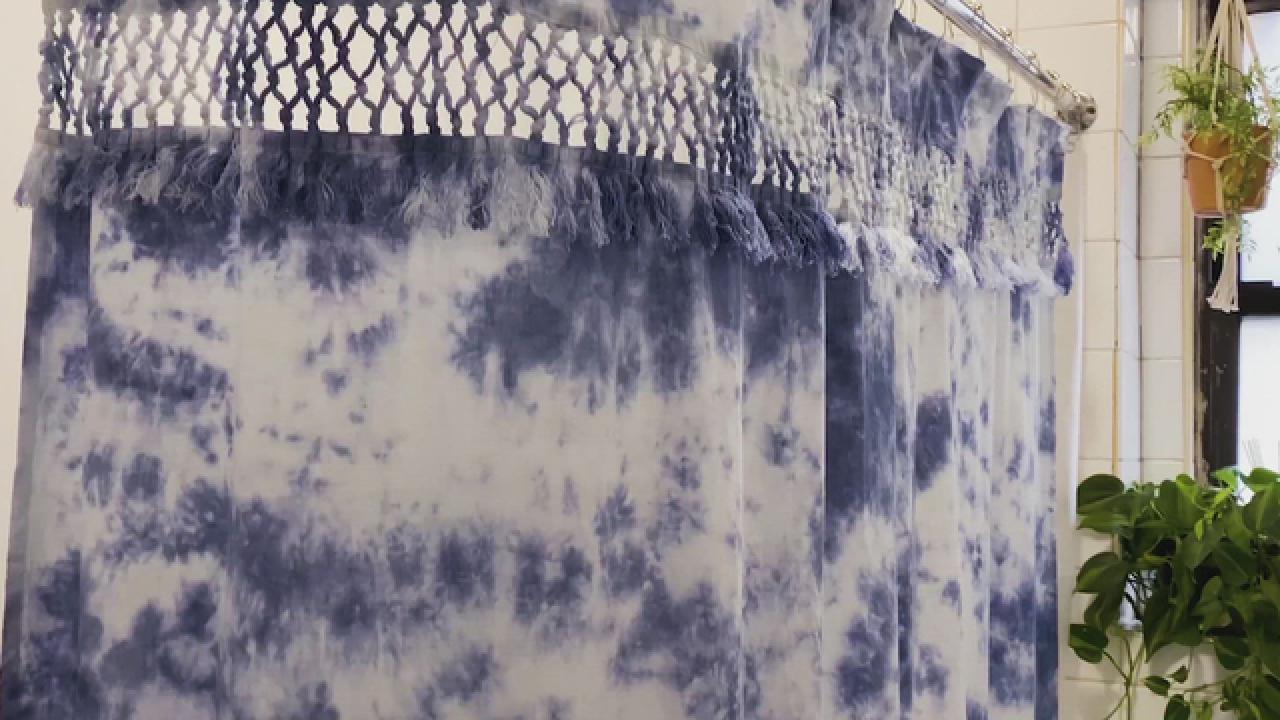
Materials + Tools:
- white cotton shower curtain
- blue liquid dye
- disposable grill tray with holes
- plastic tub
- rubber bands
- disposable gloves
- plastic wrap
- squeeze bottle
- measuring cup
- funnel
- table salt
- vinegar
- plastic tarp
Tip: Pre-wash your cotton shower curtain to remove any fixatives.
1: Prep Shower Curtain
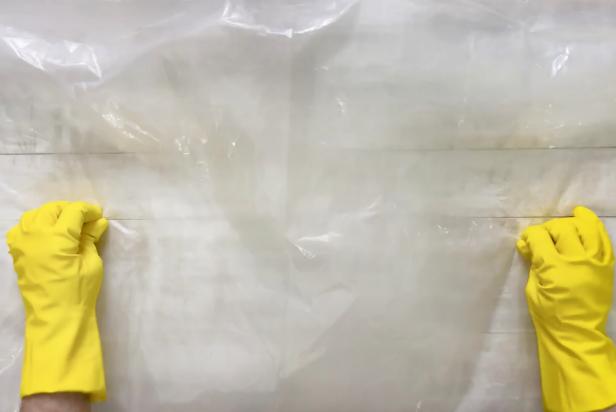
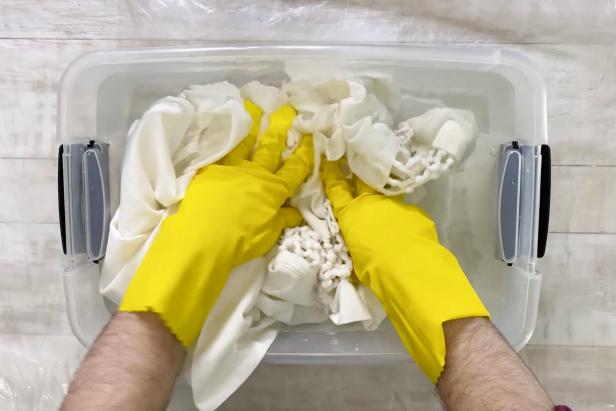
Prep your work surface by covering it with a plastic tarp (Image 1). Then, wearing rubber gloves, place your shower curtain into the plastic tub filled with water (Image 2).
2: The Scrunch Tie-Dye Technique
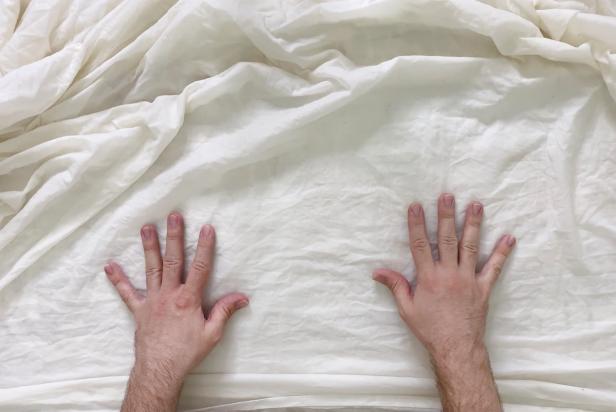
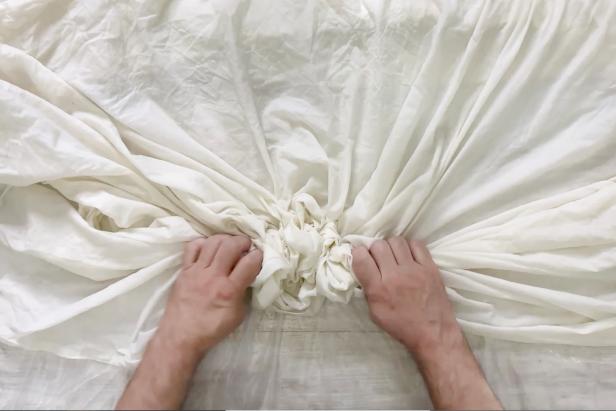
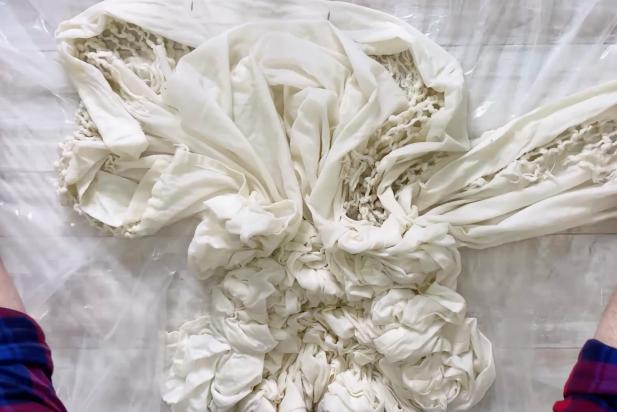
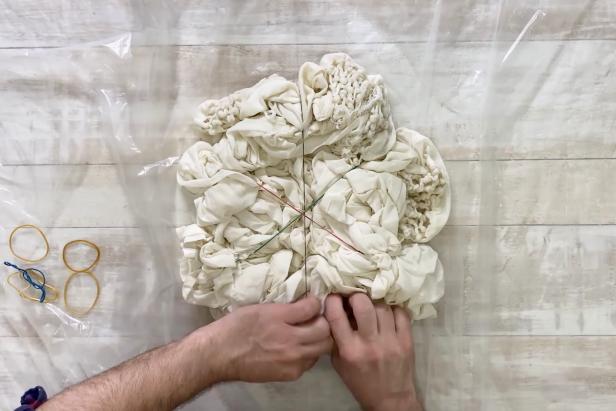
Spread out the dampened shower curtain onto your work surface (Image 1). For the scrunch technique, start at the bottom of the curtain and start pulling it inward (Image 2). Scrunch the curtain tightly together until the bottom starts to meet the top (Image 3). Once the curtain is tightly scrunched together (Image 4), add rubber bands in a pizza pie shape across the curtain to hold it in place (Image 5). Tip: Use enough rubber bands to hold the curtain together without it falling apart.

3: Mix Up Your Dye
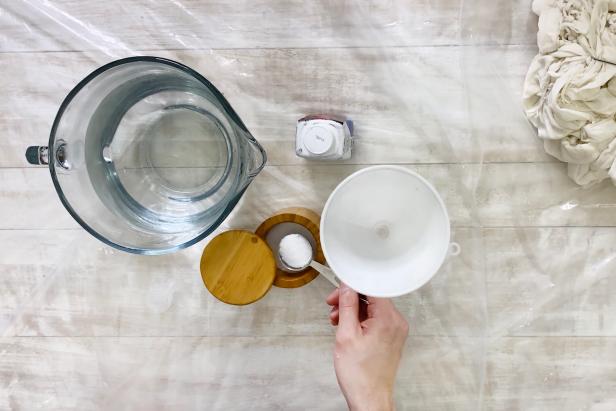
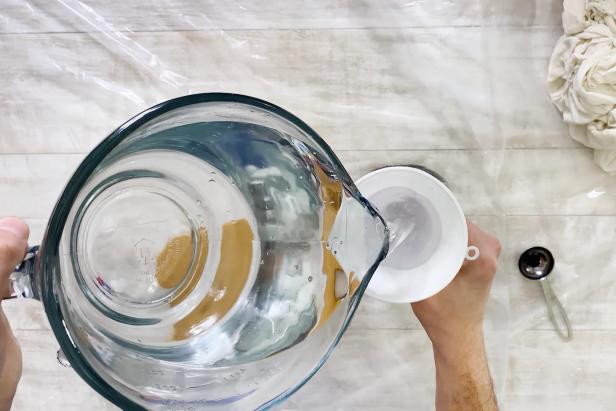
Tip: Be sure to follow the instructions on your liquid dye bottle. For this project, add 1 tablespoon of table salt to an empty squeeze bottle, using a funnel if needed (Image 1). Then add 4 tablespoons of liquid dye color (Image 2). Use more dye to create darker colors, less dye for lighter colors. Now, add a cup of hot water to the squeeze bottle (Image 3). Shake the dye mixture together (Image 4).


4: Tie-Dye Curtain
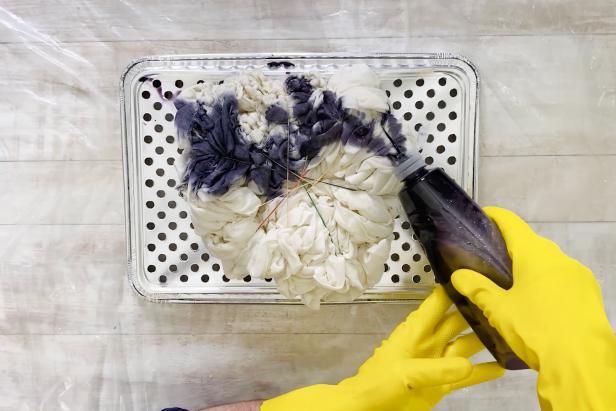
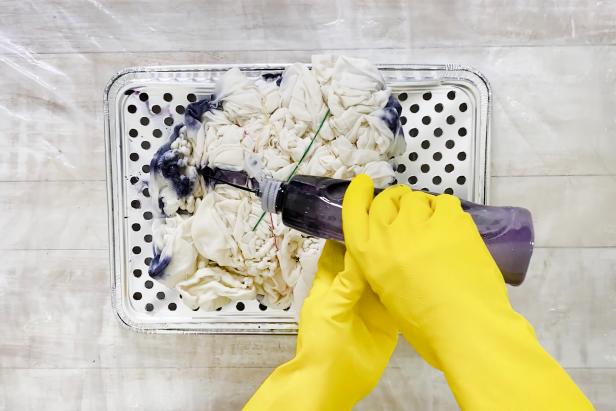
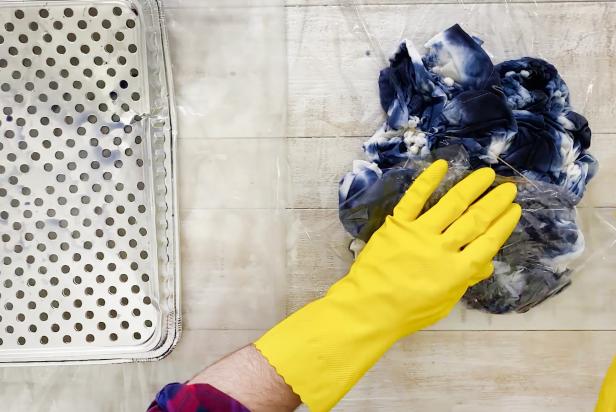
Wearing rubber gloves, place the rubber band curtain on a grill rack (Image 1). This will ensure the excess dye drips to the bottom. Apply the tie-dye mixture to the curtain leaving areas of dye-free white spots (Image 2). Once that side is covered, flip the curtain over and apply dye just like the other side (Image 3). Once the dye has been added, wrap the curtain in plastic wrap to keep the curtain damp (Image 4). Leave the curtain alone for 24 hours. Tip: The longer the curtain sits, the more vibrant the colors will be.

5: Unwrap Curtain
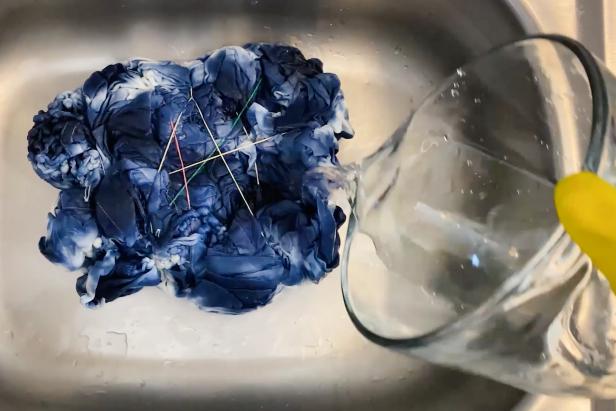
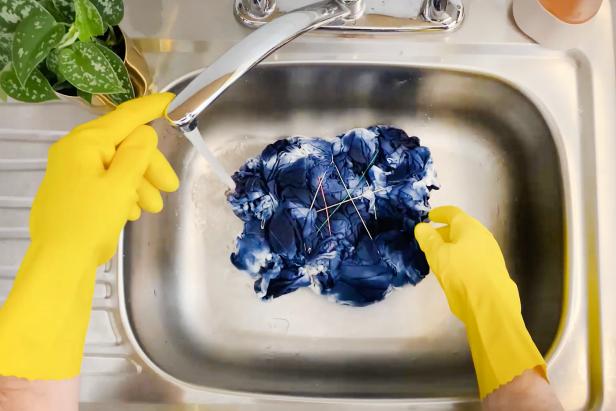
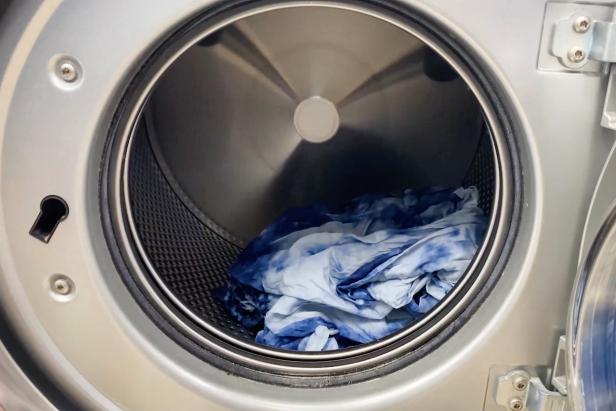
After 24 hours, unwrap the plastic from the curtain. To help the colors absorb well, add equal parts water and vinegar and pour it over the curtain in the sink (Image 1). Remove rubber bands and run the curtain under cold water until the water becomes clear (Image 2). Next, pop the curtain in the laundry with an old towel and run on a cold cycle to remove any extra dye (Image 3).
6: Dry It and Enjoy
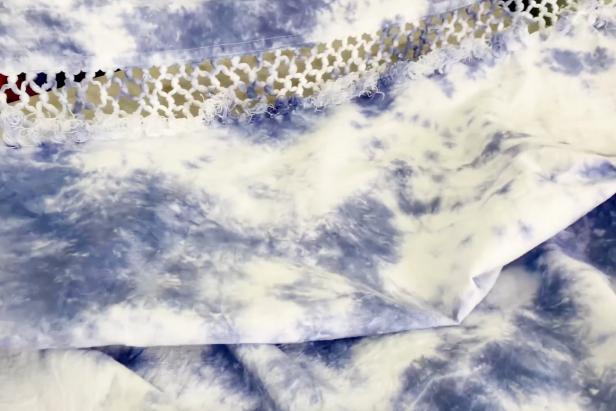
Once the curtain is dry, hang it up and enjoy your new, trendy tie-dye curtain!
Tie-Dye DIYs
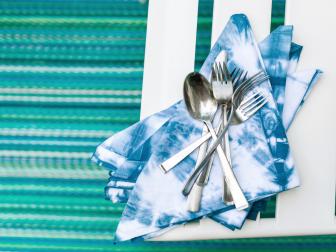
Make Your Own Shibori-Style Tie-Dye Napkins
Dress up your table with these beautiful, handmade Japanese-inspired linens.
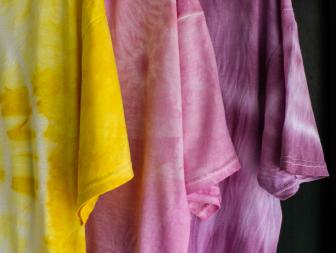
Make Tie Dye With Fruit and Vegetables 10 Photos
Turn fresh fruit and vegetables into natural dye for beautiful tie-dyed T-shirts.
How to Tie Dye Clothes
Learn how to tie dye tops and get the boho-chic look on the cheap.
26 Tie-Dye DIYs, Decor and Recipes 26 Photos
Jump on the tie-dye trend train and craft up some summery napkins, groovy T-shirts and colorful desserts. Plus, learn new tie-dye techniques that will cut down time spent crafting.

.-Battle-on-the-Beach-courtesy-of-HGTV.-.jpg.rend.hgtvcom.196.196.suffix/1714761529029.jpeg)


