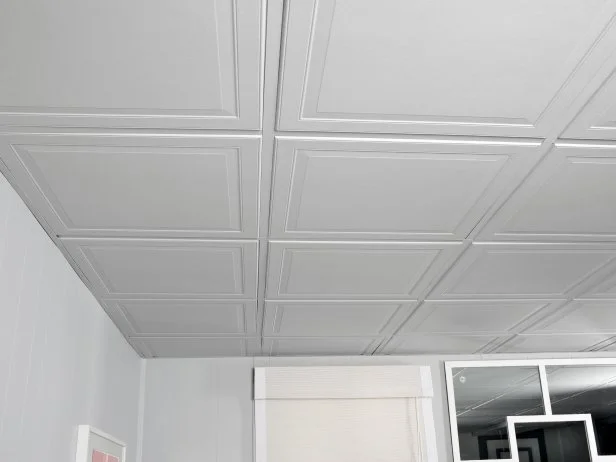
Install a Drop Ceiling

Step 1: Mount the Ceiling Wall Channel
Paint a strip of wall paint from the top of the drywall down to the 11' line off the floor. Using a rotating laser projection level, project a level line on all three walls a point that is 11-1/2' off the floor (a regular tape measure will also suffice) and snap a chalk line. Mount the ceiling wall channel to the walls at the line.
Step 2: Install the Long Framing Pieces
Using nails and wire, hang 6' long support wires at 4' intervals from the joists above. Install the long ceiling cross framing pieces by putting one end on the wall channel and supporting the rest with the support wires. This will create a grid with spaces 4' wide by 16' long.
Step 3: Create the Grid
Install 4' long framing pieces 2' on center in between the long ceiling frame pieces. The first and last piece will be spaced to make an even space beside the wall. As our room is almost 16' wide, this space will be very close to 2' wide. This will create a grid made up of 4' by 2' squares. Install the 2' long framing pieces 2' on center in between the 4' long framing pieces. This will complete the grid with 2' by 2' squares.
Step 4: Add the Soundproof Tiles
In this example, the outer run of the ceiling tiles need to be cut to slightly less than 2'. For this reason, the crew uses a typical ceiling tile around the edge, instead of the multi-part soundproofing tiles that will fit the center of the ceiling. Cut and fit the perimeter tiles by dropping them into the metal frame. Install the 2' x 2' soundproofing tiles in the same way by assembling the pieces and dropping into the grid.


.jpg.rend.hgtvcom.196.196.suffix/1738869041672.jpeg)


.jpg.rend.hgtvcom.231.174.85.suffix/1738869041672.webp)


