How to Upgrade a Main Bathroom
Host Steve Watson and the Don't Sweat It crew take on a bathroom makeover, including retiling a shower.
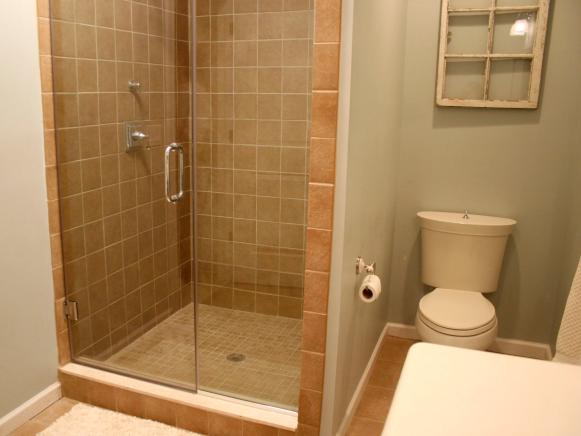
Materials and Tools:
floor tile (130 sq. ft.)
shower floor tile (30 sq. ft.)
shower wall tile (90 sq. ft.)
shower plastic
grout
mastic
tile drill
hardy backer (10 sheets)
grout float
safety glasses
table saw
tape measure
trowel
wet tile saw
Steps:
1. Install 1/4" backer board over the entire shower surface. When installing the backer board, be careful to cut accurate holes for the shower head, knobs and drain.
2. Waterproof the floor with a shower pan or plastic coating. This should go down before the backer board, but since we're using ceramic tile, the waterproofing is necessary only for the floor, not the walls.
Tip: While tiling the shower, cover the drain with tape so debris won't fall into the drain.
4. Next, level the floor using a self-leveling compound. Make sure to slope the angle toward the drain to avoid leaving puddles on the floor. Next, move to the shower floor tiles. Follow the same "stick, space and leave" process for installing the floor tiles.
5. The tile floor process is the same as the shower. Begin in the far corner of the room so you don't end up tiled in a corner. Allow at least 12 hours of dry time for the tile mortar, before working on it again.
6. Begin by mixing the grout in a bucket and grouting the tiles using a 45 degree angle on the grout float. Cover with masonite and continue working. After the grout has had a chance to set up, use a sponge and a bucket of water to wipe off the haze on top of the tiles.
7. Once the grout is dry, install the baseboard using a finish nailer. Install the appliances and all water knobs, drains and heads to finish up the job.
8. Once the tiling is complete, prime and paint the bathroom walls.

.-Battle-on-the-Beach-courtesy-of-HGTV.-.jpg.rend.hgtvcom.196.196.suffix/1714761529029.jpeg)


