How to Sterilize Canning Jars
Get step-by-step instructions on how to sterilize your canning jars — an all-important step before the canning process.
Derek R. Trimble

Follow the below steps to sterilize jars for any preserving process — such as pickling or making jams and jellies — that takes less than 10 minutes. For a canning process that takes longer than 10 minutes, you don't need to pre-sterilize as the jars will be sterilized during processing. Note that unless otherwise specified, canning recipes are written for an altitude from 0-1,000 feet above sea level; depending on where you are, you will need to add a minute of sterilization time per each additional 1,000 feet of elevation.
How to Can Tomatoes
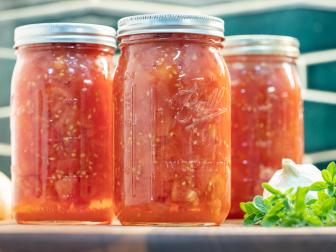
Canning tomatoes is a great, easy way to preserve the season's harvest so that you'll have fresh tomatoes all year long.
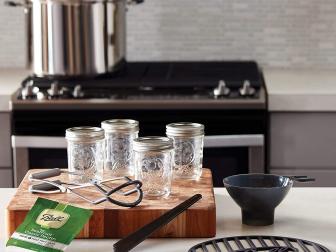
Even just-purchased canning jars need to be sterilized before the canning process.
Supplies
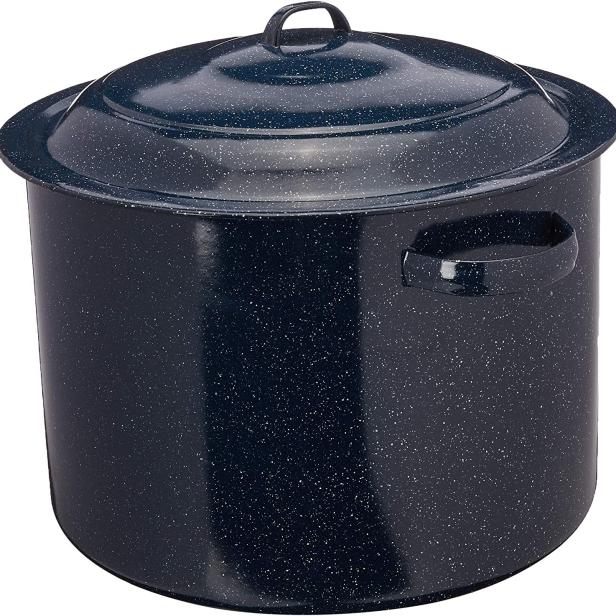
- large water bath canner or stock pot deep enough to submerge jars
- glass canning jars
- kitchen tongs or jar lifter
- small sauce pan
1. Start With Clean Jars
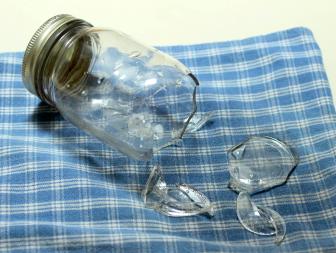
While cleaning the jars — either in the dishwasher or by hand — inspect the jars for any cracks or chips. Repurpose any damaged jars as they would not be suitable for canning.
2. Fill the Pot
Place empty jars right side up in a stock pot or on the water-bath canner rack. Fill your water-bath canner or stock pot with hot but not boiling water to 1 inch above the jars and a few inches below the lip of the pot or canner.
3. Boil Water
Next, put your pot on the farthest stove burner from you and heat the water to boiling. Let boil for 10 minutes for elevations below 1,000 feet. Boil for an extra minute for every 1,000 additional feet above sea level. Why do you have to boil the cans longer at higher altitudes? Boiling temperatures drop at higher altitudes because the air is thinner. Jars need to be boiled longer so any pathogens are destroyed.
4. Sterilize Lids and Seal Rings
Take a small sauce pan and fill it with all of your lids and seal rings, and enough water to cover them. Heat that pan over a rear burner to simmering but not boiling for 10 minutes. Boiling could damage the rubber seal rings.
5. Remove Jars and Lids
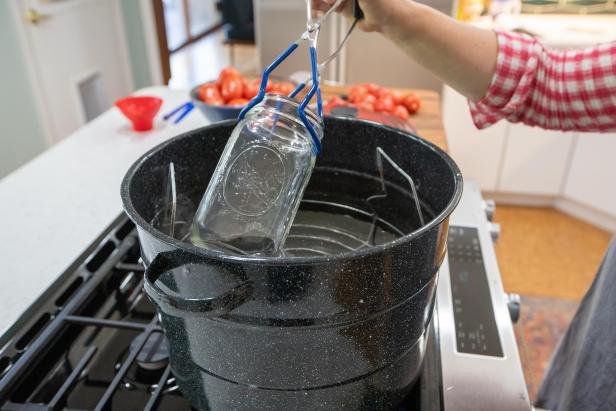
Use your tongs or jar lifter to remove jars, lids and rings. Set aside to dry on a clean surface. Rubberized jar lifters (shown in the photo above) make it very easy to get jars out of hot water without potentially breaking them.
Buy Canning Supplies
The Best Canning Essentials for Preserving Produce
Don't go another year without preserving your summer bounty. These can't-miss canning essentials are all you need to guarantee good produce, jams and chutneys.
More Advice
Canning Tools and Tips for Success 15 Photos
Canning is one of the easiest methods of preserving foods at home.
13 Canning Fails & How to Avoid Them 14 Photos
Try these troubleshooting tips to avoid common canning mistakes.

.-Battle-on-the-Beach-courtesy-of-HGTV.-.jpg.rend.hgtvcom.196.196.suffix/1714761529029.jpeg)


