How to Replant an Overwintered Pot in Spring or Summer
So, you left your pot filled with tender perennials or annuals outside all winter? Whoops! Don't worry, it happens. We'll show you how to determine which plants are ready for another growing season and how to replace the dearly departed with new plants.
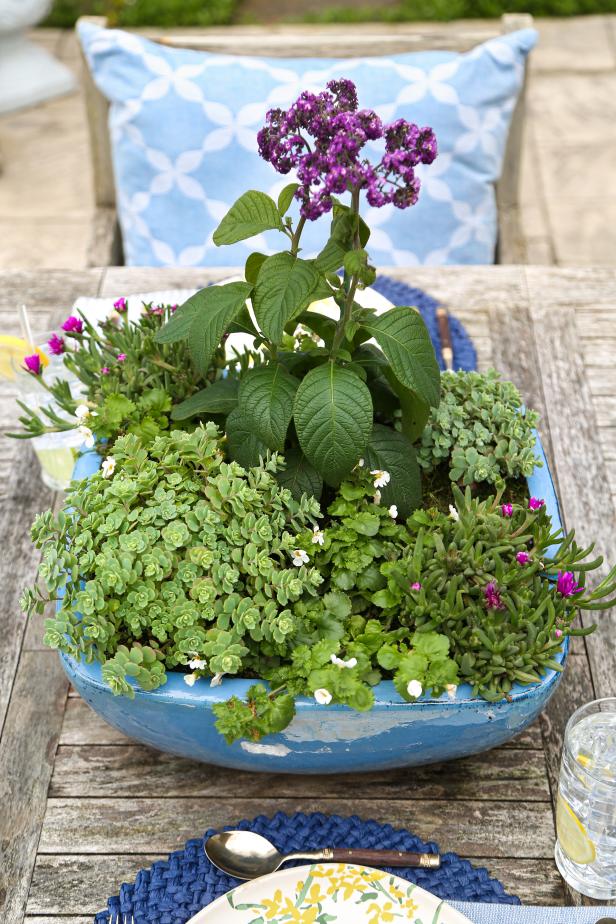
Heather Baird; Styling by H. Camille Smith

Materials Needed
- overwintered planter pot
- drop cloth or leftover shipping cardboard to protect your work surface
- fresh potting soil
- new plants (either annuals or perennials)
- trowel
- bypass pruner or heavyduty shears
- preserved moss (or mulch, if you prefer)
- permanent marker
1. Determine Which Plants Are Still Viable
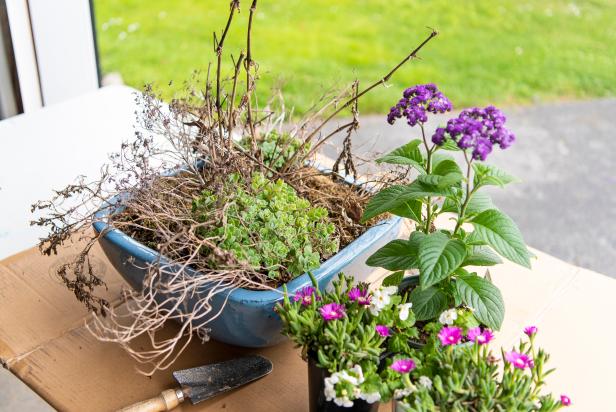
Depending on your region and the hardiness of the plants used, a planter left outdoors all winter may or may not still contain living plants the next spring. Unless you live in a very warm planting zone, annuals are most likely not going to survive freezing temps (hence, the name annual). But, in the case of many perennials, the easiest way I've found to determine if they'll make a return appearance is to wait a few weeks after all chance of freeze has passed, then closely inspect the plant for new growth. For instance, in this dish garden, only last year's sedum has put on new leaves. Another good test is flexibility: Hold a stem in your hand and gently bend it back on itself. If it easily snaps, the plant is a goner; if it bends, the plant's still dormant — give it a little longer to put on new leaves.
Sarah Busby
2. Remove Dead Plants
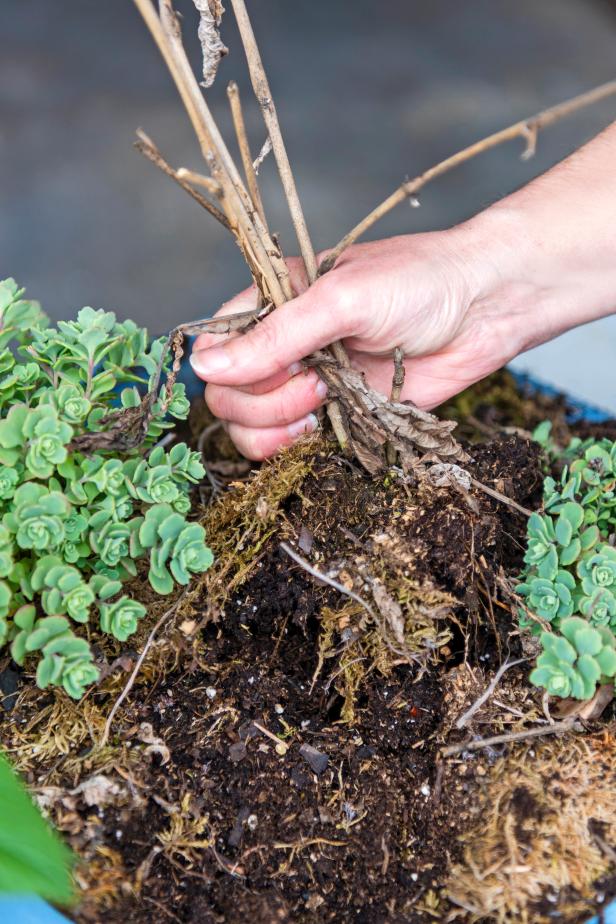
Typically, annuals and even perennials that didn't make it are easy to remove by just lifting what's left, roots and all, out of the potting soil. If the dead plant doesn't easily lift out, use a trowel to break up the roots, then remove it. Since these plants died due to freezing temps — not bugs or disease — feel free to toss them in your compost pile.
Sarah Busby
3. Tidy Up Living Plants
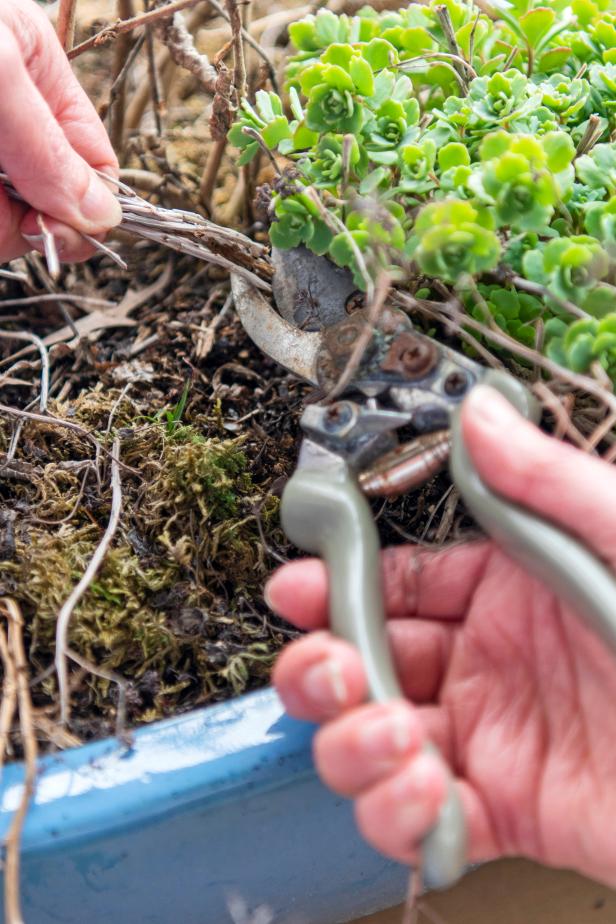
Use bypass pruners or shears to cut off last year's growth (Image 1) to tidy up plants, like this sedum, which is growing back from the roots versus putting on new leaves along the existing stems (Image 2).
Sarah Busby

Sarah Busby
4. Make Space for New Plants
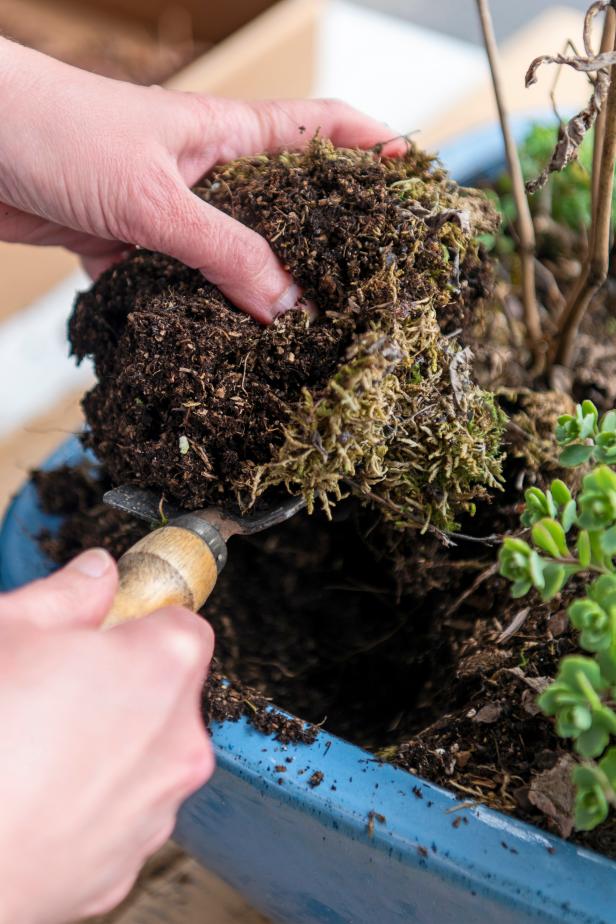
Determine where you'll place each of the new plants being sure to leave room for future growth. Using a trowel, remove potting soil from areas you plan to replant.
Sarah Busby
5. Fill In Planter With New Plants
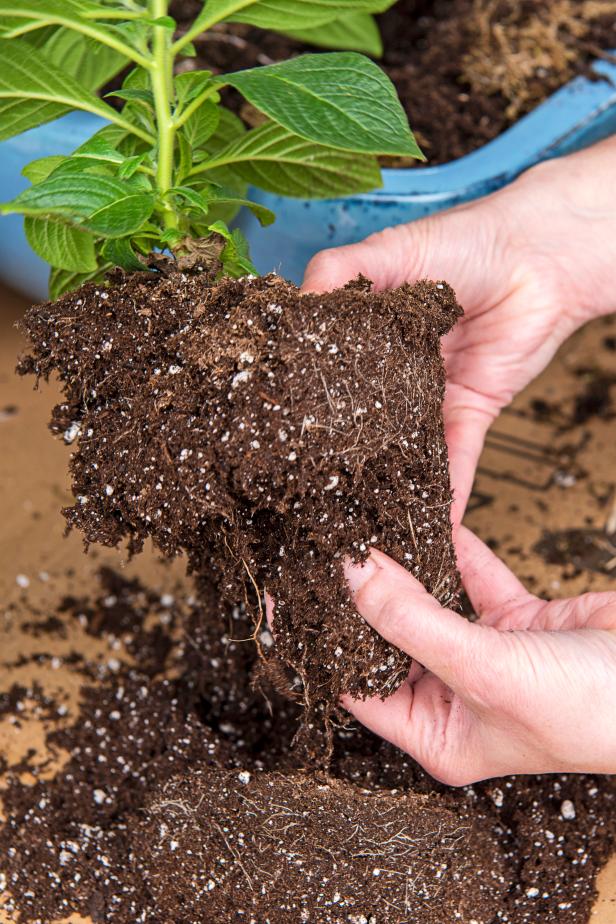
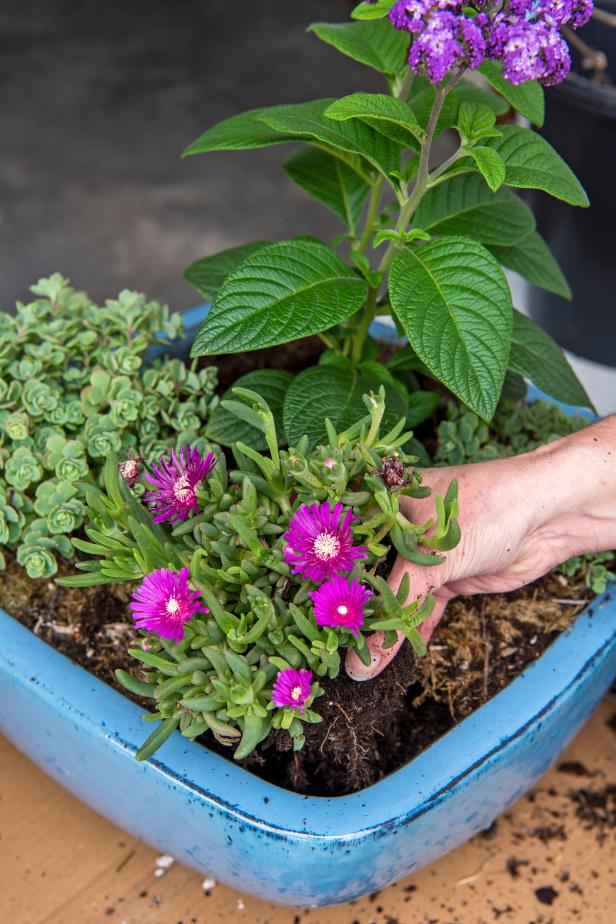
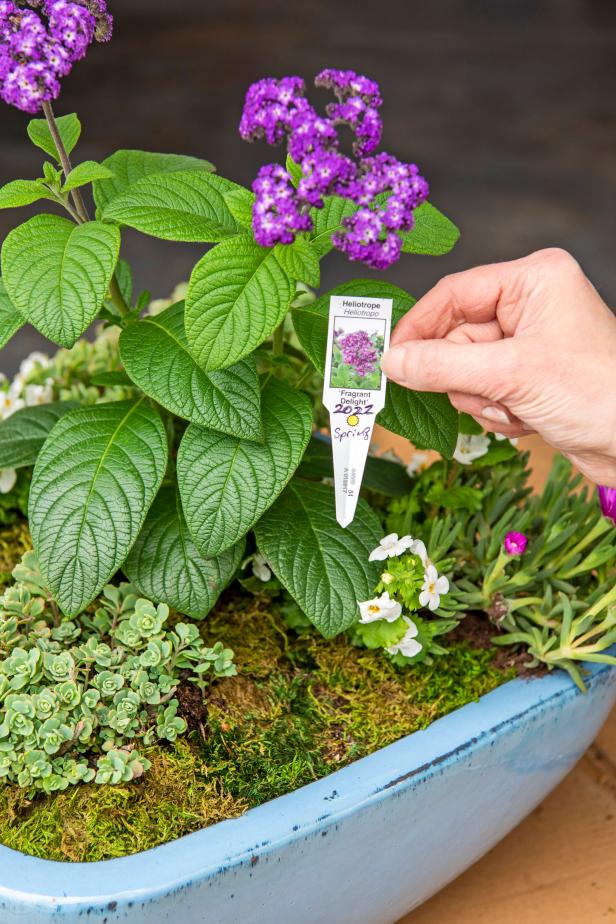
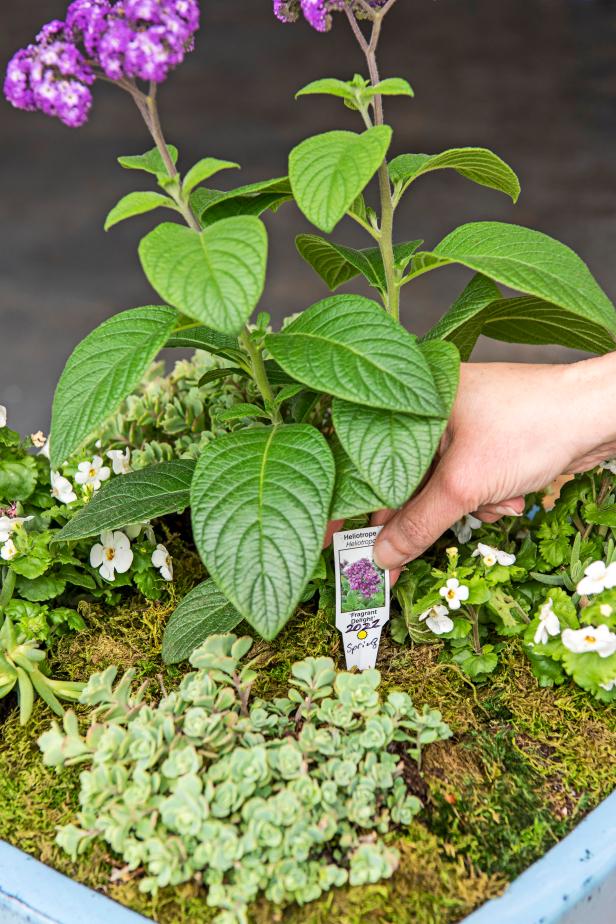
Carefully pull each plant from their nursery pot and gently tease apart the roots to encourage new growth (Image 1). Place each of the new plants in their location, gently pushing them in place (Image 2). Tip: To help you better remember what you planted (annual or perennial) next year, use a permanent marker to note the planting date and tuck the plant tag in the planter for future reference (Images 3 and 4).
Sarah Busby
Sarah Busby
Sarah Busby
Sarah Busby
6. Add Moisture-Preserving Layer
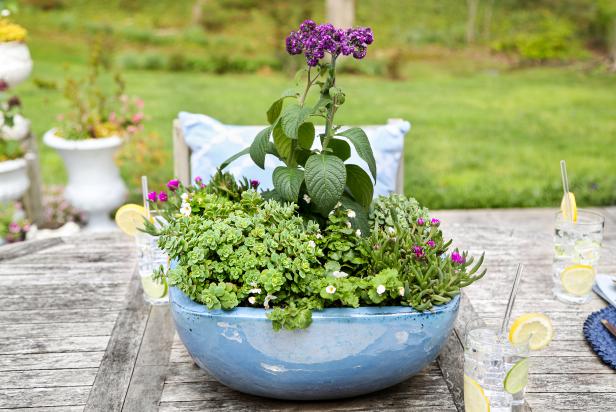
For large containers, I typically add a layer of mulch to both conserve moisture and prevent weeds. For smaller, decorative containers, like this tabletop dish garden, I opt for a florist's trick and top the exposed soil with preserved moss from my local craft store. The moss adds an attractive layer of green that visually fills in the planter while the new plants become established and spread out — while still preventing evaporation to keep my new and old plants evenly hydrated.

Sarah Busby
7. Enjoy Another Season of Blooms
Position your freshened-up planter or pot where the plants receive the proper amount of sun exposure. Planting is hard work on newly transferred plants, so be sure to water in the new plants and check their water level frequently as they become established.
Heather Baird; Styling by H. Camille Smith

.-Battle-on-the-Beach-courtesy-of-HGTV.-.jpg.rend.hgtvcom.196.196.suffix/1714761529029.jpeg)


