Painting Laminate Countertops: A Step-by-Step Guide
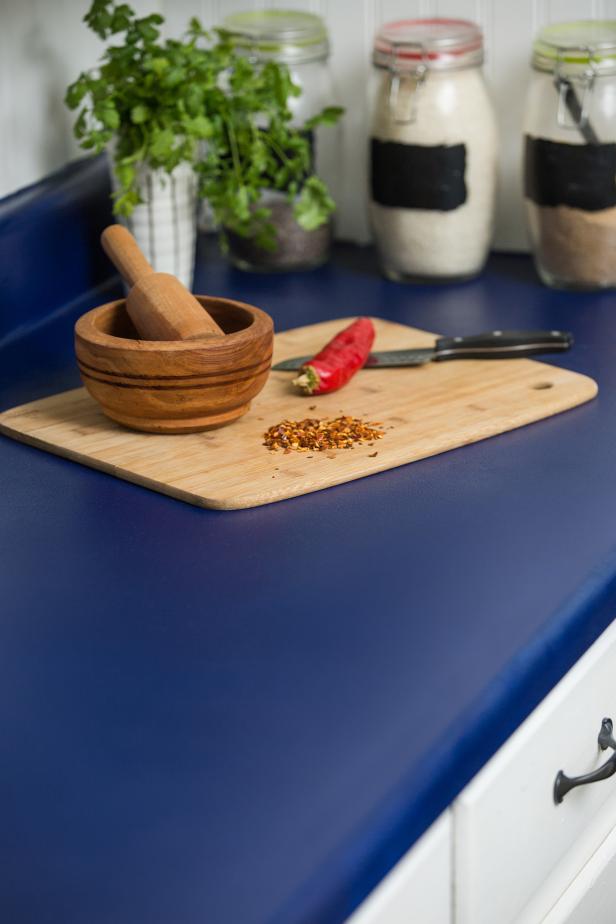
New kitchen countertops can be an expensive upgrade. Transform your kitchen without breaking the bank by priming and painting your existing laminate counters.
Jalynn Baker
Materials Needed
- 220-grit sandpaper
- painter’s tape
- 9-inch paint roller
- 9-inch foam roller cover
- paint tray
- primer for glossy surfaces
- water-based acrylic paint for countertops
- high-gloss acrylic topcoat paint
- mineral spirits (for cleaning up)
- latex or nitrile gloves
- high-quality trim brush
- orbital sander (optional)
1. Choose Your Supplies
If you want to make a big impact in your kitchen without a big investment, consider priming and painting your laminate countertops. Your local paint store can supply you with the best type of paint to use in this project. Many recommend a water-based acrylic primer, paint and top coat. Acrylic paint dries to provide the hard surface needed for heavy-use areas like countertops, while water-based acrylic paint cleans up with water and is low on odors. Either way, you'll want to create proper ventilation in your kitchen while painting. Turn on a fan or open a screened window.
If your final countertop color is dark, you may want to ask your paint supplier to add a tint to your primer. Paint store employees will know if this is necessary. Simply explain your project and final color and let them make the decision. Make sure your primer and paint are well mixed. You can have the store do this or use a stirring stick at home.
It’s a good idea to have more roller covers than you think you’ll need. Purchase more than enough and return what you don’t use to the store later. For smooth surfaces like countertops, a foam roller cover is recommended for a smooth finish.
2. Sand Countertop Surface
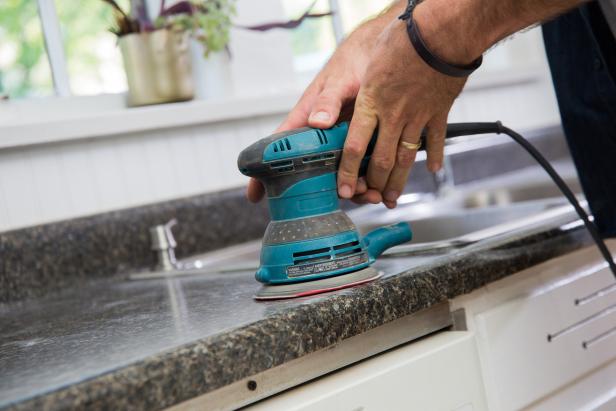
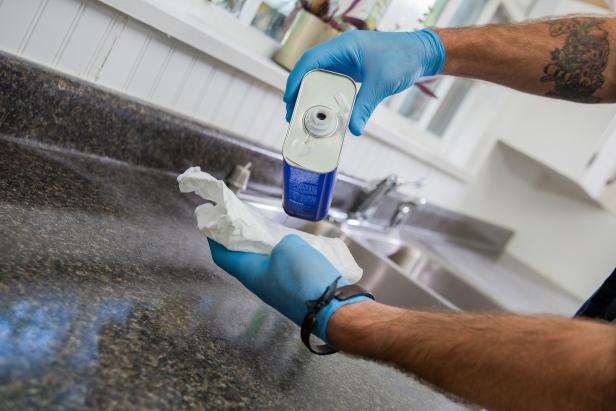
It’s a good idea to sand any surface before painting it. Use a fine-grit (200 to 220) sandpaper to remove any rough spots on your countertop and backsplash. An electric sander will make this job go much faster (Image 1). Use a sanding block to get the edges of the counter (Image 2). Once the entire area is sanded, pour some mineral spirits onto a lint-free cotton rag and remove the dust (Image 3). Allow the mineral spirits to dry and run your hands over the surface to make sure it’s smooth and clean. Any dust left on the counter will be rough to the touch once it's painted over.
Jalynn Baker

Jalynn Baker
Jalynn Baker
3. Prep for Painting
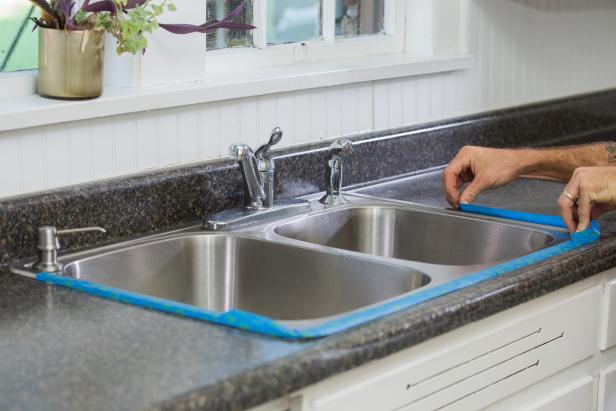
With the countertop cleaned and sanded, it's time to protect everything that won't be primed and painted. Use painter’s tape to protect the sink and walls (Images 1 and 2). Make sure your tape has fully adhered to the surface so there’s no chance of paint slipping under. You may want to protect your walls, floors or cabinets by covering them with plastic or newsprint (Image 3).

Jalynn Baker
Jalynn Baker

Jalynn Baker
4. Apply Primer
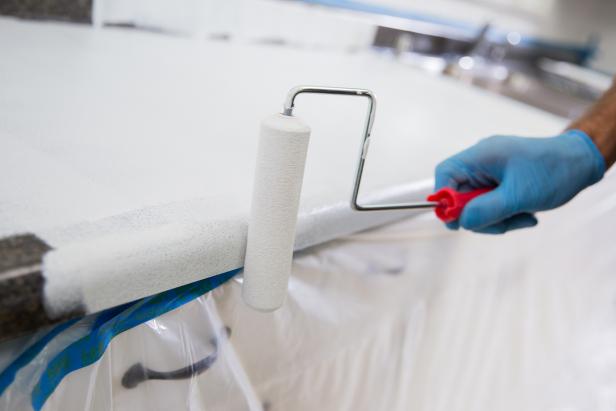
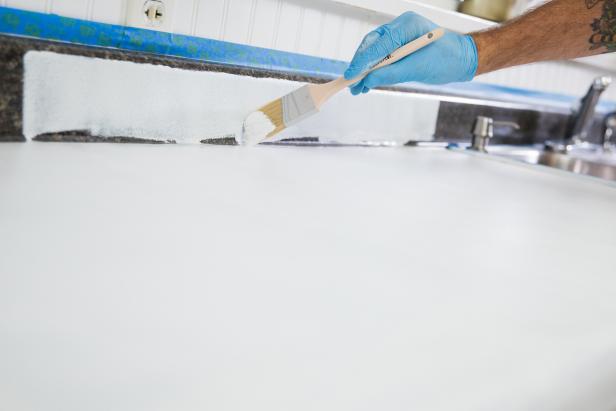
When priming and painting countertops, it’s important to keep a “wet edge” to your paint application. Don’t stop this project in the middle and allow the area just painted or primed to dry. Overlap your newest roller strokes an inch or so over the previous strokes. Apply an even coat of primer, covering the entire surface with full roller strokes from front to back (Image 1). As you approach the area around the sink or the small backsplash surface, be ready to use a trim brush to cover the surface as your wet paint edge encounters it (Image 2). Move from one edge of the counter to the other, covering the entire area with primer as you go. Allow your primer to dry for at least six hours.
Jalynn Baker
Jalynn Baker
5. Apply Paint
Apply the paint by following the same process as above (Images 1 and 2). Keep a wet edge as you move from one side of the counter to the other. Don't allow the painted edge to dry before rolling on the next bit of paint, and overlap your paint rolls by about an inch. Allow the paint to dry for at least four hours, then apply a second coat using the same technique.

Jalynn Baker
6. Apply Top Coat
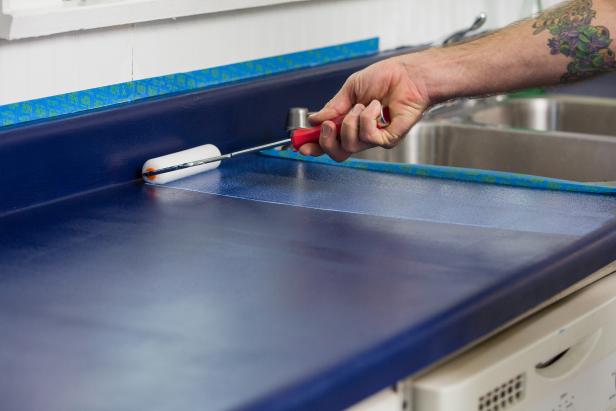
Once the final coat of paint has dried, you’ll want to apply a final high-gloss top coat to give the counter a bit of shine and protection. Use a water-based acrylic top coat intended for use on countertops. Roll on the top coat using the same technique as above, keeping a wet edge (Image 1). Once the entire surface is coated and has dried for four hours, apply a second coat. Two applications of top coat should be sufficient to create a beautiful and protected countertop surface. Wait 24 hours after the final top coat application before using your countertops. Full cure time for a water-based acrylic top coat is around 14 days. Use your countertops gently during this period.
Jalynn Baker
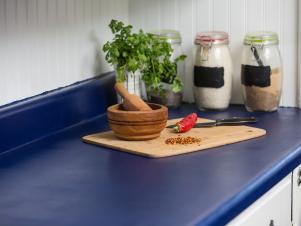
Congratulations! You’ve completely transformed your countertops without even breaking a sweat or your pocketbook.
BEFORE
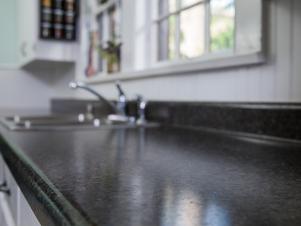
AFTER

.-Battle-on-the-Beach-courtesy-of-HGTV.-.jpg.rend.hgtvcom.196.196.suffix/1714761529029.jpeg)


