How to Make Exterior Wood Window Shutters
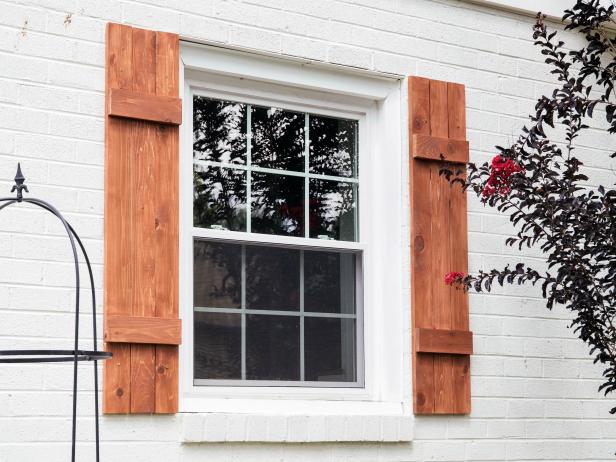
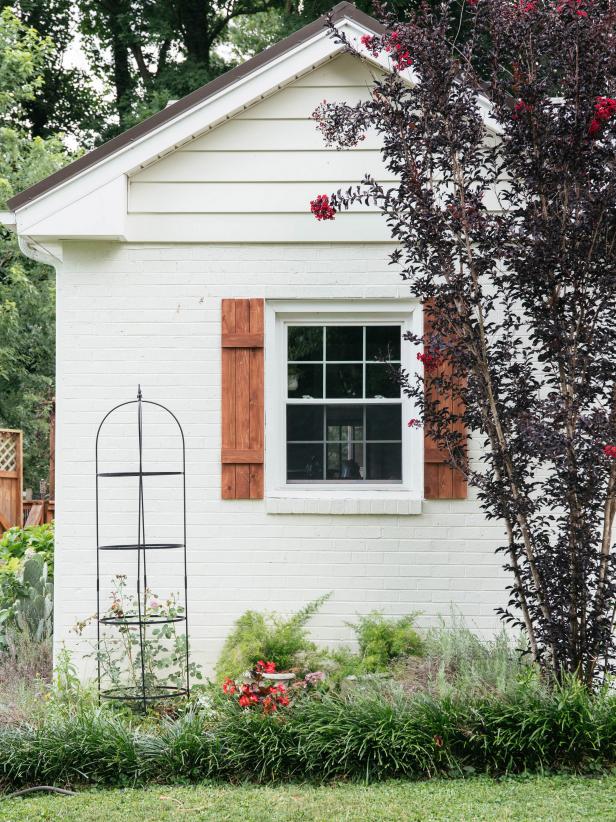
Refresh your home's curb appeal with these easy-to-build board-and-batten-style cedar window shutters.

Shutters can instantly improve the look of your home’s exterior. When making the decision to add shutters, consider building your own instead of buying them. Wood shutters can be more charming than the plastic/vinyl ones you can purchase, and building your own is a fairly easy project that requires minimal woodworking experience. By investing just a little time and a little elbow grease, this DIY project can also save you a lot of money.
Tools and Materials:
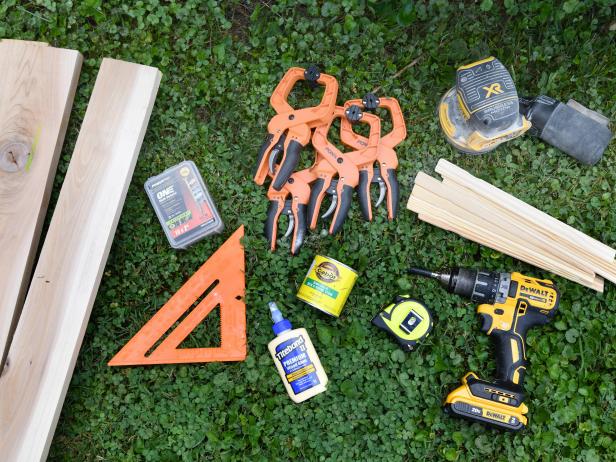
- 1x4 cedar boards - three for each shutter
- 1-1/2" exterior wood screws
- wood glue
- measuring tape
- paint stir sticks
- electric sander
- speed square
- clamps
- wood stain or sealant
- miter saw
- screws for installation (dependent on siding type)
1. Measure the Windows
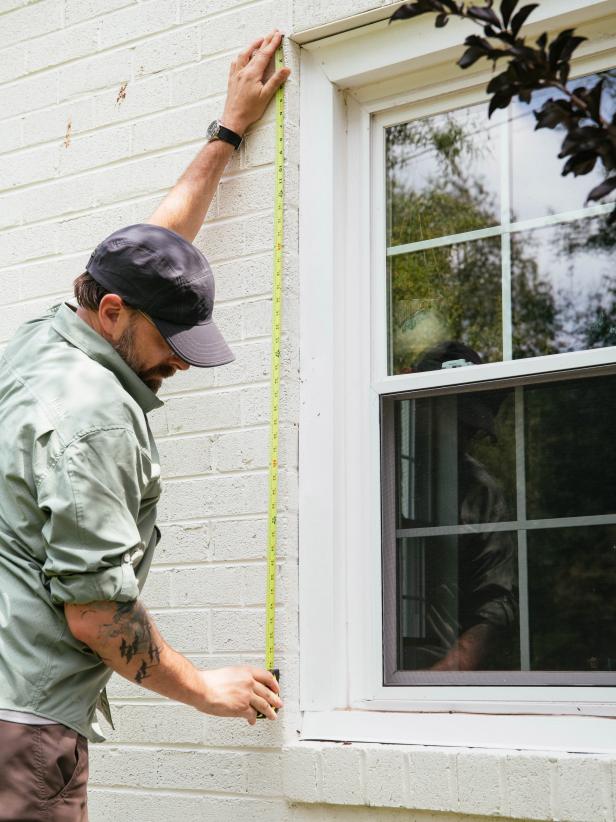
Measure the height of your window. Most shutters run from the top of the window trim to the bottom, but there are some exceptions. Determine what will look best for your windows. Each shutter will be made with three vertical boards and two horizontal boards. The horizontal boards will be approximately 10-3/4 inches to cover three 3-1/2-inch boards plus a slight gap between two of the boards. Calculate how many feet of board you will need to create shutters for all windows.

2. Cut Boards
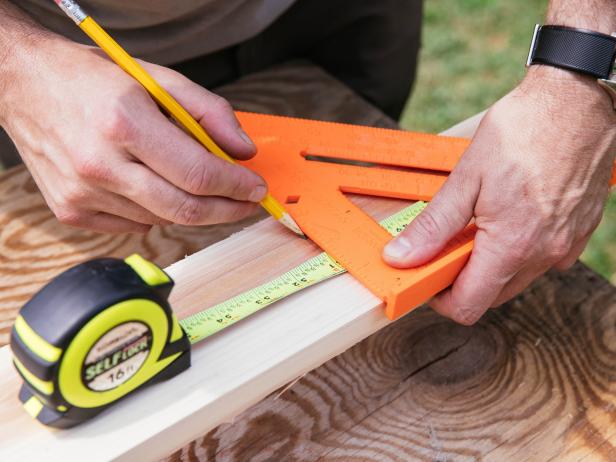
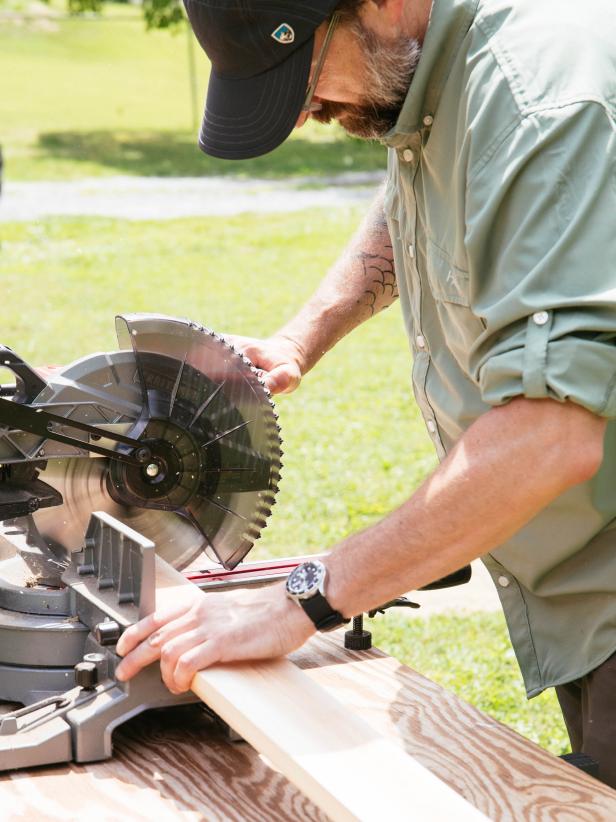
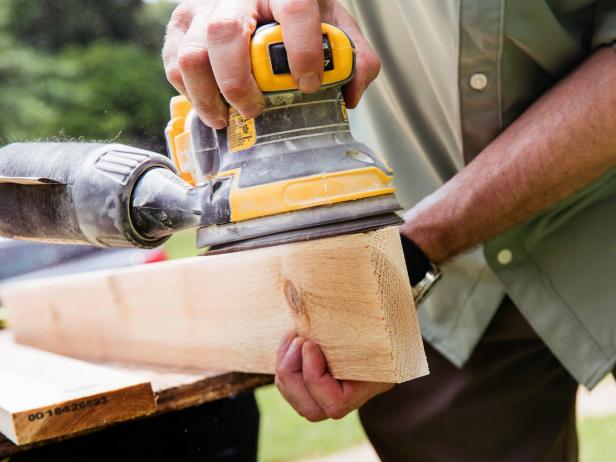
Cedar is a great choice for shutters and other exterior projects. The oils in cedar make it naturally resistant to rot, as well as bacterial and fungal growth. It also has natural protection from changes in temperature, so it is less likely to swell or shrink. Measure and mark the boards using your speed square. Use a miter saw to cut the cedar boards to size. Sand the rough-cut edges on each board.
3. Glue Horizontal Cross Pieces
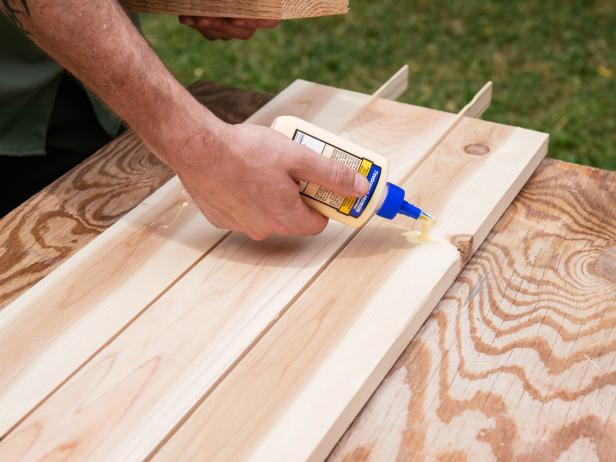
Position the three vertical slats on a flat surface, ensuring that the edges are perfectly aligned. Use paint stir sticks between each slat at the top, middle and bottom to create evenly-spaced gaps. Measure equal distance from the top and bottom of the shutters to determine the placement of the two cross-pieces. Add wood glue to each board and set the cross-piece in place. Clamp the pieces together and let dry until set.



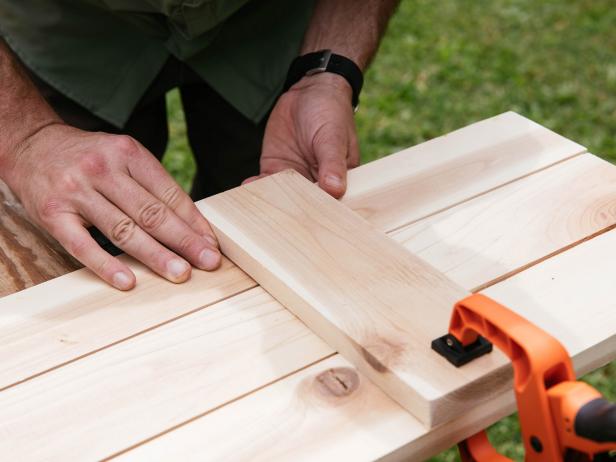
4. Attach Slats to Cross Pieces
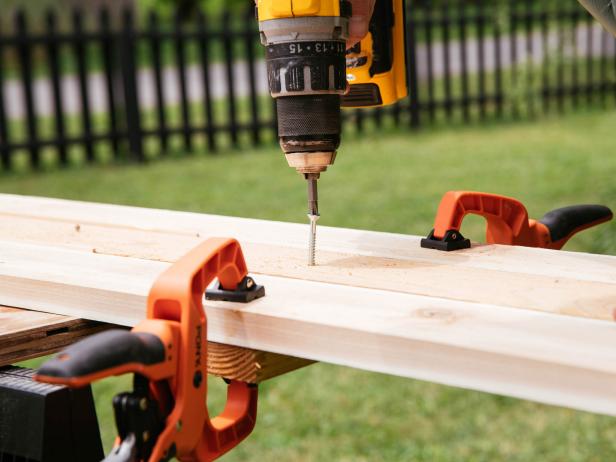
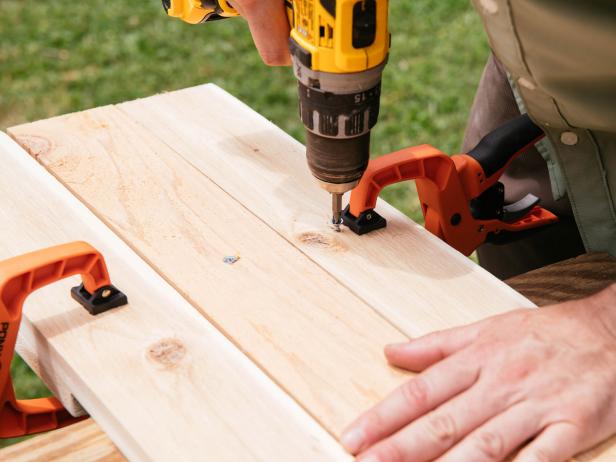
Once the glue has set, flip the boards over and, from the backside of the shutters, attach the slats to the cross pieces using 1-1/2-inch wood screws.
5. Stain, Paint or Seal Shutters
To ensure a long life for your shutters, choose a product made for exterior applications. You may choose to paint or stain your shutters, or you can leave them natural and only apply a sealant. Semi-transparent exterior stains work especially well on cedar. They allow the natural wood grain to show through the color while protecting wood from the elements. Seal the entire shutter, including the backside — protecting wood from water is key to longevity.

6. Hang the Shutters
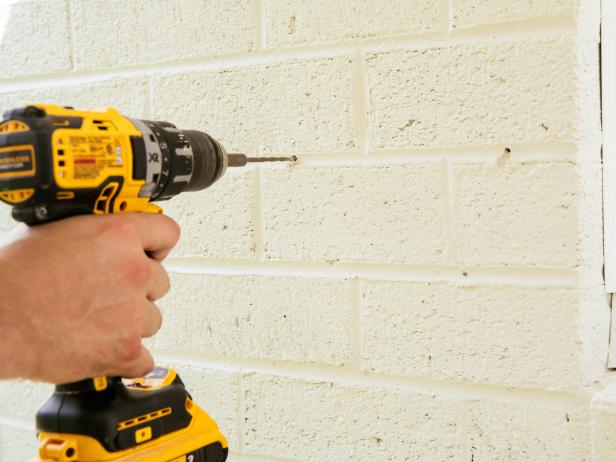
Hang your shutters directly onto your siding using 2-1/2-inch screws. Some siding won’t require a pre-drilled hole if you choose high-quality screws. However, if you have brick siding, pre-drill holes into the mortar between bricks with a masonry bit.
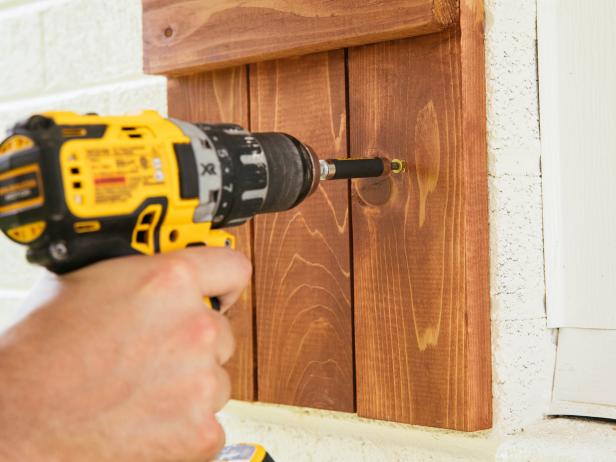
Cedar shutters are an easy way to add big charm with little effort. Properly sealed and maintained cedar can last for years, even decades. To keep your shutters looking beautiful, clean them regularly (avoid using harsh cleaners). Re-sealing them every few years will greatly lengthen the lifespan as well.
14 Ways to Get Instant Curb Appeal for Less Than $100 26 Photos
First impressions matter. Enhance your front yard so people will stop and stare at the first glance. The good thing is, it doesn't have to cost a fortune.

.-Battle-on-the-Beach-courtesy-of-HGTV.-.jpg.rend.hgtvcom.196.196.suffix/1714761529029.jpeg)


