How to Make a Skeleton Chandelier for Halloween
Learn how to turn a thrifted light fixture into stylish and spooky lighting decor for Halloween.

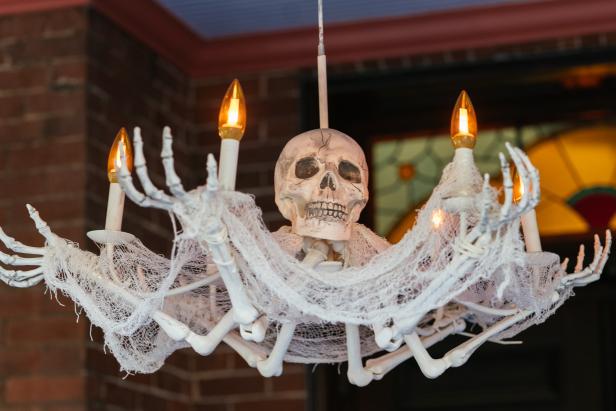
With a few plastic bones, zip ties and some paint, you can transform a secondhand light fixture into this funky chandelier. This is a simple project that doesn't cost a lot to make. Whether you hang it over the dining room table or make it a doorway decoration for your haunted house, it is sure to shine, no bones about it.
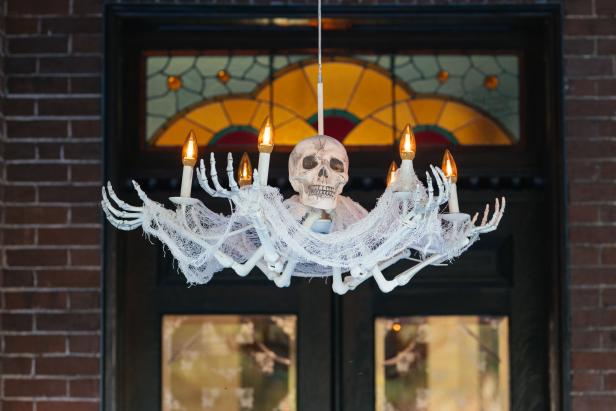
Jennie Andrews Styling by Jill Tennant
Tools and Materials:
- thrifted chandelier
- flicker bulbs
- zip ties
- spray paint
- plastic arm or leg bones and hands
- plastic skull
- gray acrylic paint
- artist's paintbrush
- rag
- cheesecloth
1. Deconstruct a Skeleton
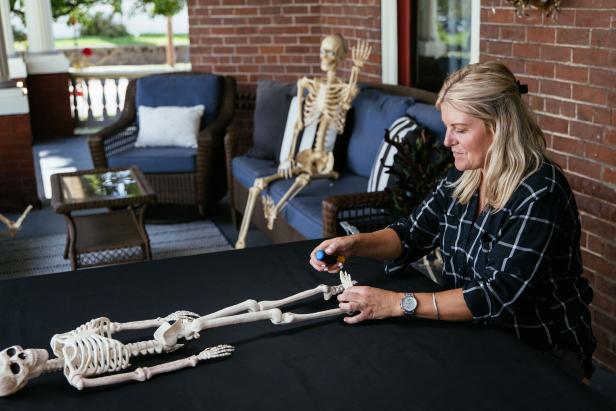
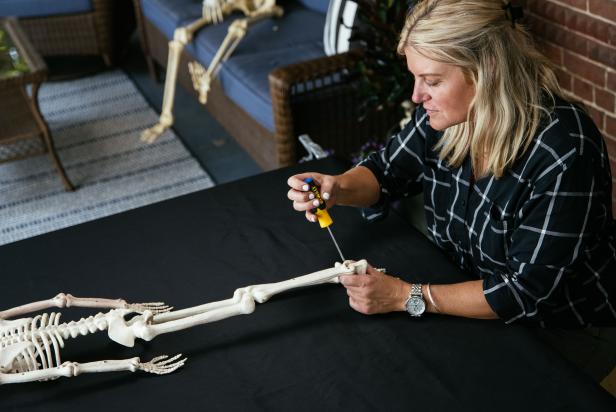
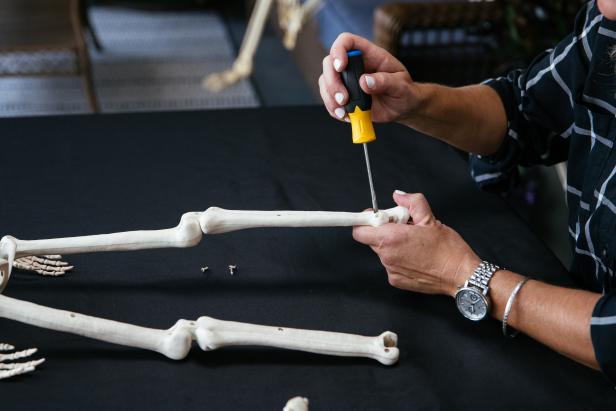
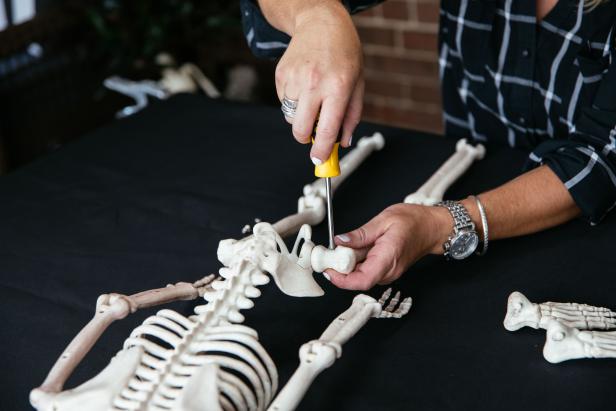
Old brass chandeliers are generally a pretty easy item to source at thrift stores or yard sales. For this project, a candelabra-style chandelier with multiple arms works best. Once you’ve found the perfect fixture, you will need to find bones that will fit along the arms of your light. We found that leg bones from small to medium articulating skeletons worked perfectly. Remove the legs from the skeletons at the hips using a screwdriver.
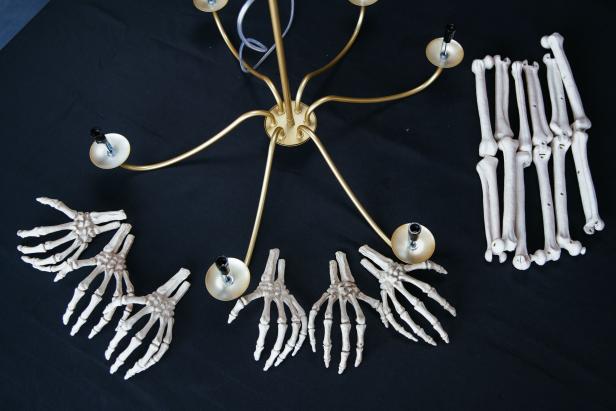
2. Attach Bones to Fixture
Use zip ties to attach a set of leg (or arm) bones to each of the arms of the light fixture. Then, attach the skeletal hand to the leg bones with another set of zip ties. Take care to secure them as tightly as possible. When all bones are attached and stable, trim the ends of the zip ties.
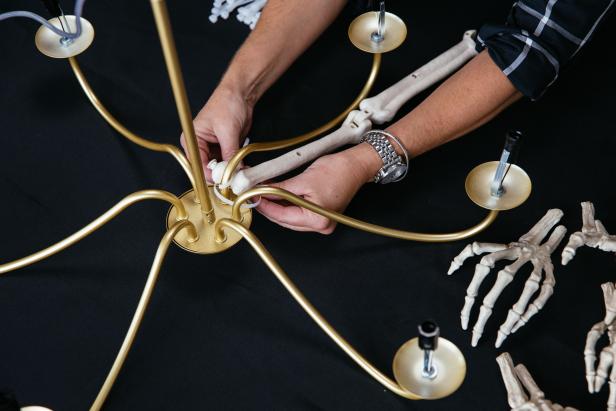

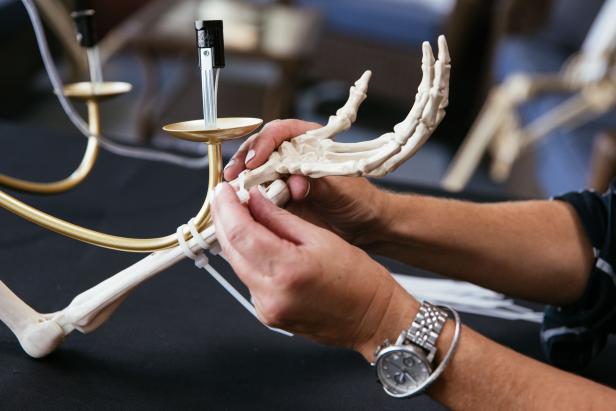

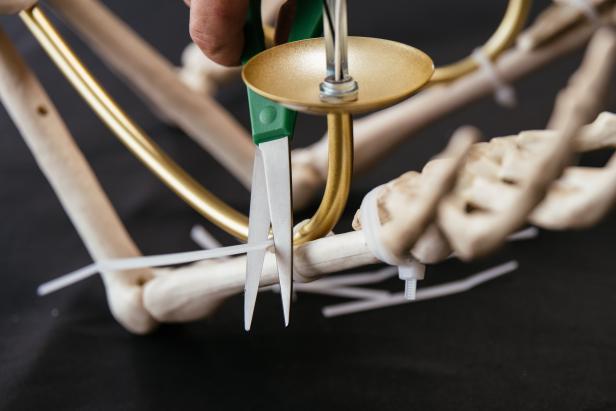
3. Add a Skull
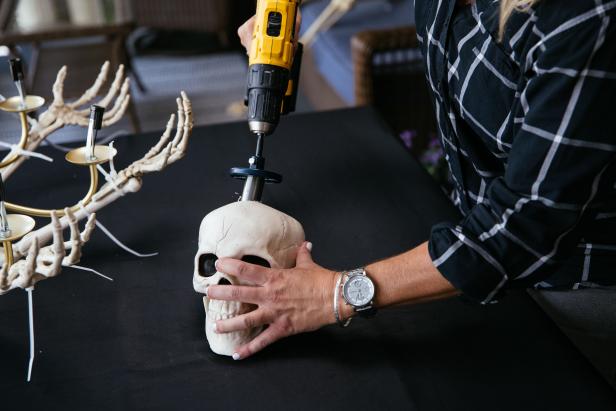
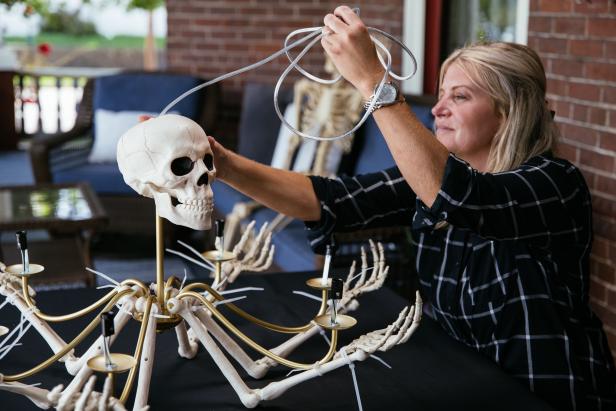
Drill a hole vertically through a skull. The hole will go through the chin and up through the crown. Your chandelier will determine the size of the hole. Ours required a large hole, so we used a 3/4" Forstner bit. Thread the skull onto the center column or cord of the light.

4. Paint
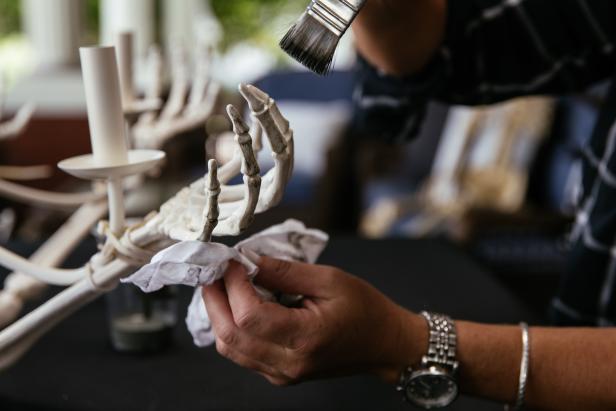
Spray paint the entire light with an off-white or almond color spray paint in a satin finish. Take care not to get paint inside the light sockets. Once the spray paint is dry, brush gray paint into any depressed areas to create shadow and texture. For example, between the teeth, along the skull cracks, in the eye and nose sockets and in the finger joints. Wipe excess from the surface of the skull as you work.




5. Light It With Flames
Switch out regular candelabra bulbs for ones that replicate the look of flames. We find flicker bulbs lend an extra bit of mystery and haunted-house style.

6. Add Some Mummy-Like Texture
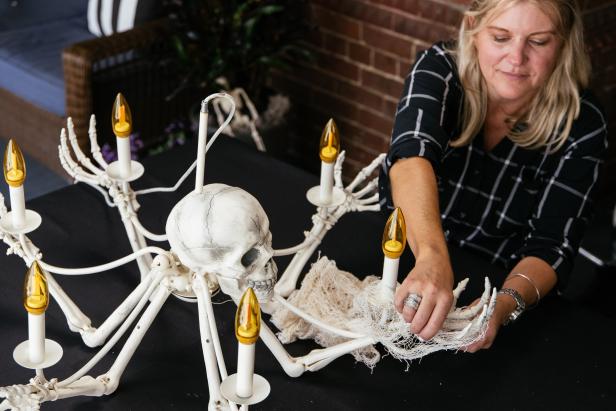
Drape cheesecloth onto the chandelier. Cheesecloth is a very loose weave fabric, so pull it apart a bit to work it over the candles and make it look a little bit ragged.
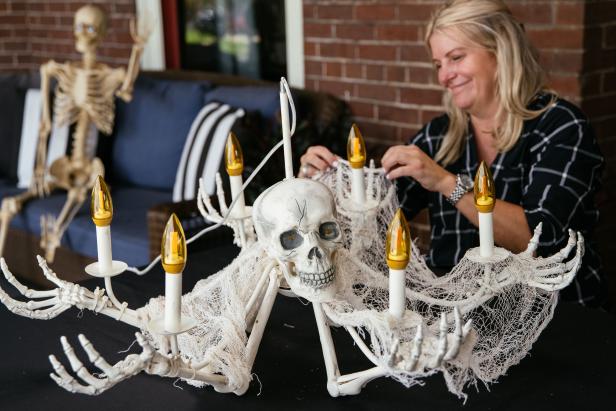
7. Bask in the Glow
With just one afternoon and a reclaimed chandelier, you’ve created a de-light-ful piece of spooky decor that you can use year after year.
Jennie Andrews Styling by: Jill Tennant

.-Battle-on-the-Beach-courtesy-of-HGTV.-.jpg.rend.hgtvcom.196.196.suffix/1714761529029.jpeg)


