


 - 1")


.jpg.rend.hgtvcom.196.196.suffix/1738869041672.jpeg)


How to Make a Pole Wrap Accent Wall
The DIY experts at HGTV show you how to dress up any wall using MDF pole wrap.

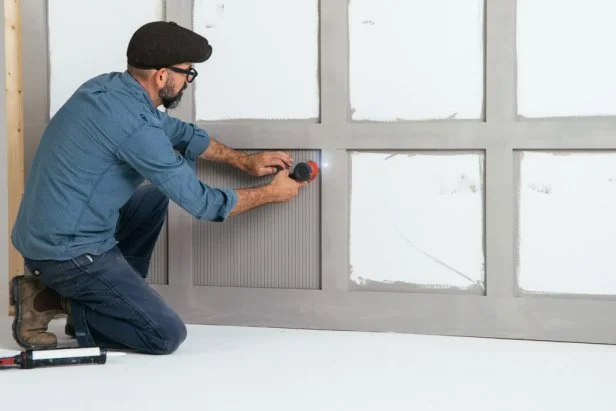
Pole wrap is a fluted, flexible sheet of MDF that is typically used for transforming unsightly poles or support columns. The scored surface of the fiberboard mimics the look of traditional fluted columns when wrapped around a pole. However, pole wrap can also be used to transform any blank wall by adding texture and interest. Pole wrap is relatively lightweight, easy to cut and versatile. It can be stained or painted and can add a modern appeal to one room or a more vintage vibe to another — depending on how it is installed and finished. Pole wrap can also hide imperfections, making it an affordable alternative to restoring a damaged wall.
How to Create a Fluted Accent Wall

Jennie Andrews
Tools and Materials
- measuring tape
- pre-primed 1x4-inch boards
- pre-primed 1x2-inch boards
- pre-primed 1x2-inch boards
- MDF pole wrap
- paint
- mini 4-inch roller
- paintbrush
- brad or trim nail gun
- level
- circular saw
- miter saw
- clamps
- 1/2-inch plywood board
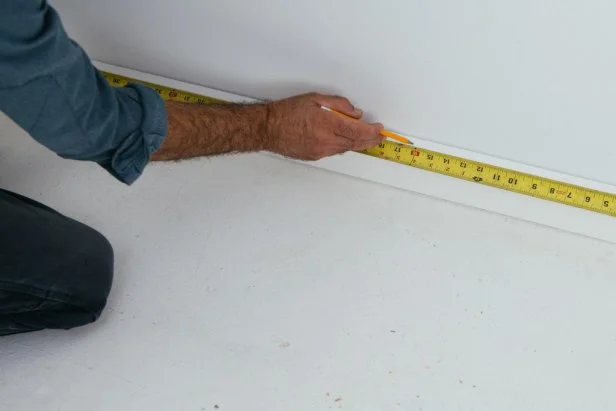
1. Make Measurements
Jennie Andrews
Think about the layout you want for your pole wrap wall. For this wall, squares of pole wrap will be placed inside trim boards.
To lay out a similar pattern, measure your wall and mark where the vertical slats will go. Mark the exact center of the wall. Measure out that spot to each corner and then divide that into equal parts. Be sure to take into account the width of your trim boards when sketching the plan. 1x4 boards are 3-1/2 inches wide and 1x6 boards are 5-1/2 inches wide. The typical size for the baseboard is 1x6, while the other pieces used to form the squares are commonly 1x4. A 1x2-inch board works very well for a ledge to complete the top of the installation. The paneling can go as far up the wall as you wish, but commonly, wainscoting will extend either about halfway or about 2/3 of the way up a wall.
Once you have determined the spacing for each of the trim boards, calculate the size of the square formed by the inner edges. This will be the dimensions for cutting your pieces of pole wrap.
2. Cut Trim Boards

Jennie Andrews

Jennie Andrews

Jennie Andrews
Using your pre-determined measurements, cut pre-primed trim boards to length using a miter saw to ensure straight, clean cuts.
3. Cut Pole Wrap

Jennie Andrews

Jennie Andrews

Jennie Andrews

Jennie Andrews

Jennie Andrews
Cutting the pole wrap can be tricky. It’s too thin and flexible to cut using a table saw, so you will still need to ensure straight cuts using a different method. Lay the pole wrap face down on a piece of plywood (laying it face down discourages chips and tears on the front side of the paneling). Mark cut lines on the paneling. Place the circular saw at the edge of the pole wrap and adjust the blade height so it is only low enough to cut through the paneling and not into the plywood. Measure the distance from the saw edge to the blade, then, allowing for that distance, place the guide board along the cut line. Clamp it securely in place. Place the saw edge up against that board, and make the cut. Repeat until all material has been cut.
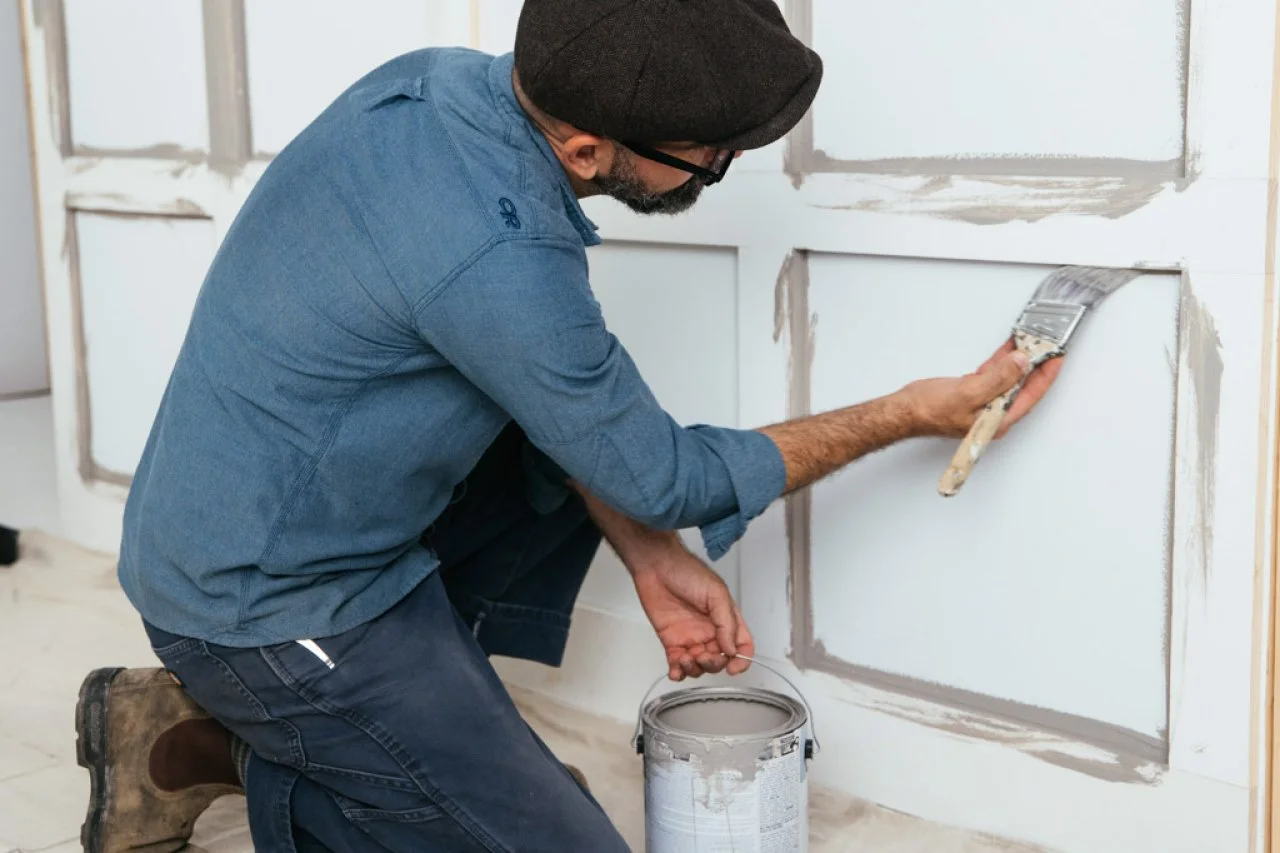
4. Paint the Pole Wrap

Jennie Andrews
Paint the pole wrap before beginning the installation onto the wall. A low-nap 4-inch roller creates a smooth finish.
5. Install Baseboard

Jennie Andrews
First, install the baseboard along the bottom edge of the wall using a nail gun. Measure the exact middle of the wall and mark that spot on the baseboard. Measure out from that center point, and mark the same measurement as your inner squares. This mark will be the exact point of the center of the next vertical board. Continue until you have reached each corner of your room.
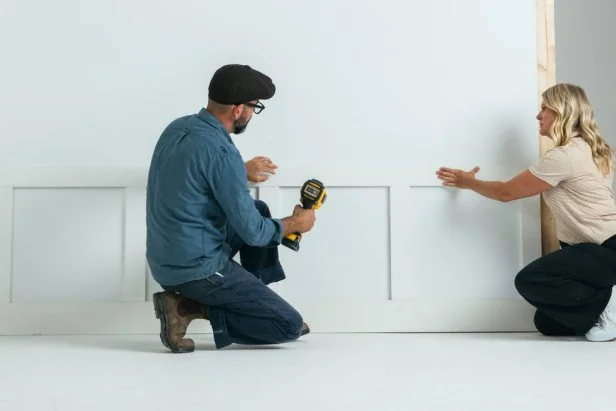
6. Hang Vertical Trim

Jennie Andrews

Jennie Andrews

Jennie Andrews
Apply construction adhesive to the back of a vertical trim piece. Place it on the wall based on the marked spot, and use a level to ensure it’s plumb. Use an electric trim nailer to tack it into place. Repeat with each of the vertical slats.
7. Complete the Trim
Jennie Andrews

Jennie Andrews

Jennie Andrews

Jennie Andrews

Jennie Andrews
Place a 1x4 piece horizontally atop the vertical pieces. After checking that it's level, apply construction adhesive to the back and secure into place with your nail gun. Starting from the center again, mark and hang each of the next row of vertical pieces. (Don’t forget to check that each one is level.) Finally, add the final 1x4 piece atop the rows of vertical slats. Finish by flipping the 1x2 onto its side and nailing into place from the top.
8. Paint the Trim

Jennie Andrews

Jennie Andrews

Jennie Andrews

Jennie Andrews

Jennie Andrews
Before beginning to paint, check the dimensions of the inside of the squares formed by the trim. Slide a cut piece of the wrap into a square to check the fit. Then, once you've ensured the layout is even and the pieces all fit into place, paint the installed trim with one coat of the same color used to paint the pole wrap. Roll the outside flat edges, along with the wall above the trim. Use a brush along the inside of the squares for full coverage. Only paint one coat, but let it dry completely.
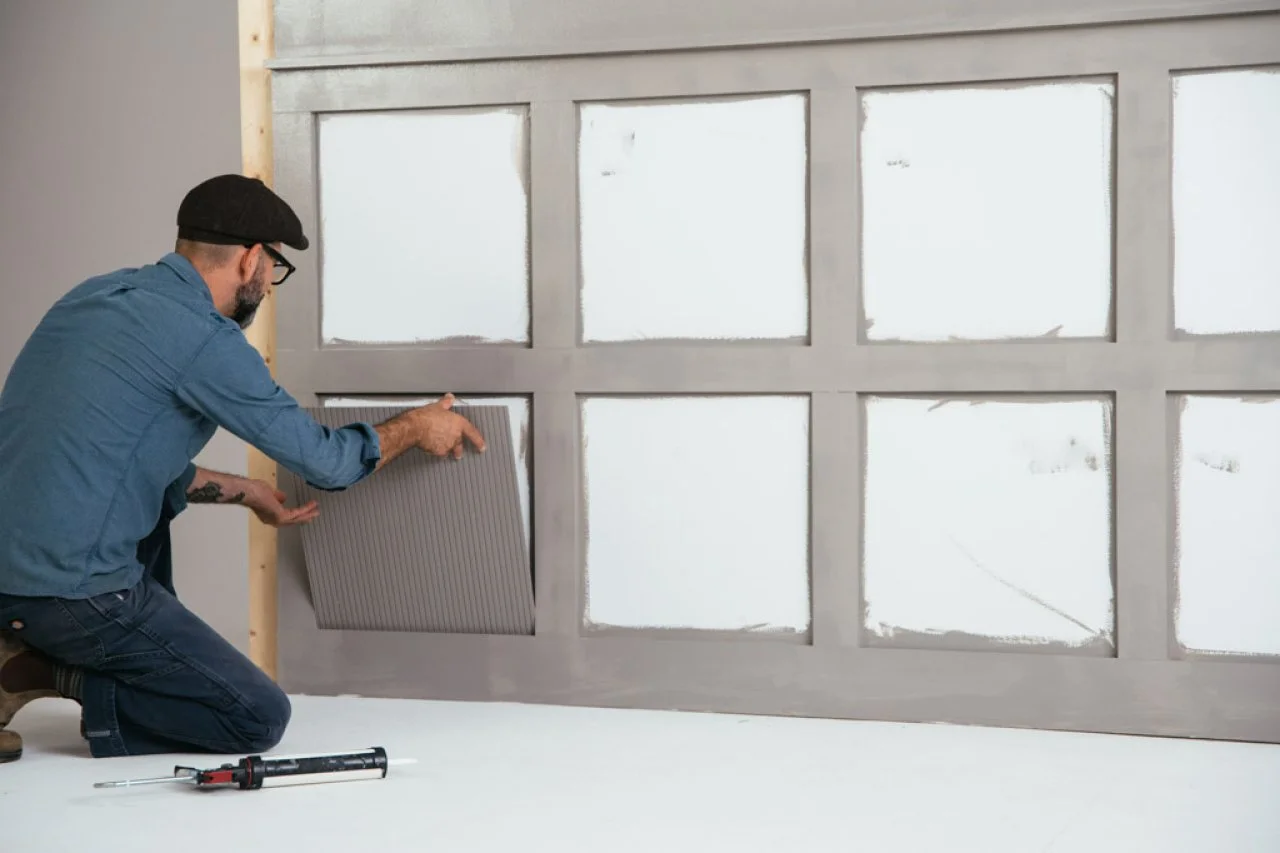
9. Insert the Pole Wrap

Jennie Andrews

Jennie Andrews
Jennie Andrews
Apply construction adhesive to the back of a piece of pole wrap. Tilt it into place within the trim and secure it with the nail gun. Finish the wall with a final coat of paint applied from ceiling to floor.
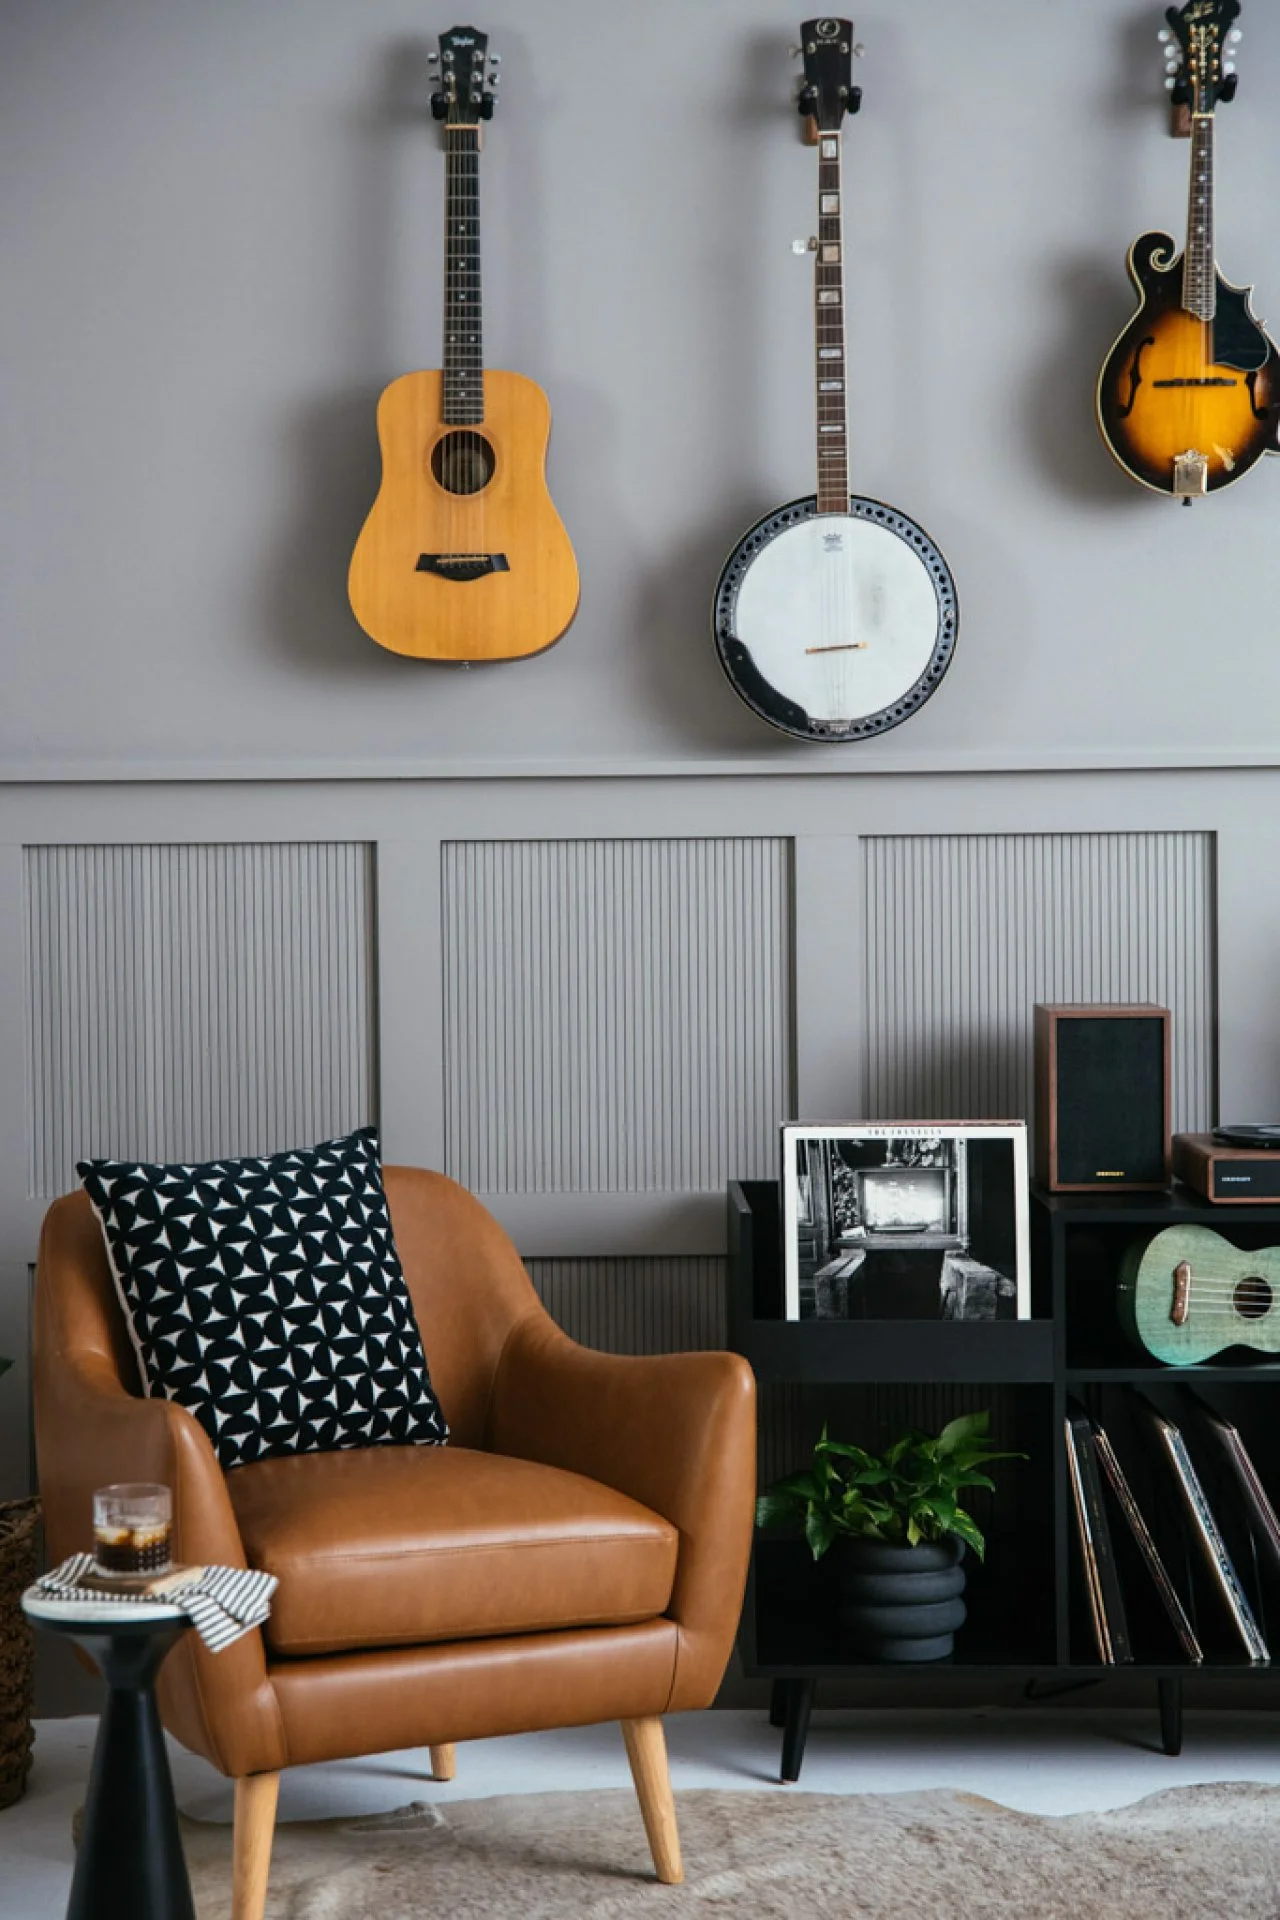
10. Admire Your Work

Jennie Andrews
You did it! You created a beautiful focal wall using an unexpected material. This paneling can be dressed up or kept casual to fit your space and your style. Have fun adding decor and hanging art to make it your own.
More Ideas to Try

DIY Accent Walls We Love 9 Photos
Fab feature walls can totally make a room. HGTV Magazine shows you how.


.jpg.rend.hgtvcom.231.174.85.suffix/1738869041672.webp)


