How to Make a Kid's Sun-Print Treat Bag for Halloween
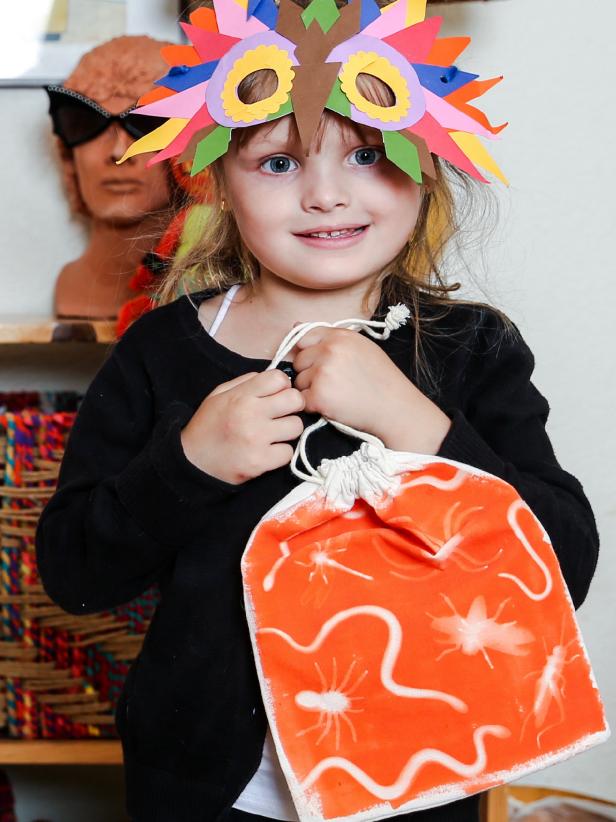
Harness the power of the sun and create a one-of-a-kind Halloween goodie bag that is perfect for collecting candy and other spooky treats.

This Halloween project is a two-for-one special — part science experiment and part craft. Your kids will want to use their handmade bag year after year to show off their craftiness, and of course to collect all the candy. Be forewarned: After doing this project, you’ll be looking at everything through the lens of sun-printing possibilities.
Jen Perkins
Tools and Materials:
- a sunny day
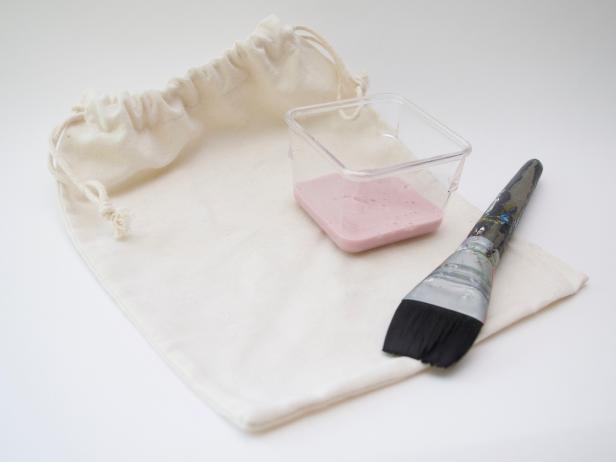
- Jacquard SolarFast dye
- small cotton drawstring bags
- paintbrush
- plastic insects
- cardboard
- scissors
1. Fill Bag With Cardboard
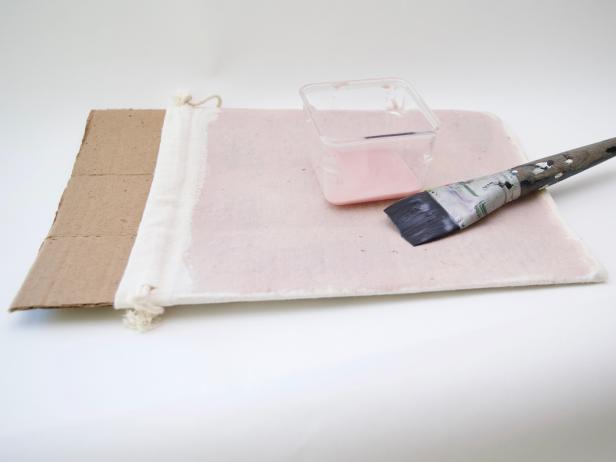
Cut a piece of cardboard to fit inside the treat bag. This is so that the dye does not bleed through to the other side and so that the side of the bag you will be printing on is pulled taut.
2. Apply Solar Dye
Use a paintbrush to apply a liberal amount of SolarFast dye to one side of the bag. Each brand of solar dye will have slightly different instructions so make sure to follow each step on your dye.
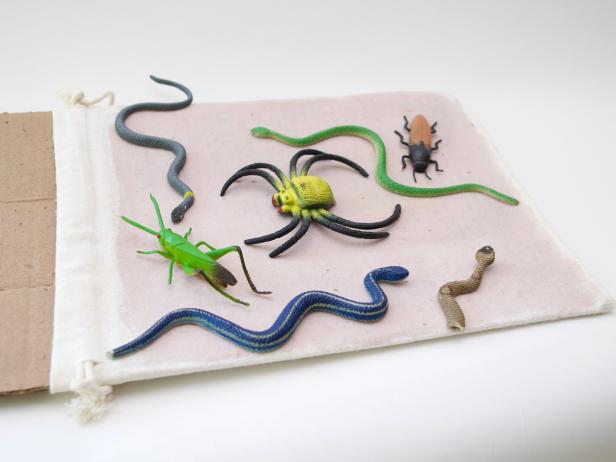
3. Lay Out Bugs
While the dye is still wet randomly place plastic insects on top of the bag.
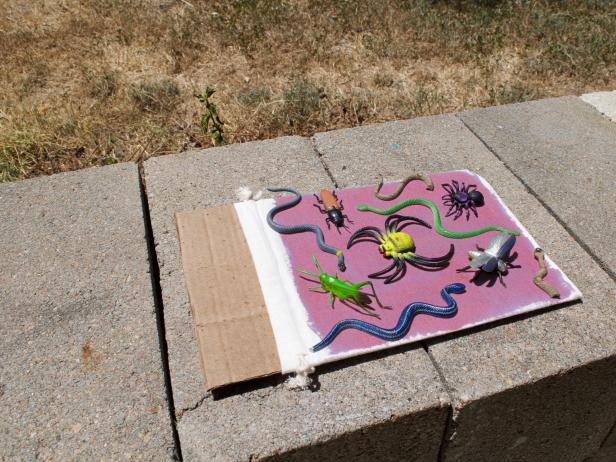
4. Lay It in the Sun
Place the bag in the sun and follow package directions. Most dyes will have you leave it in direct sunlight for about 20 minutes.
5. Remove Bugs
Take the bag inside and remove the bugs to reveal your spooky sun print.
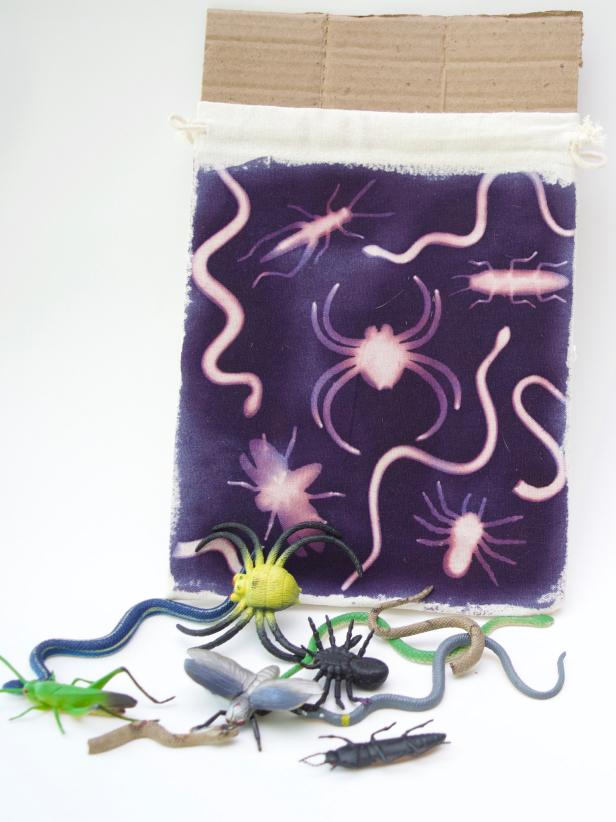
6. Wash
Wash out the dye according to package directions.
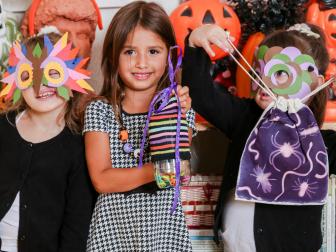
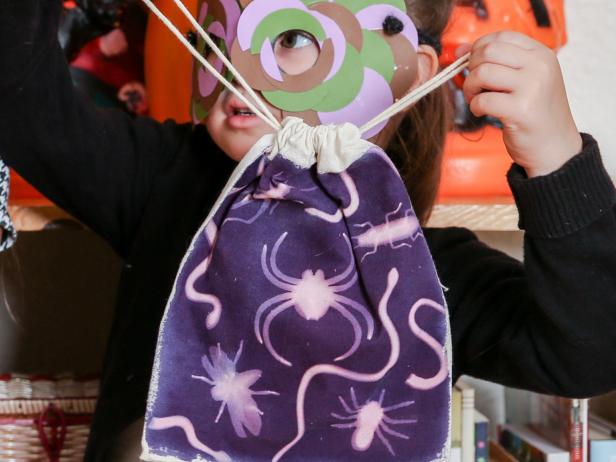
These fun bags make the perfect party favors or treat sacks for Halloween and beyond!
Jen Perkins

.-Battle-on-the-Beach-courtesy-of-HGTV.-.jpg.rend.hgtvcom.196.196.suffix/1714761529029.jpeg)


