How to Make a Halloween Night-Light From a Plastic Bottle
Let your kids illuminate Halloween by crafting a witch night-light made from an upcycled 2-liter bottle.

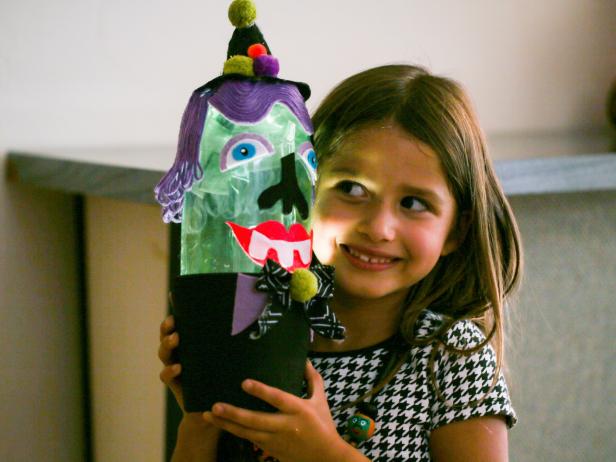
A green 2-liter plastic bottle can easily and inexpensively be transformed into a Halloween witch night-light. The witch’s facial features are made from craft felt, and yarn is used to give her a full head of hair. A battery-operated puck light illuminates the witch and her dress is made from a terra-cotta flowerpot.
Jen Perkins
Tools and Materials:
- 2-liter green plastic bottle
- scissors
- craft felt
- craft glue
- yarn
- witch hat
- pom-pom
- tap puck light
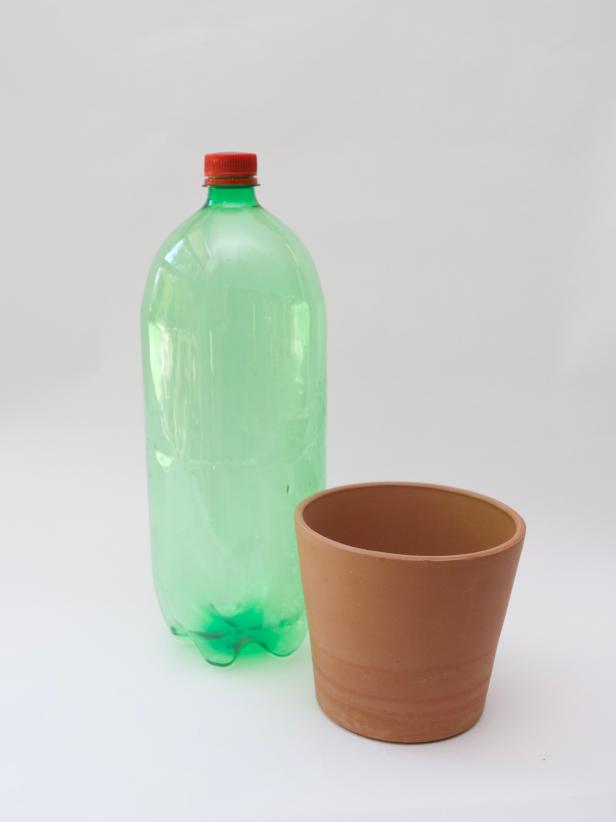
- terra-cotta flowerpot (slightly larger than the circumference of the 2-liter bottle)
- craft paint
- paintbrush
1. Prep Bottle
Remove the label from the 2-liter bottle and discard it.
2. Cut Bottle
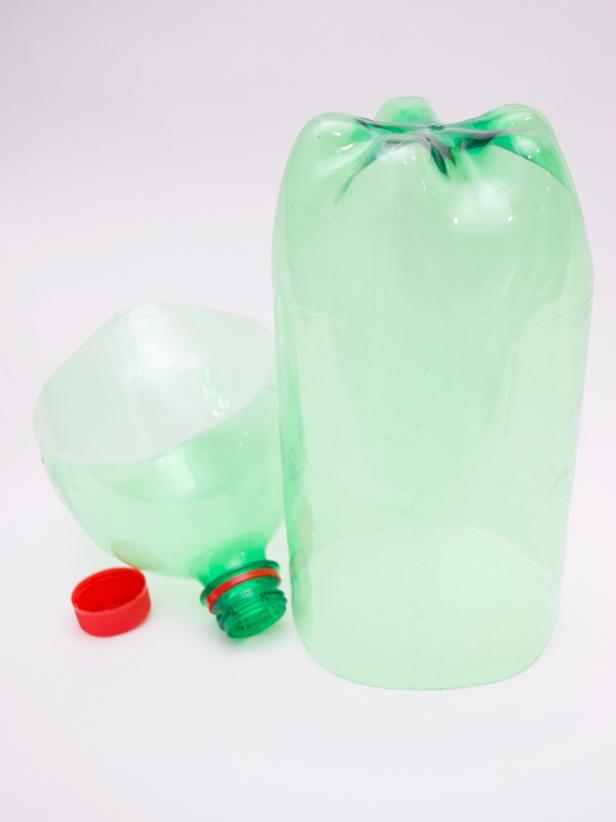
Using scissors, cut off the top of the plastic bottle. Kids, ask your parents for help with this part as it can be tricky.
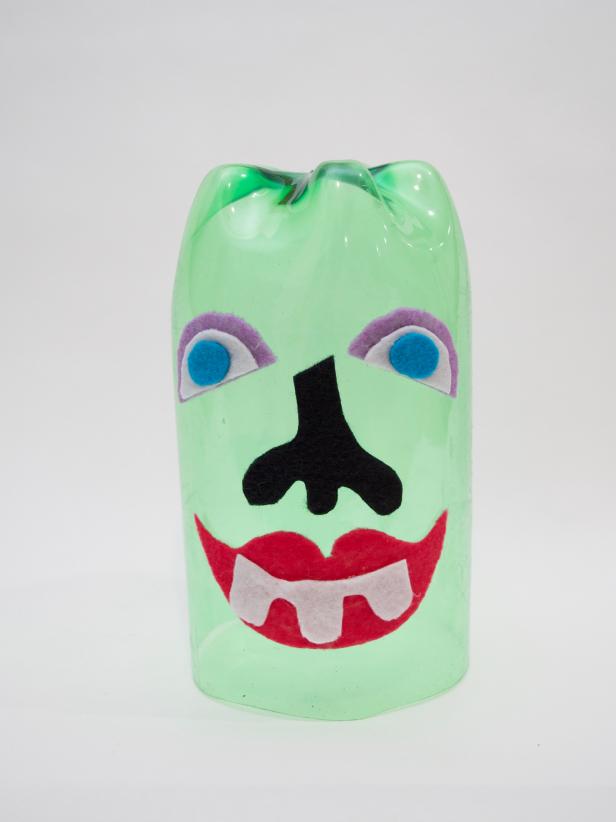
3. Create a Face
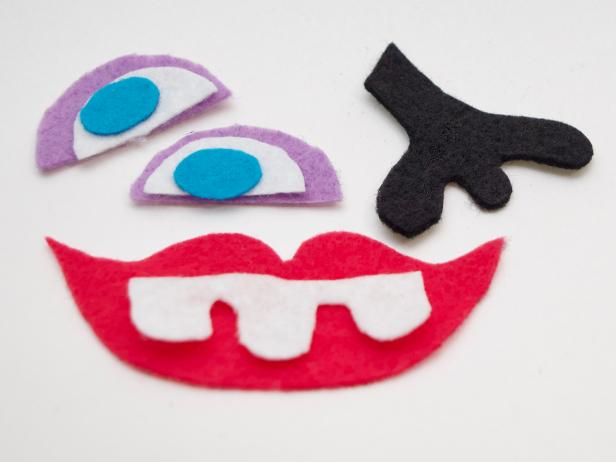
Use craft felt and scissors to make facial features.
4. Glue the Face on the Bottle
Use craft glue to attach the felt facial features to the bottle. Place the face close to the top of the bottle, the part that was not cut.
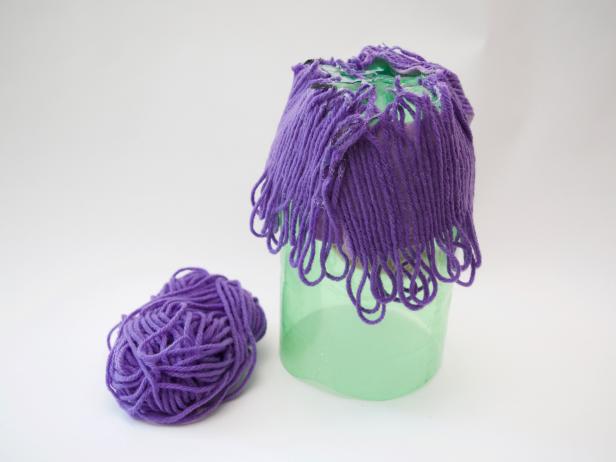
5. Add Hair and a Hat
Give the night-light hair by attaching yarn to the top of the bottle with craft glue. Allow to dry completely. Add a felt witch hat to the top and embellish it with fun items like pom-poms and rhinestones.
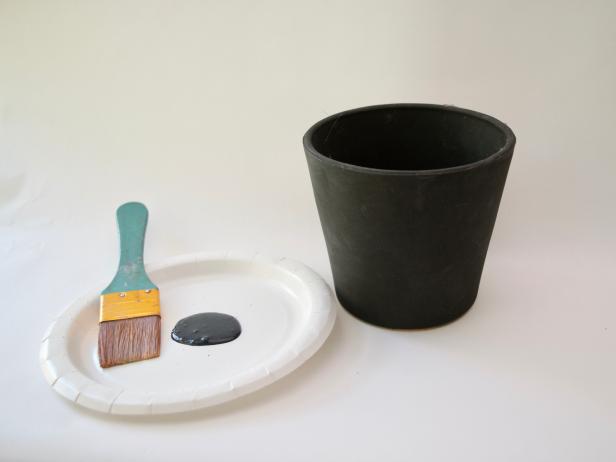
6. Paint the Base
The base of the night-light is a terra-cotta pot, which also serves as the witch's dress. You'll need a pot slightly larger than the circumference of the 2-liter bottle so that the bottle will sit inside the pot. Paint the pot black inside and outside and allow it to dry completely.
7. Decorate the Base (Dress)
Embellish the pot with ribbon and felt to create a dress for the witch.
8. Add the Light
Add a battery-operated tap light inside the terra-cotta pot. When you are ready to use, just tap away and enjoy the green glow.

Jen Perkins

.-Battle-on-the-Beach-courtesy-of-HGTV.-.jpg.rend.hgtvcom.196.196.suffix/1714761529029.jpeg)


