How to Make a 'Broomba': A Robot Vacuum Turned Into a Halloween Witch’s Broom
Turn your robotic vacuum into the life of your Halloween party by transforming it into a self-moving witch's broom.

Every witch and wizard home needs a magic broom on Halloween, and this one is super easy and quick to DIY, no charms or potions necessary. Thanks to some hidden support under the bristles, this self-propelled Halloween decoration stands up by itself and can even do a little cleaning on its own (with the help of a robotic vacuum).

Jennie Andrews
Tools and Materials:
- 8" floral foam cone
- serrated knife
- dowel rod or foraged stick (3'-4' long)
- grass table skirt
- drill
- removable adhesive strips
- robotic vacuum
- medium flowerpot
1. Build the Handle
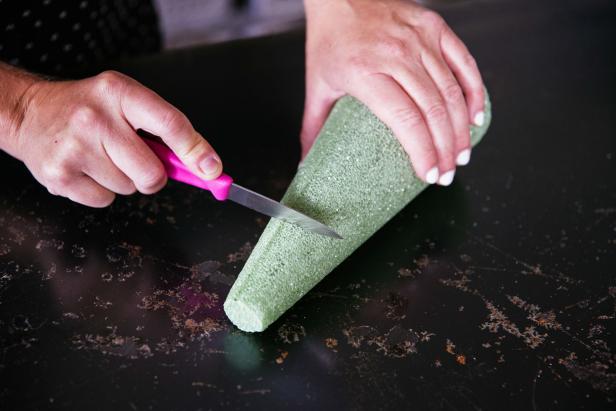
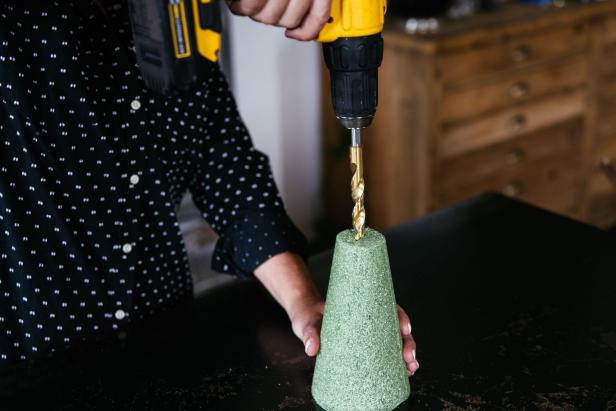
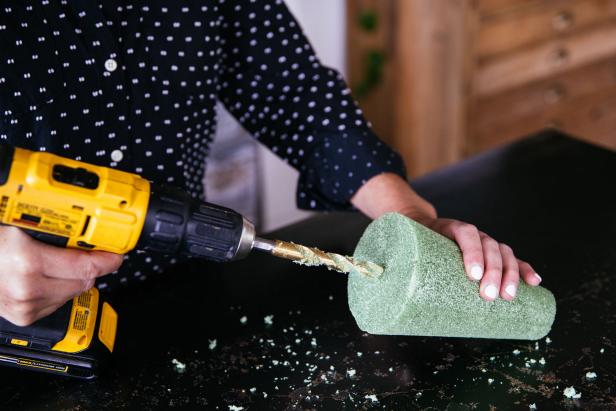
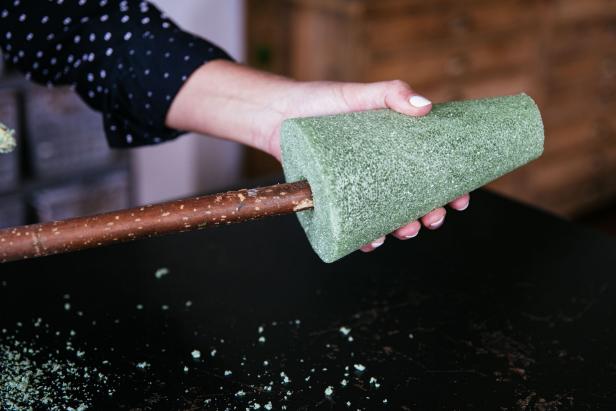
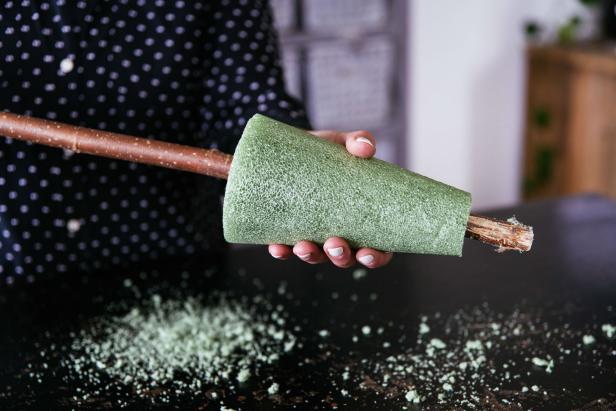
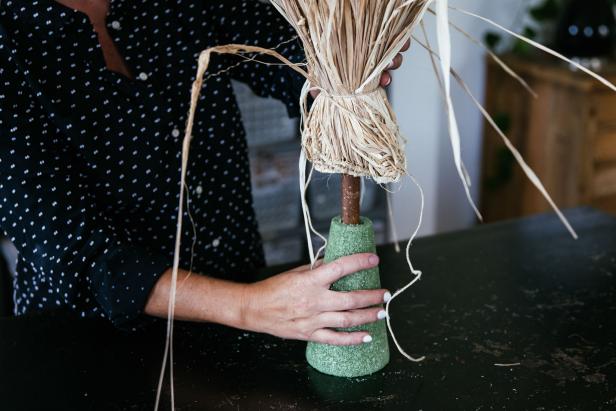
Use a serrated knife to cut about two inches off of the smallest end of a foam cone. Use a large drill bit to make a hole all the way through the center of the cone. To reach the center, you may need to start the hole from both ends and meet in the middle. Use the drill to hollow out the hole slightly smaller than the size of your broom handle. Starting from the bottom, feed the handle through the hole until the bottom edges are even. If you drilled the hole slightly smaller, the stick should fit tightly in the cone.
Jennie Andrews
Jennie Andrews
Jennie Andrews
Jennie Andrews
Jennie Andrews
2. Attach Bristles
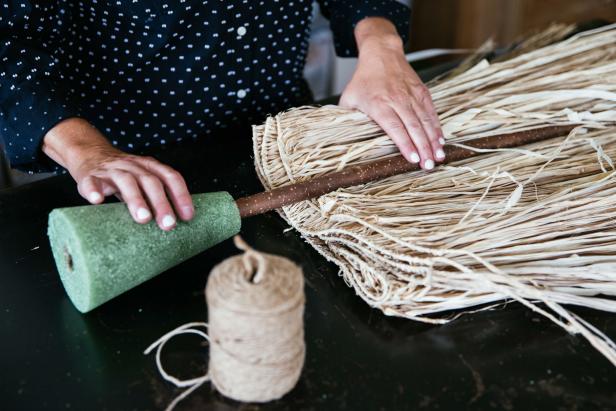
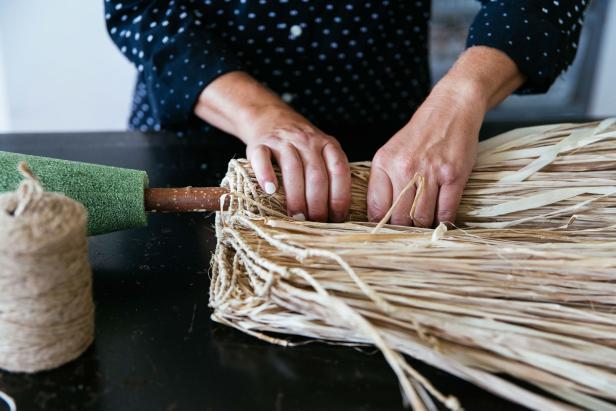
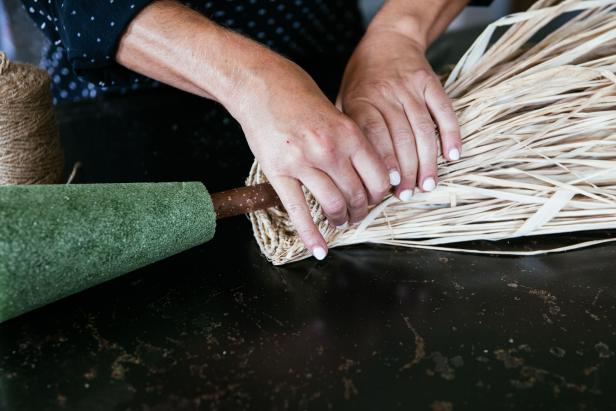
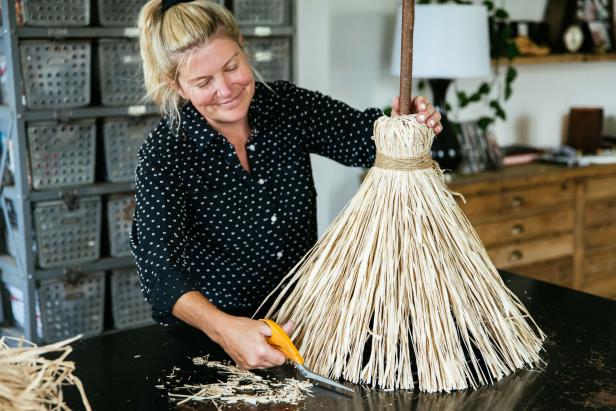
We found a grass table skirt at a craft store that made perfect (and easy) broom bristles. You could also use raffia or a costume hula skirt. Lay the skirt or grasses down on a table with the ends pointing AWAY from the cone. Just above the cone, tightly wrap the bristles around the handle. Bundle the bristles together with a piece of rope or twine (most hula skirts or table skirts have a built-in string so you can use that as well).
Jennie Andrews
Jennie Andrews
Jennie Andrews

Jennie Andrews
3. Flip the Bristles
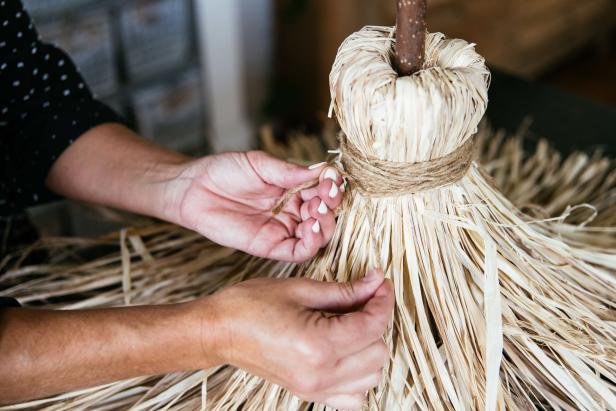
Stand the handle up with the cone down. Let the grass flip over the cone. Once it has been neatened, bundle the top of the grass and wrap it tightly with twine, knotting the ends together.
Jennie Andrews

Jennie Andrews

Jennie Andrews

Jennie Andrews
Jennie Andrews
4. Elevate the Broom
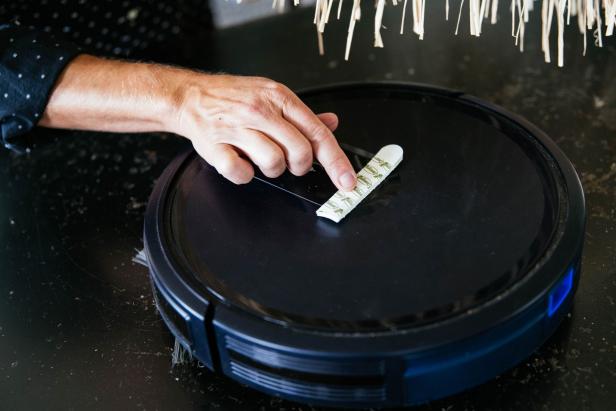
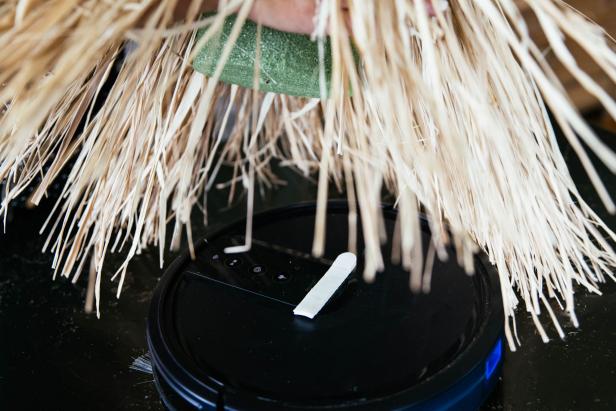
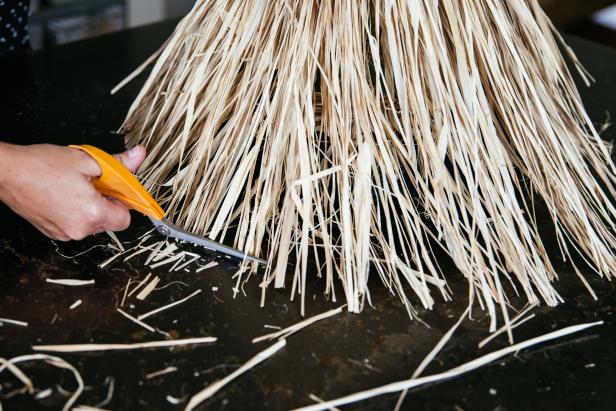
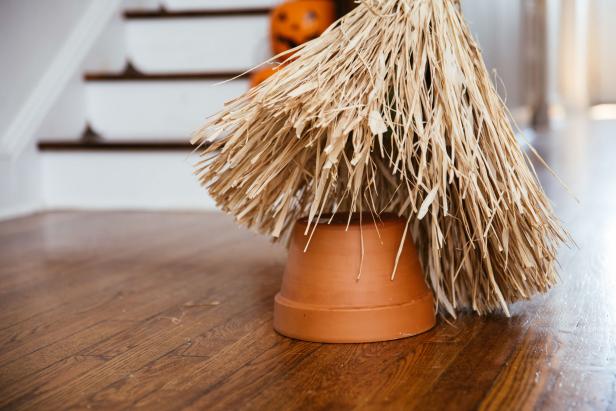
To create the appearance that the broom is standing or moving by itself, you will place the bottom of the cone onto the vacuum or onto a stand to help elevate it (we used an upside-down flowerpot). Apply a removable adhesive strip to the top of the vacuum or the pot. Then simply stick the bottom of the cone to the strip. Trim the bottom of the bristles until they are just barely grazing the ground.
Jennie Andrews
Jennie Andrews
Jennie Andrews
Jennie Andrews
Jennie Andrews
5. Get Swept Away
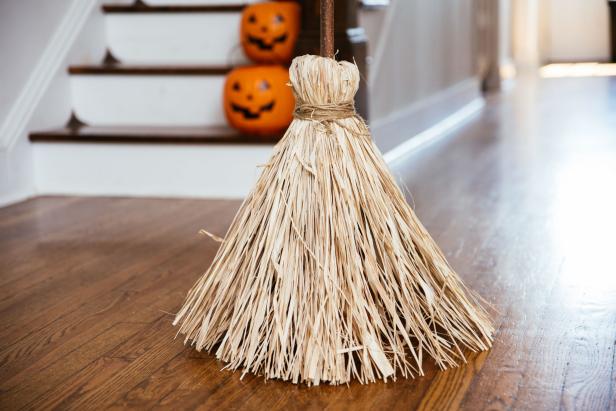
Voila! With just a little hocus pocus, you’ve created holiday magic. Have your broom take a spin around the room at a Halloween party, or place it on the front porch to mystify the neighbors. Either way, you’re sure to give off some major witchy vibes with this project.
Jennie Andrews
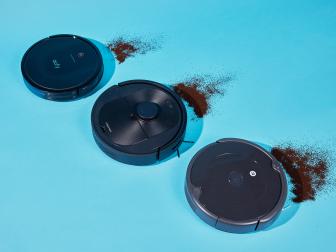
The Best Robot Vacuums of 2023, Tested by HGTV Editors
Perfect for picking up crumbs and dust on the daily, these hard-working robot vacuums are the ones we tried and loved.
The HGTV Stars’ Favorite DIY Halloween Decor Crafts
No tricks here — just easy Halloween decorating ideas from the HGTV stars. DIY, if you dare ...

.-Battle-on-the-Beach-courtesy-of-HGTV.-.jpg.rend.hgtvcom.196.196.suffix/1714761529029.jpeg)


