How to Install a Dishwasher
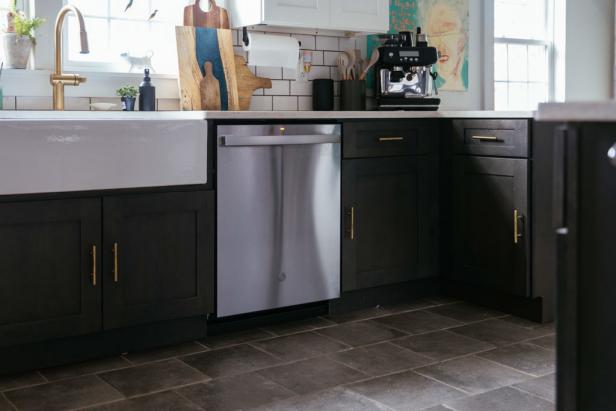
Learn the correct steps to safely install a new dishwasher in an existing space.
Jennie Andrews
Installing a new dishwasher in an existing spot is simple and doable for most novice DIYers.

Installing built-in appliances may seem like a daunting task. However, with only a small amount of know-how and a few safety precautions, installing a new dishwasher in an existing spot is simple and doable for the most novice of DIYers. Use this article in tandem with the installation manual provided with your dishwasher for professional results.
1. Prep the Space
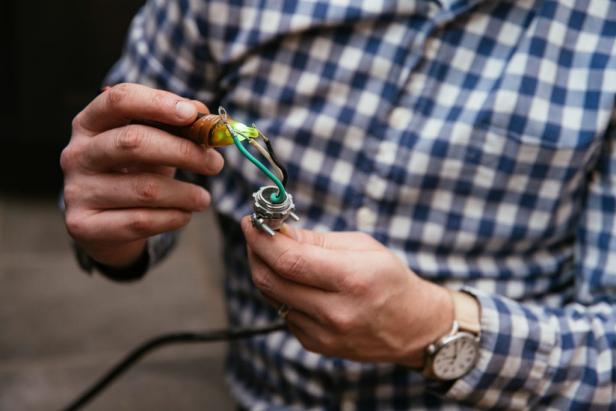
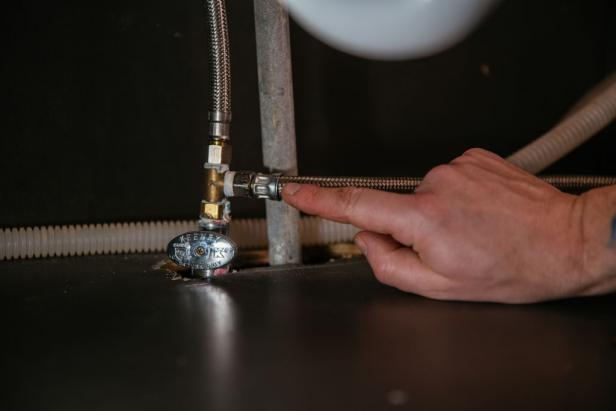
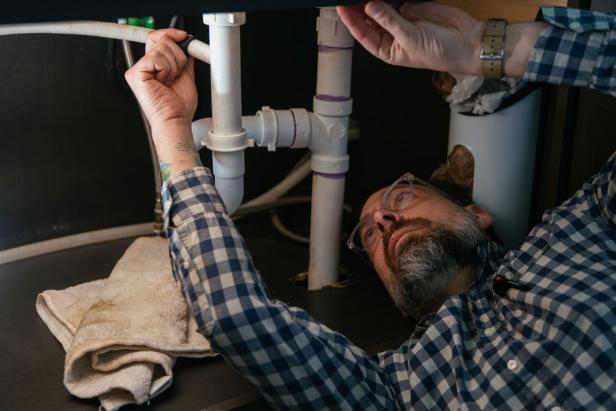
Before beginning the installation, there are a couple of crucial steps to ensure safety and to prevent water leaks. First, and most importantly, turn off the power to the existing wires at the breaker. Use a voltage tester to determine if the wires are hot (Image 1). On most voltage testers, a green light means safety, but be sure to read the instructions for your specific model. Second, locate the water line that will run to your dishwasher. Turn the silver knob on the feeder pipe to stop all water from reaching that hose (Image 2). Finally, most dishwashers come with a brand-new drain hose, so go ahead and disconnect the old hose where it is attached to the sink drainpipe and discard (Image 3).
Jennie Andrews
Jennie Andrews
Jennie Andrews
2. Prep Dishwasher
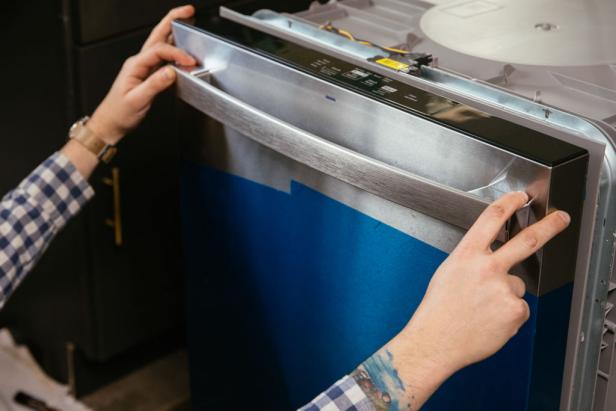
Most dishwashers come with the handle stored inside the unit for safe transport. Follow the directions in the manual to attach the handle to the front door (Image 1). Some models come with a wooden base for transport. If your dishwasher has this base, remove it now by unscrewing the feet. Open the door of the dishwasher and make sure it is balanced and that it opens smoothly. It shouldn’t flop open, nor should it be difficult to open or feel too tight. If either of these things is true, locate the pulley and spring system on the bottom side of the door and make sure the cord is threaded correctly around the pulley (Image 2).
Jennie Andrews

Jennie Andrews
3. Attach the Water Line
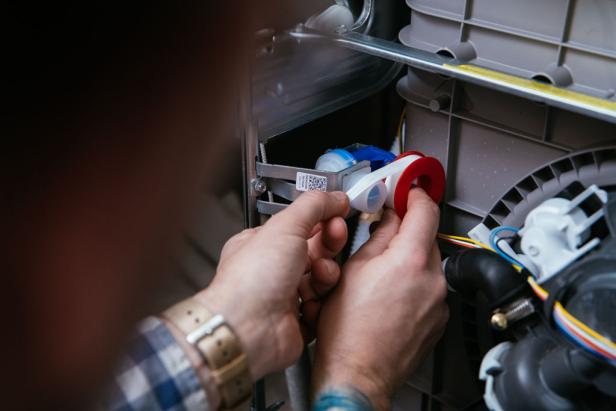
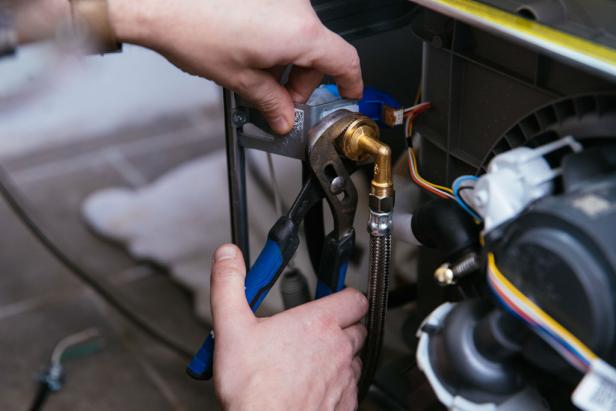
Locate the water valve on the dishwasher. Wrap the threads with exactly two turns of plumber's thread seal tape (Image 1). Attach the existing water line to the valve. Hand-tighten as much as possible (Image 2) and then, using a set of channel-lock pliers, tighten just a nudge more (approximately 1/16 of a turn). Be cautious. Overtightening could damage the valve (Image 3).
Jennie Andrews

Jennie Andrews
Jennie Andrews
4. Run Drainpipe
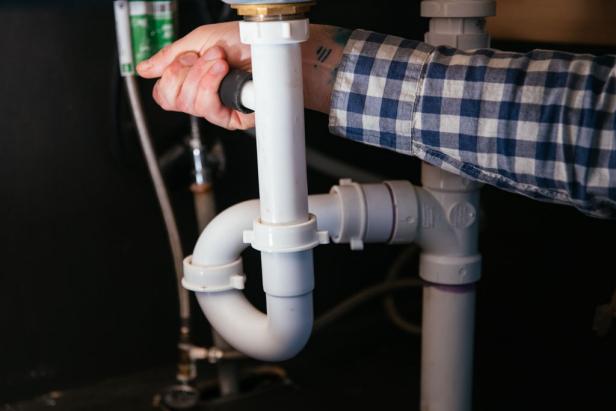
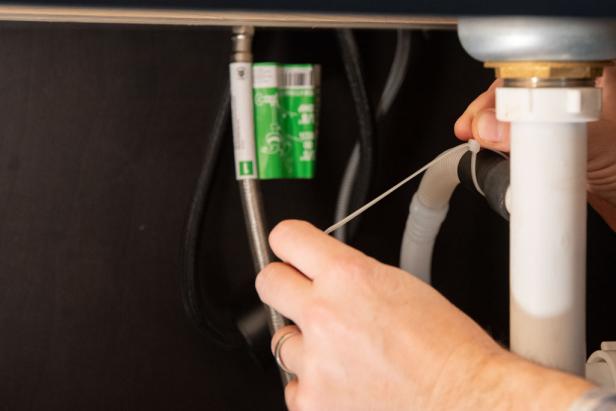
Run the new drainpipe back through the original hole (Image 1) and attach it to the main sink drain (Image 2). Most drainpipes just push into place using a tight rubber gasket. For added stability and fit, secure tightly with a zip tie (Image 3).

Jennie Andrews
Jennie Andrews
Jennie Andrews
5. Fit Dishwasher
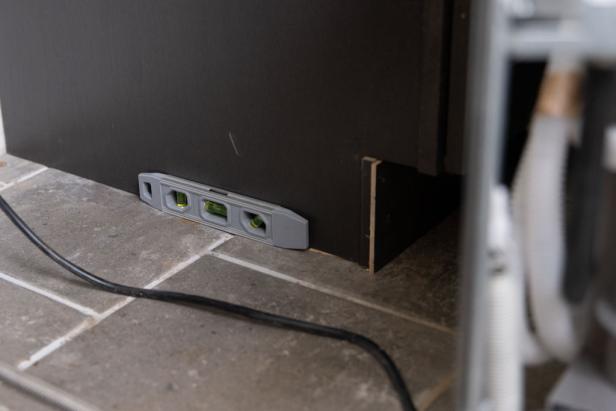
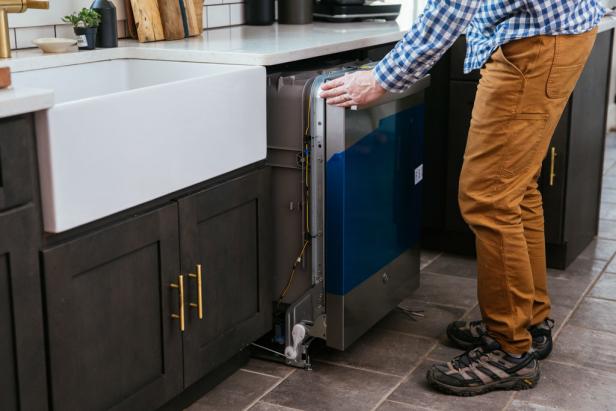
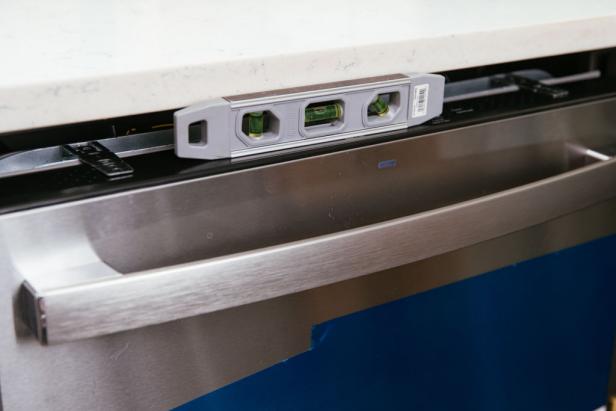
Place a level into the space (orient it front to back) where the dishwasher will sit. This will help you determine if the back legs of the dishwasher should be the same or slightly higher or lower than the front legs (Image 1). Assuring the dishwasher is level is crucial to avoiding damage to the machine in the future. Slide the dishwasher into the space (Image 2). Use a ruler to measure the distance from the top of the unit to the underside of the counter or cabinet (Image 3). Place a level on the front of the dishwasher and note whether one side is lower than the other (Image 4). Pull the dishwasher out and use these measurements to spin the metal legs to raise (or lower) the height of the washer (Image 5). Slide the dishwasher back into place, re-measure, re-level and make micro adjustments as needed. Finally, make sure the dishwasher sits squarely in the space with equal space on each side.
Jennie Andrews
Jennie Andrews

Jennie Andrews
Jennie Andrews

Jennie Andrews
6. Mount Dishwasher
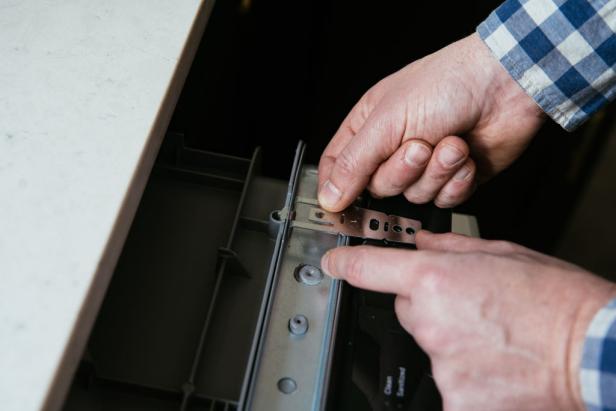
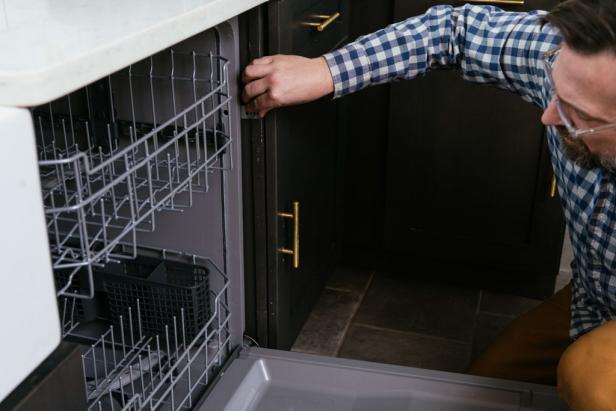
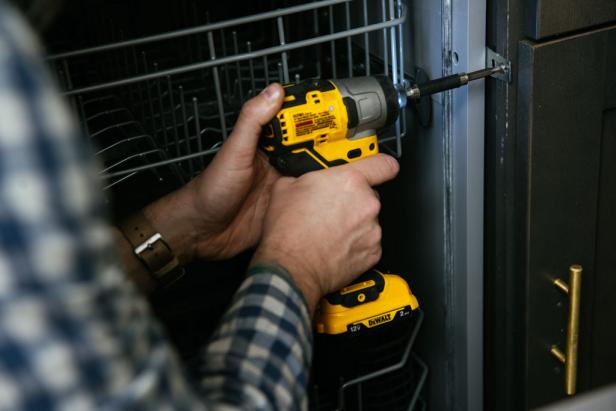
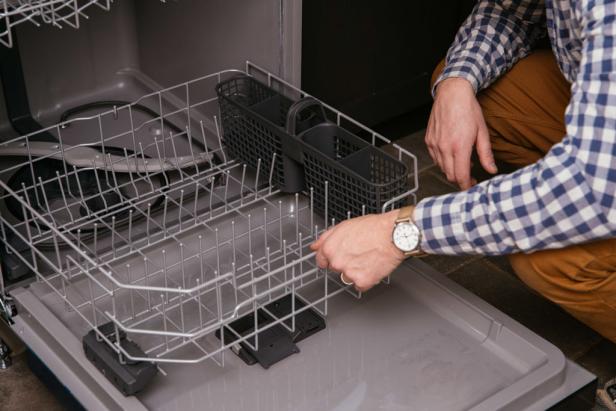
If you have wooden or laminate countertops, your dishwasher will mount to the underside of the counter (Image 1). If your countertops are stone or another hard material, the dishwasher will mount to cabinets on either side (Image 2). Locate the brackets that come with the dishwasher and attach them at the correct points for your setup. Then using a driver and the provided screws, attach the dishwasher to the counter or cabinets (Image 3). Test the fit. Open the door and roll out the bottom rack (Image 4). The door should open smoothly without hitting or rubbing and the rack should glide easily but not roll by itself.
Jennie Andrews
Jennie Andrews
Jennie Andrews
Jennie Andrews
7. Connect Wires
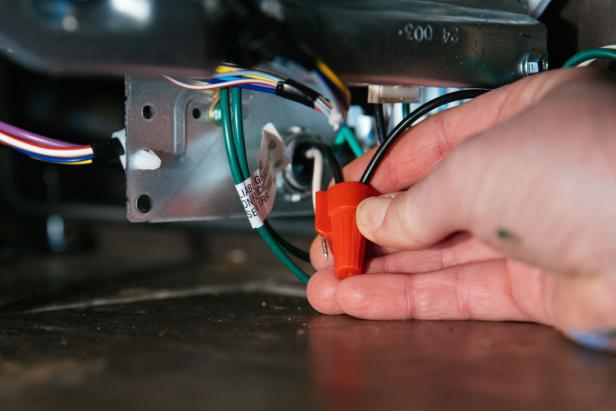
Test voltage on wires one more time for safety, making sure power to the wires has been turned off. Then, attach wires from the wall to wires of the same color on the washer. There should be three wires: a red, a black and a green, which acts as a grounding wire. To attach, place the wires together, slip a wire nut over the wires and then twist to secure them safely together (Image 1). Once the wires have all been attached, install the safety plate (should be in the installation kit) over the wires (Image 2). It is now safe to restore power to the unit.
Jennie Andrews

Jennie Andrews
8. Add Kickplate
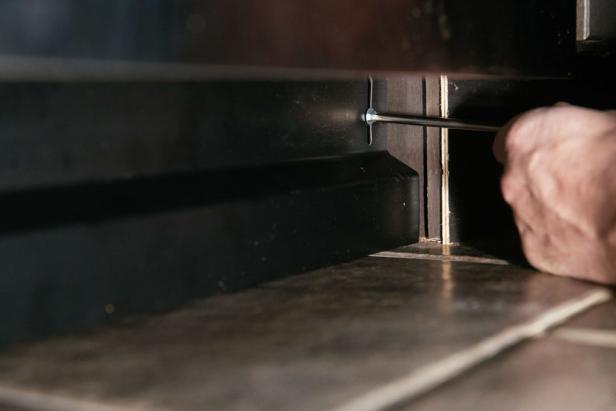
Using provided screws, add the kickplate to the bottom of the unit. Turn on the water at the valve under the sink and you are ready to enjoy your new dishwasher.
Jennie Andrews

.-Battle-on-the-Beach-courtesy-of-HGTV.-.jpg.rend.hgtvcom.196.196.suffix/1714761529029.jpeg)


