How to Hang Plants From the Ceiling
Learn the correct steps to securely and safely suspend plants from the ceiling.
Jennie Andrews

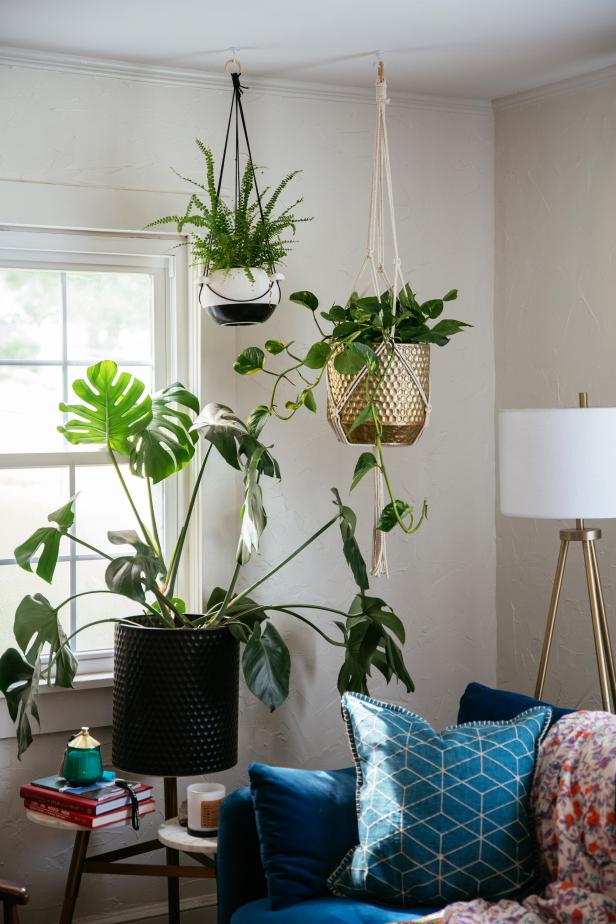
Indoor plants have long been loved for their ability to not only add visual appeal to any space but also because they have been proven to reduce stress and boost creativity. Hanging plants from the ceiling can add another layer to your design, save valuable space on other surfaces, as well as protect plants from small children and animals. Safety is the priority when hanging anything from the ceiling. While this is an easy project, it does require specific hardware and tools to ensure a secure and safe hold.
Tools + Materials
- ladder
- ceiling swag kit
- stud finder
- pencil
- drill with various-sized bits
- pliers
- chain or S-hooks (optional)
1. Weigh Your Plant
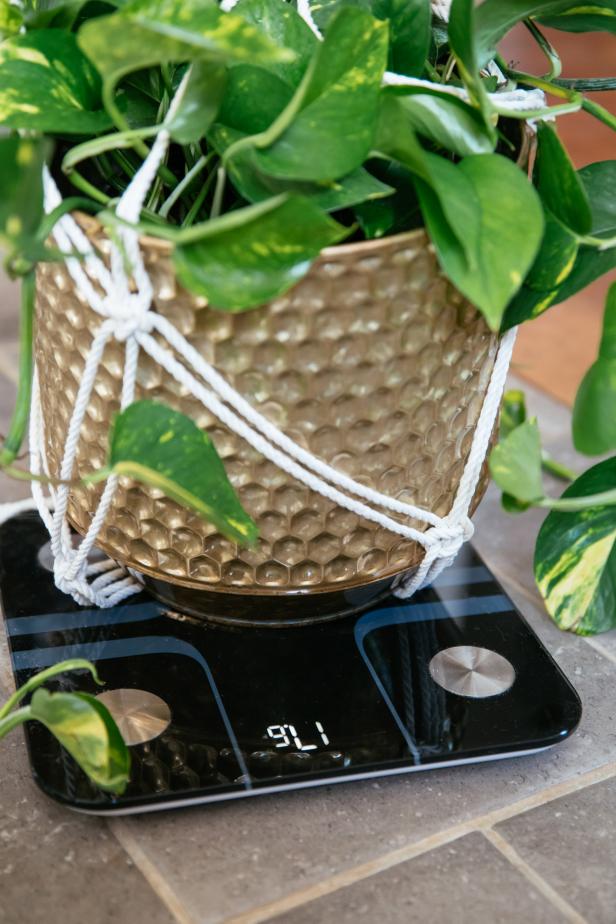
Water your plant in the container you are planning to hang and then weigh it just after watering. Water adds a lot of additional weight to a planter and you want to ensure that the hardware you choose meets or exceeds the weight of your potted and freshly watered plant.
Jennie Andrews
Jennie Andrews
2. Choose a Location
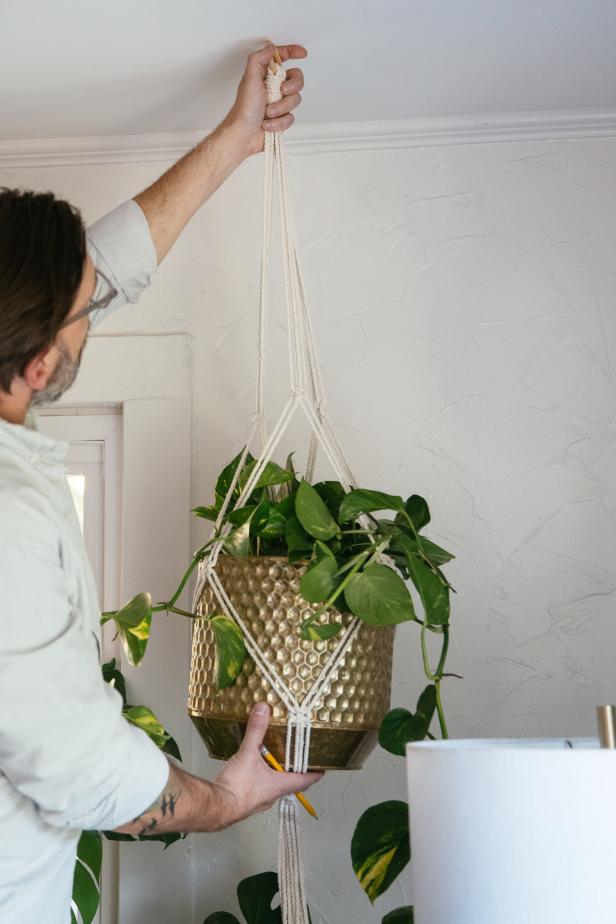
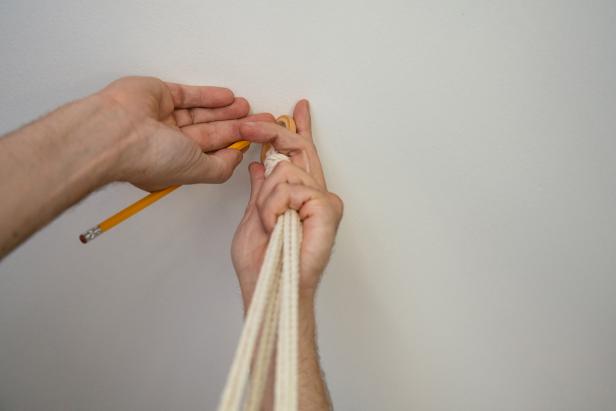
Choose a location to hang your plant keeping in mind its light requirements. Some plants like direct light, some indirect and some like very little light. When you have determined the exact location, mark the ceiling with a pencil. Use a stud finder to determine if the spot you chose is on a stud or is hollow drywall. This will determine which hanging method you use.
Jennie Andrews
Jennie Andrews
3. Hang In a Stud
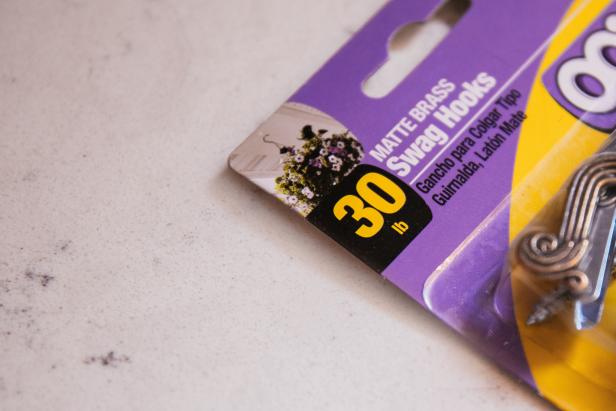
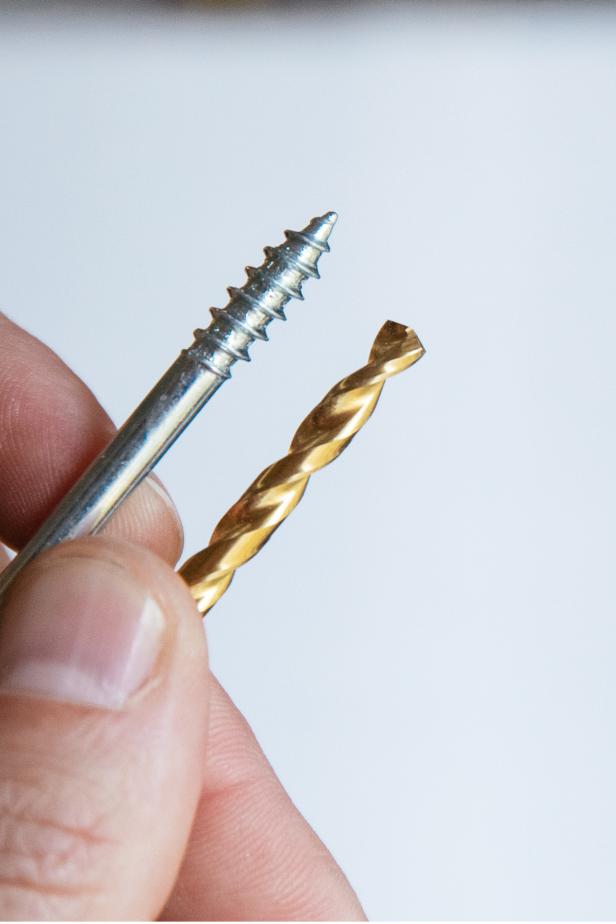
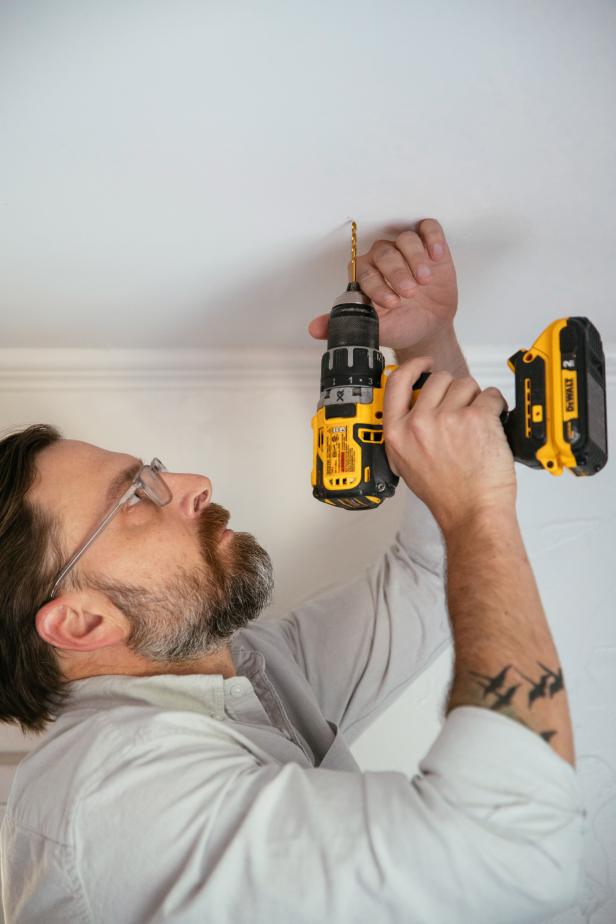
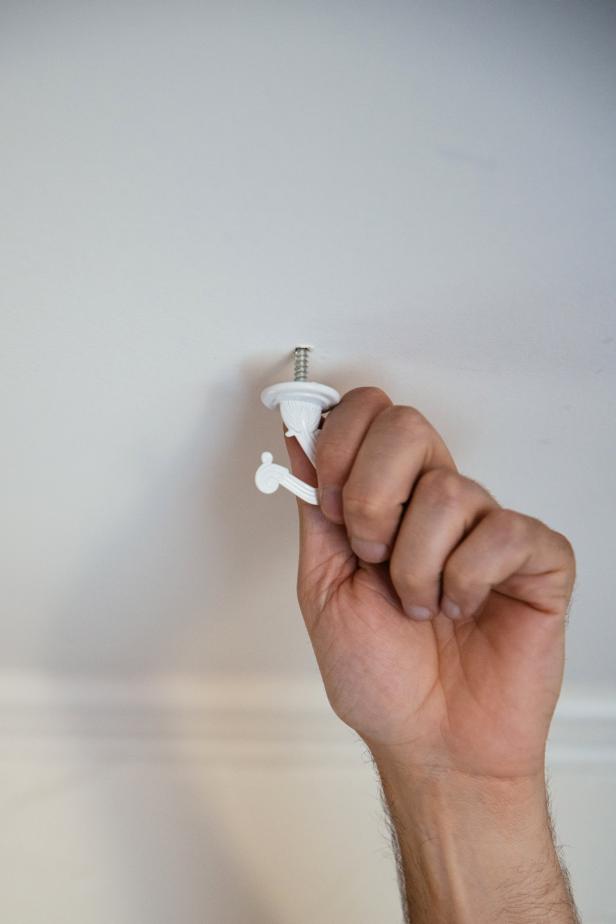
Home improvement stores carry swag hooks made specifically for hanging items from the ceiling. These kits come with options for both hanging from studs or for hanging directly into drywall. Be certain to choose a swag hook with a weight capacity equal to or greater than the weight of your potted plant after it has been watered. Look on the package to determine the size drill bit needed for a pilot hole. If one is not listed, choose a bit just slightly smaller than the screw. Drill a pilot hole into the ceiling.
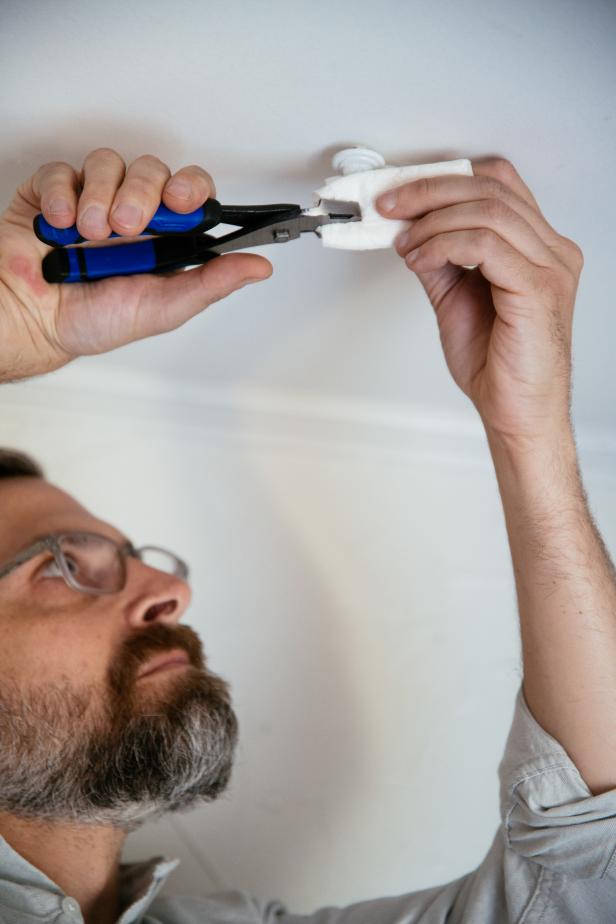
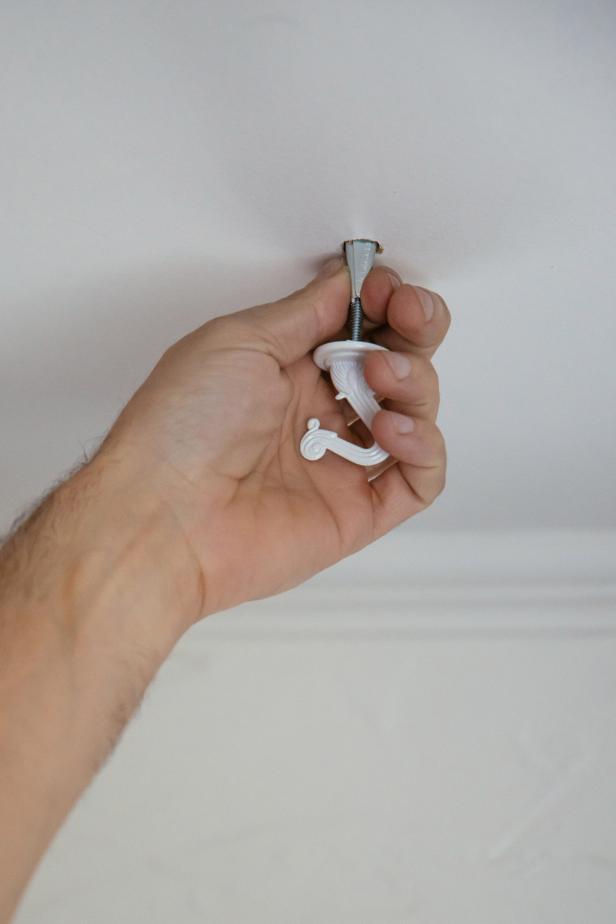
If your drill bit hits wood, then you will choose the pointed screw tip in the swag hook kit that is made to drill into a stud. Simply screw in the swag hook. It will likely be very difficult to turn once it begins to get tight. Place a rag around the hook and grip with a set of pliers. The rag protects the finish of the hook and the pliers will give you additional torque to be able to tighten the hook. Don’t tighten past the lip at the bottom of the hook or you risk breaking the hook.
Jennie Andrews
Jennie Andrews
Jennie Andrews
Jennie Andrews
4. Hang In Drywall
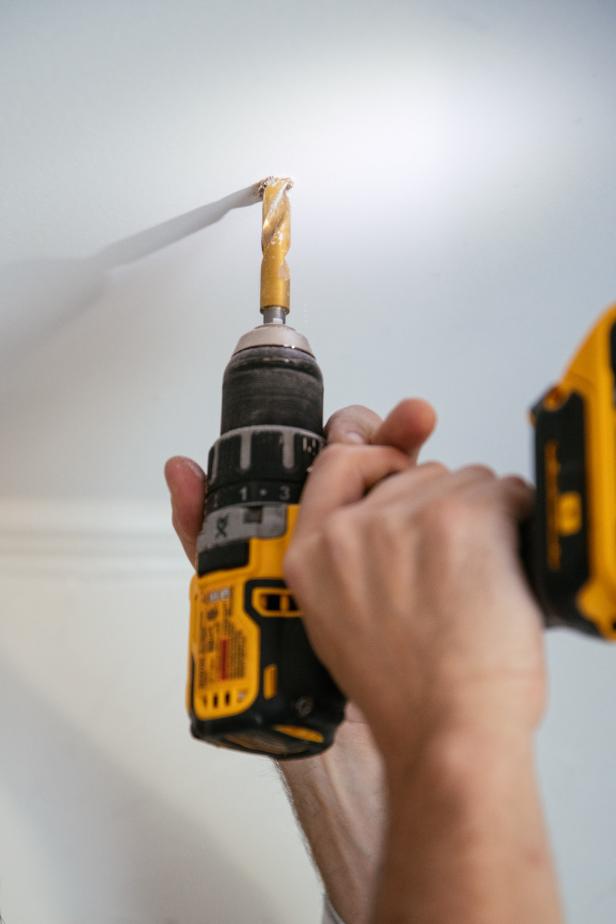
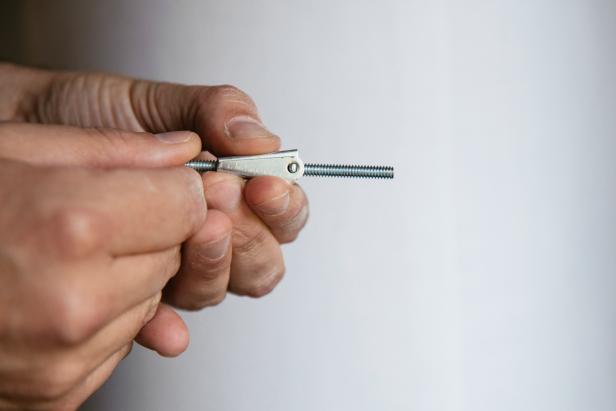
If your drill bit does not hit wood, you will need to use the hardware in the kit meant for hanging directly into drywall. DO NOT use plastic drywall mounts for the ceiling. They are designed for wall applications and their weight rating declines sharply when used vertically. You will need to expand the size of the hole for this specialty hardware. Look on the package to determine the size drill bit needed to allow the toggle to be fed through the hole. Redrill the hole over the existing hole.
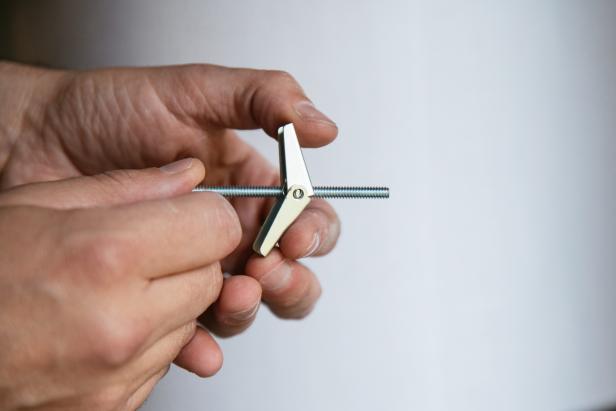
Fold in the wings of the toggle, pressing them close to the shaft of the screw, and push it into the hole. The wings of the toggle will open inside the ceiling and clamp down when the hook is tightened.
Jennie Andrews
Jennie Andrews
Jennie Andrews
Jennie Andrews
5. Hang Your Plants
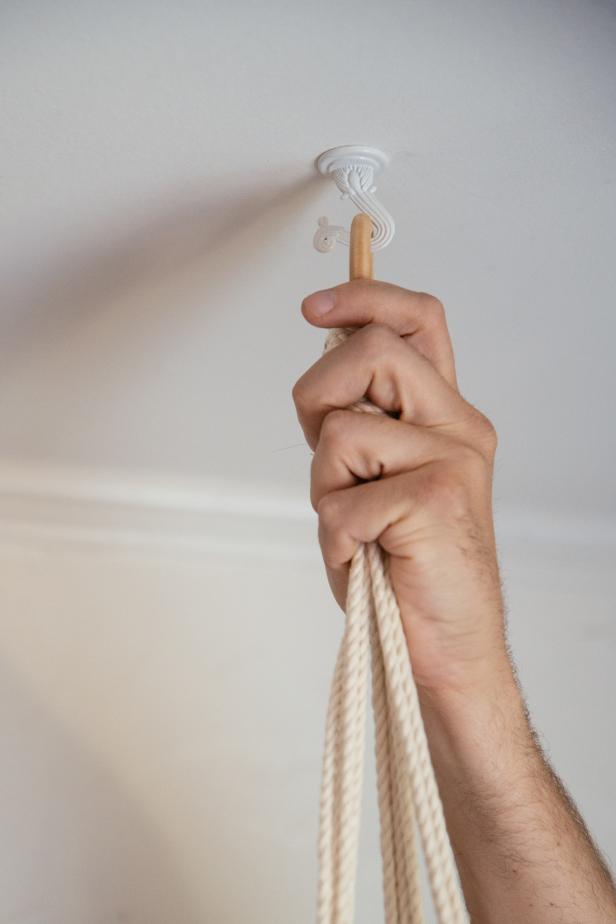
Hang your plants on your newly (and safely) installed ceiling hooks. Depending on how low you’d like your plants to hang, you might need some chain or a couple of S-hooks to extend the potted plant down to your desired height.
Jennie Andrews
6. Enjoy Your New Plants
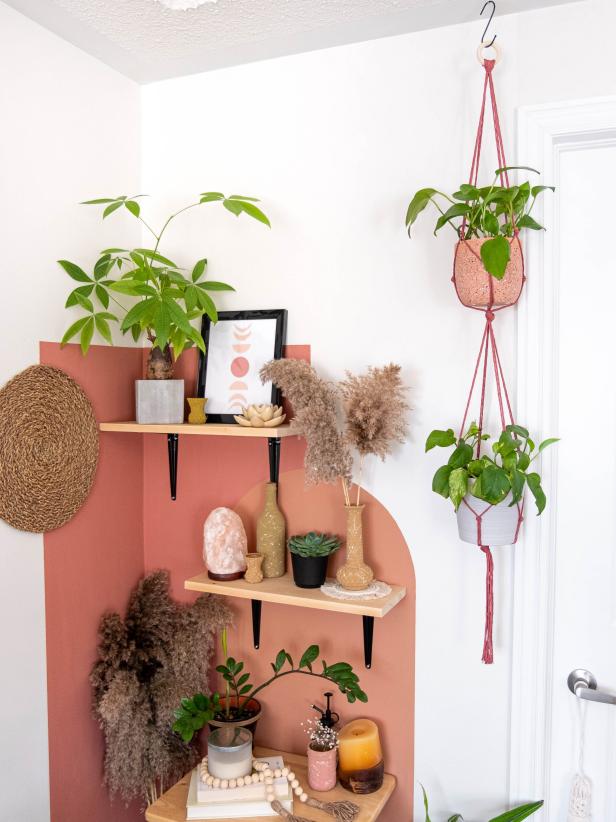
Enjoy your new hanging plants with the knowledge you followed the right steps for a safe and attractive installation.
TippyTortue
15 Best Indoor and Outdoor Hanging Planters
Level up your gardening game with a beautiful hanging planter or basket.

.-Battle-on-the-Beach-courtesy-of-HGTV.-.jpg.rend.hgtvcom.196.196.suffix/1714761529029.jpeg)


