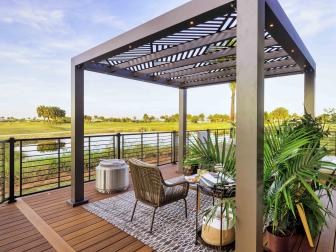
How to Hang a Shade Sail Over a Patio
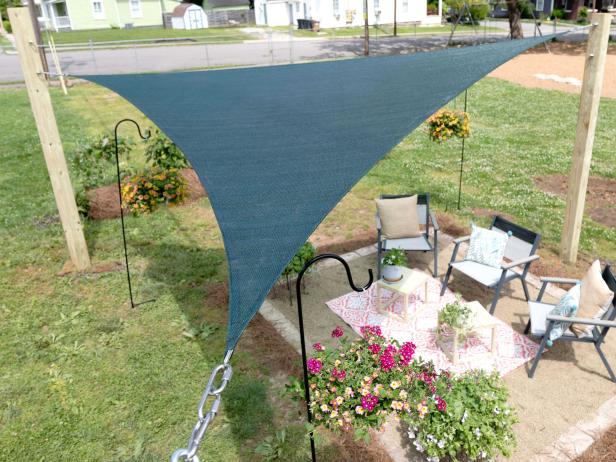
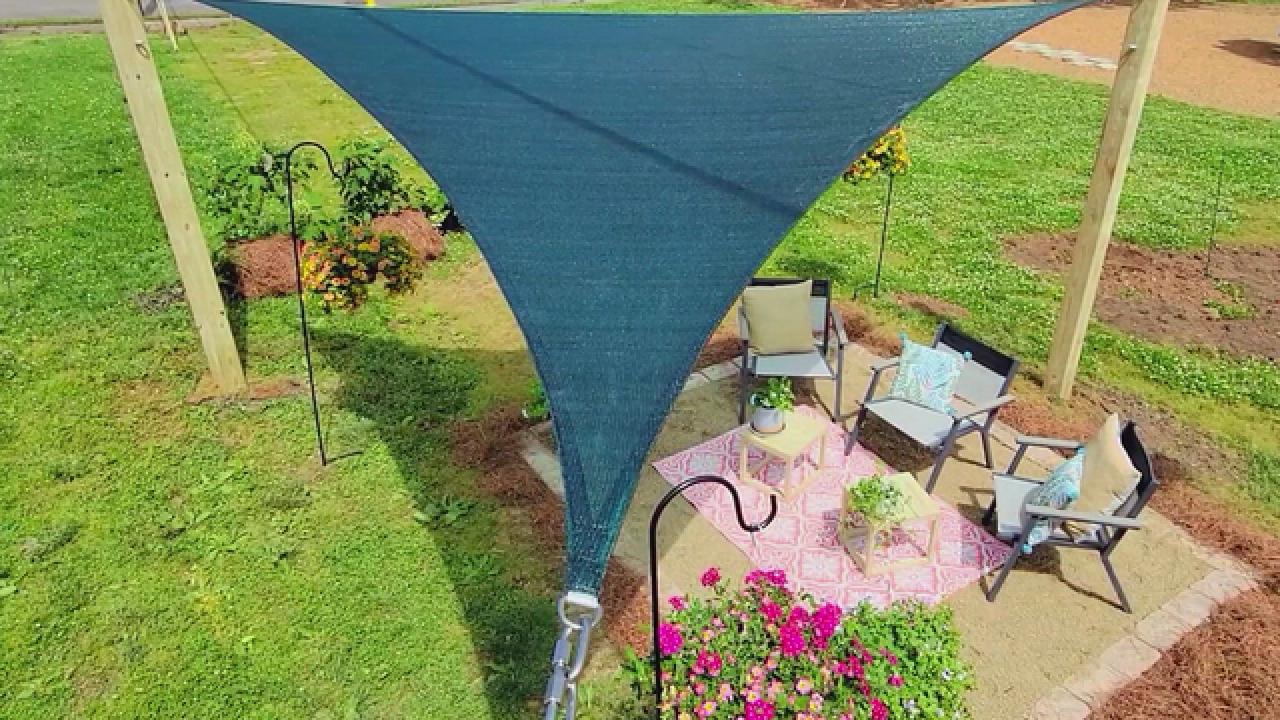
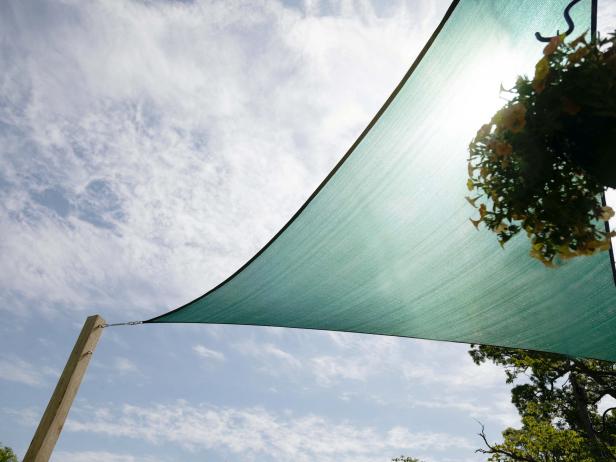
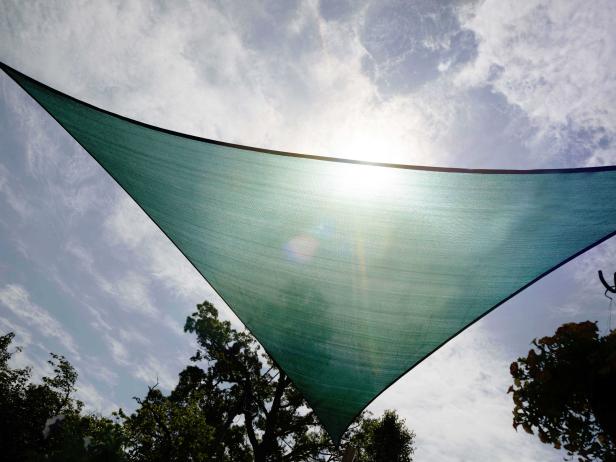
Add instant shade for not a lot of money and just a little bit of elbow grease by hanging a triangular shade cover over your patio or deck.
SHAIN RIEVLEY
Pergolas, gazebos and awnings can be expensive to build and install. A triangular sun shade costs a lot less and can be installed in less than a weekend.
Tools and Materials:
- 16’ x 16’ x 16’ shade sail
- (3) 6x6 x 12’ pressure-treated posts
- (6) 2x4 x 8’
- (3) bags of gravel
- (1) 80lb. bag of concrete
- concrete mixing tub or wheelbarrow
- marking paint
- (1) 50-count box 3” wood screws
- post level
- line level
- post-hole digger
- hoe
- digging shovel
- drill with 1/2" bit
- (3) eye-to-eye turn buckles
- (6) 1/2” galvanized eye-bolts - 8” long
- (12) 1/2" nuts
- (6) 1/2” washers
- (6) carabiners
1. Determine Layout
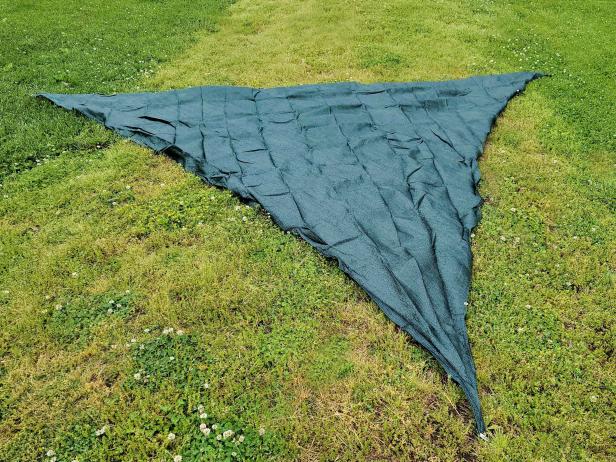
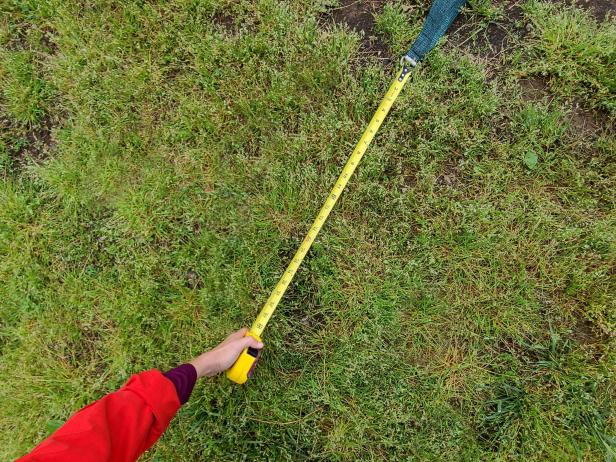
Spread triangle shade sail out flat on the ground to determine the placement.
2. Mark Placement of Posts
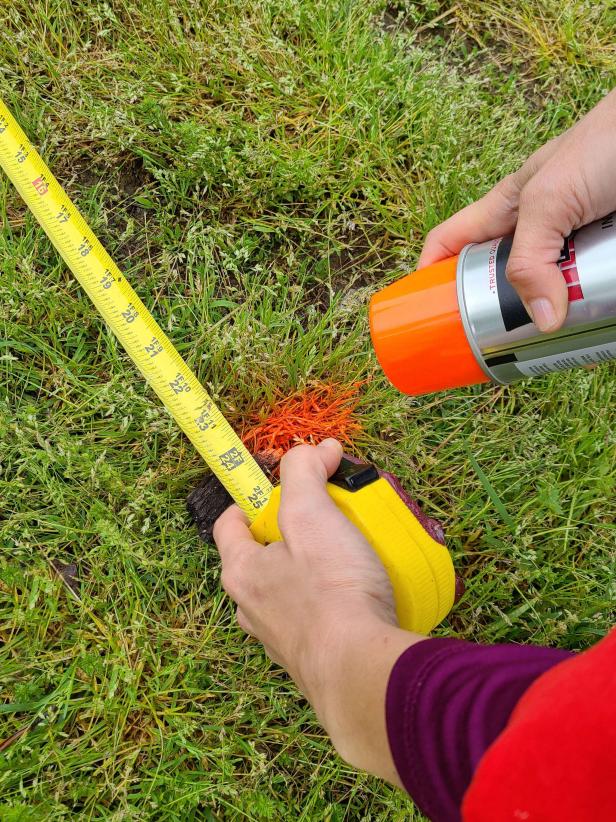
Spray the ground with marking paint about 1 to 2 feet away from the corner of the shade sail. This is where your posts will go.
3. Sand the Posts
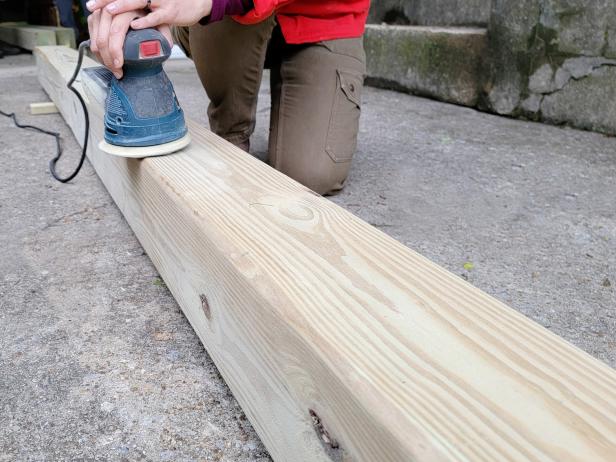
Use an orbital sander or a sanding block to sand the 6x6 posts until smooth.
4. Dig The Holes
Use a post-hole digger to create holes for the posts. Or you can rent an auger from a tool-rental company to save time and backache. Check local codes for required hole depth in your area — in most places it is around 2 to 3 feet deep.

5. Add Gravel
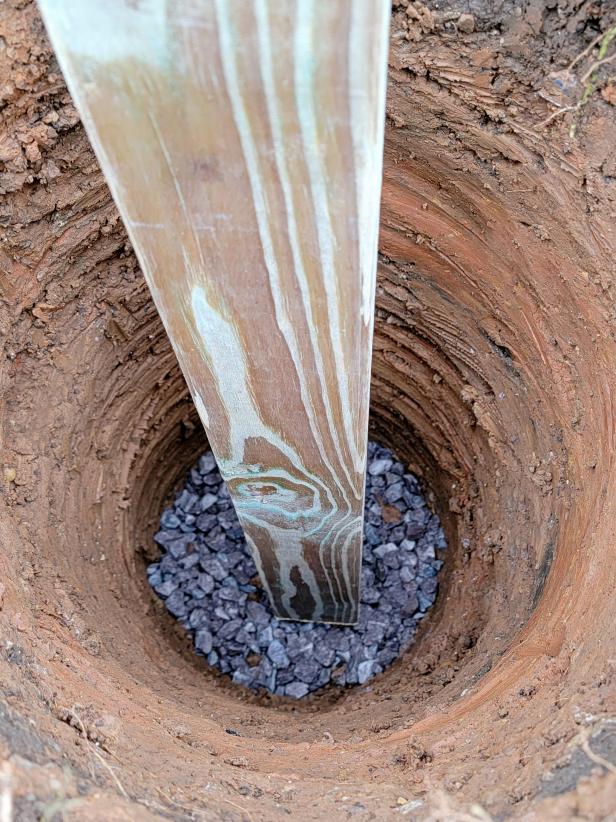
Pour 2 inches of gravel into the holes. Tamp it down well using a piece of scrap wood.

6. Place the Posts
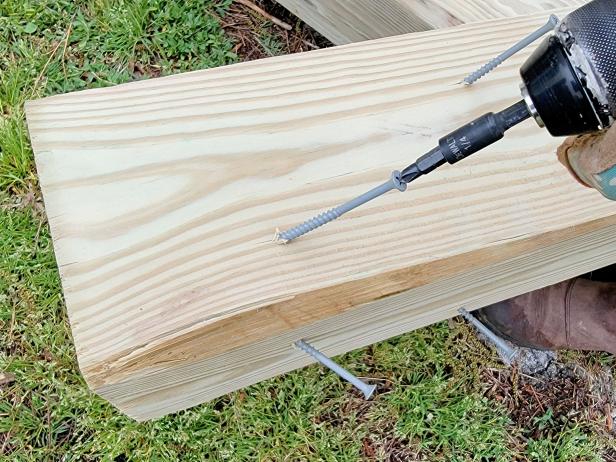
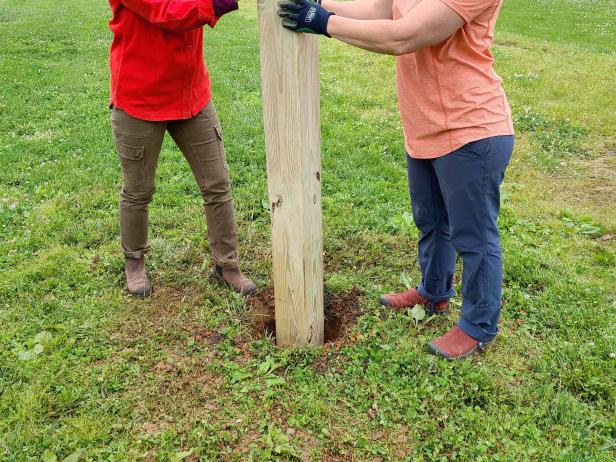
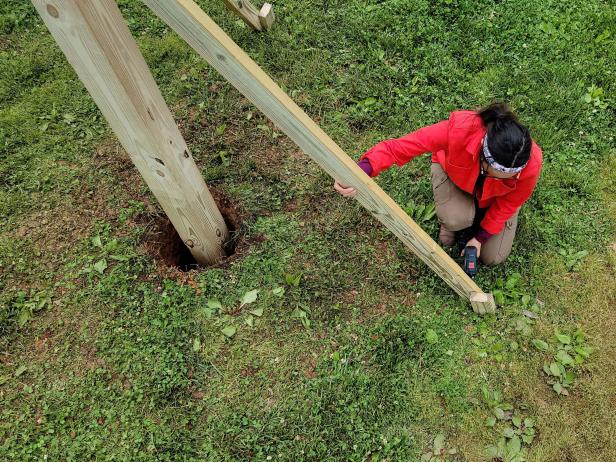
Add long screws to the base of the posts at an angle (Image 1). This will provide a little more stability as the screws adhere to the concrete. Have a friend help you lift the posts and place them into the holes (Image 2). Use a post level to angle the post 2 degrees off center (Image 3). This will help counter the tension of the shade. Use 2x4s to support the posts from the ground and hold them in place (Image 4).

7. Pour the Concrete
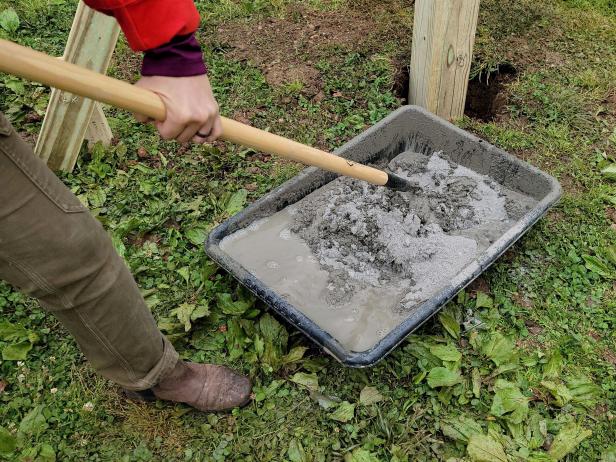
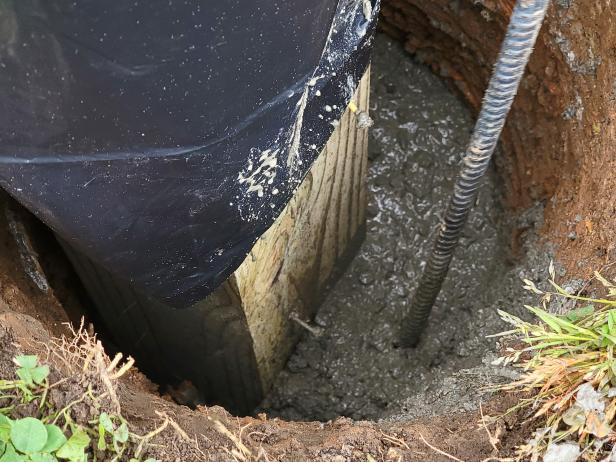
Mix high-strength concrete to fill the holes. Mixing in a tub is easy and convenient for smaller jobs like this (Image 1). Once the hole is full of concrete, work the mix with rebar or a piece of scrap wood to release any air bubbles (Image 2). Follow the manufacturer’s instructions for cure time.
8. Back Fill
Cover the concrete with the dirt you dug out of the hole.
9. Drill Holes on Posts
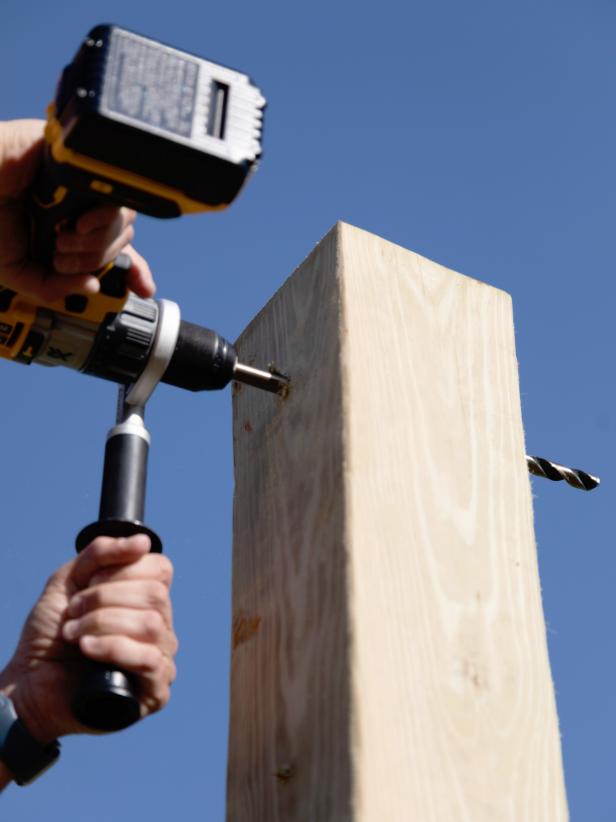
Use a 1/2" bit to drill a hole 6 inches down from the top of your first post. The hole needs to go all the way through the post. Use a line level and string tied to each post to determine how far down the initial hole should be on the other two posts. It will vary since the ground is probably not level. Once the top holes are made, drill a second hole on each post, 12 inches down from the first one. This will allow you to raise or lower the sail as needed.
SHAIN RIEVLEY
10. Add the Hardware
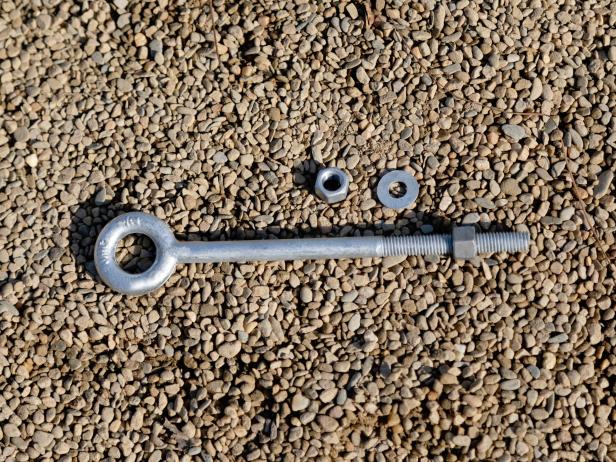
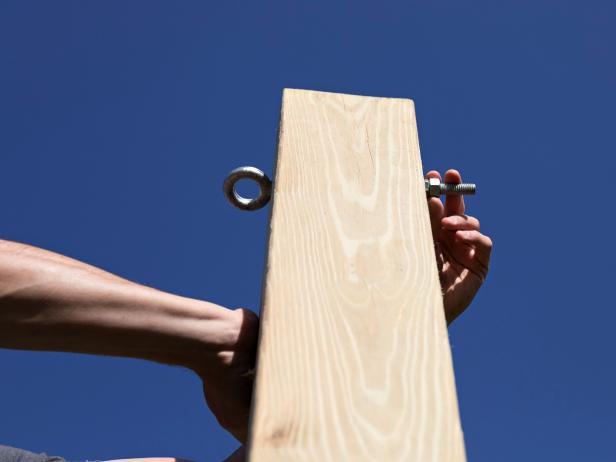
Twist the eye bolts into both holes on each post. Secure with a washer and two nuts to the other side for a tight fit.
SHAIN RIEVLEY
SHAIN RIEVLEY
11. Give It Tension
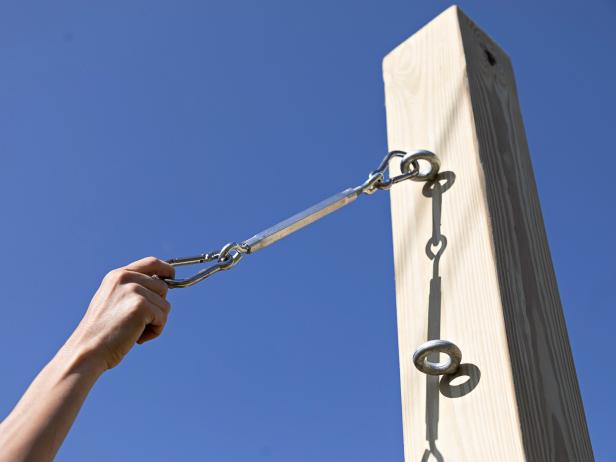
Add a carabiner and then a turnbuckle to each post so you’ll be able to apply tension to the shade sail.
SHAIN RIEVLEY
12. Attach Sail
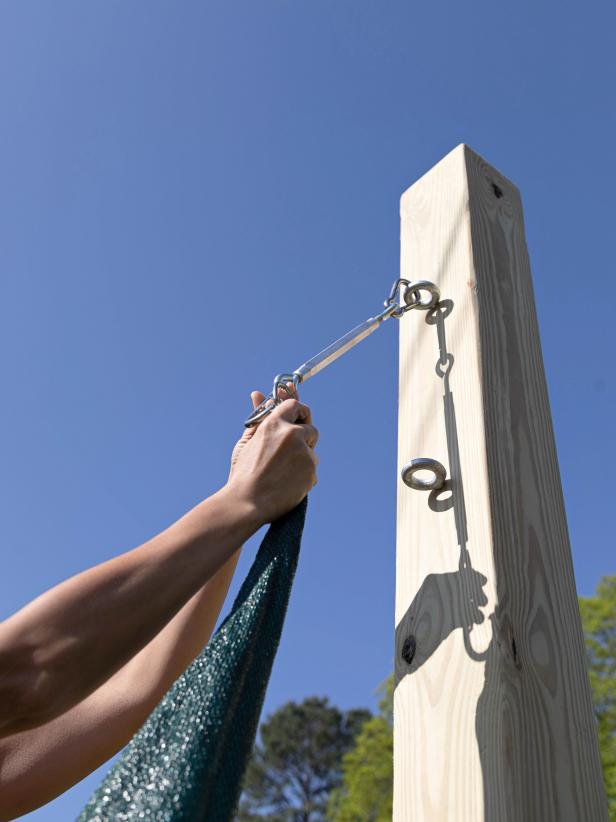
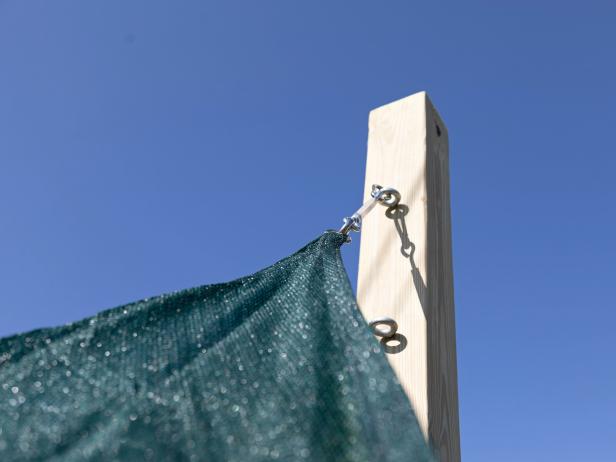
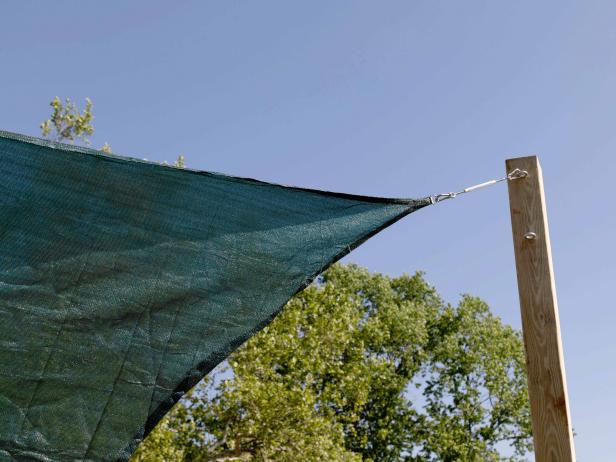
Attach the shade sail to each turnbuckle with another carabiner. Once it’s up, adjust the turnbuckle as needed to tighten completely.
SHAIN RIEVLEY
SHAIN RIEVLEY
SHAIN RIEVLEY
SHAIN RIEVLEY
SHAIN RIEVLEY
15 Covered Deck Design Ideas 15 Photos
Whether you're looking for shade, protection from the rain or more privacy in your backyard, we've got ideas for covering your deck including umbrellas, DIY canopies, pergolas, awnings and gazebos.

.-Battle-on-the-Beach-courtesy-of-HGTV.-.jpg.rend.hgtvcom.196.196.suffix/1714761529029.jpeg)


