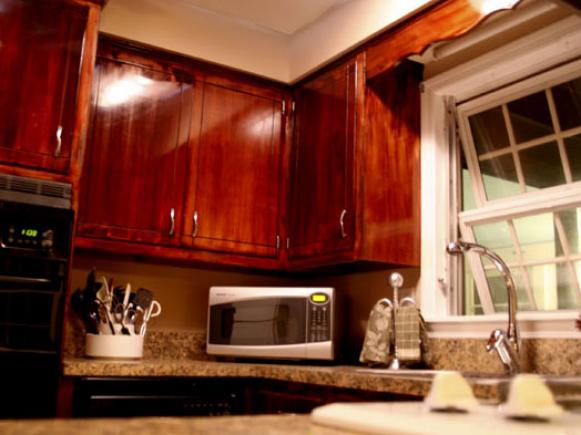
How to Give Your Kitchen Cabinets a Makeover
Materials and Tools:
wood stain (2 gallons)
assorted sandpapers
cordless drill; magnetic screw tip
orbital sander
router
v-groove router bit
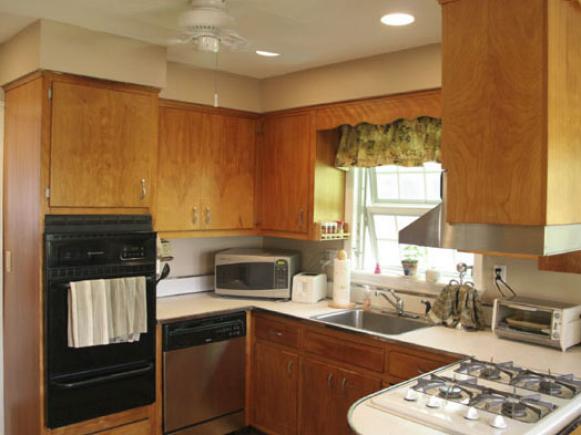
Tip: When removing cabinet doors, it's easy to lose track of hardware, fasteners and other small pieces. If you'll be reusing the hardware, make sure to keep it together in a safe place — such as in zip-lock bags. Label the pieces clearly for eady identification for when it's time to reinstall. Also, as you remove the doors, it's a good idea to label them in such a way that will make it easy to reinstall them later in their proper location.
Steps:
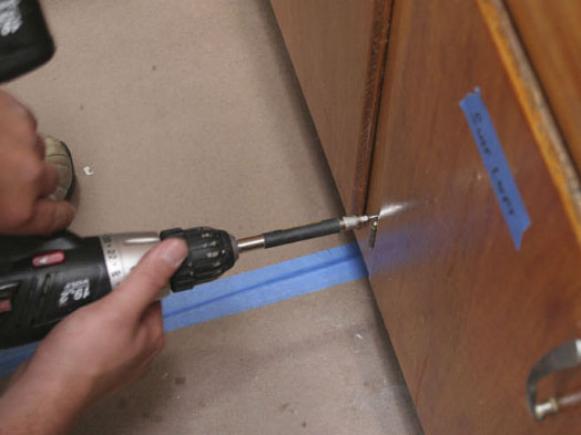
1. Using a cordless drill with screwdriver attachment, remove the cabinet doors.
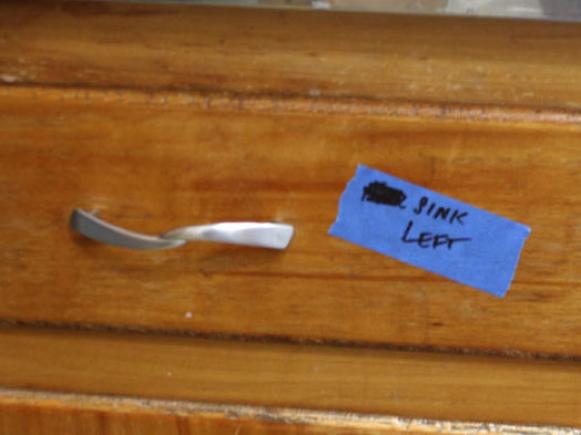
2. Use painter's tape and a marker to label each removed door, and each corresponding door-opening, so that they can be properly matched up later during reinstallation.
3. Rout grooves in the doors. With the doors removed, we opted to create grooves in our solid wood doors to change the look. Using a table router and v-groove bit, cut a groove around the perimeter of the door, 1 3/4 inch in from the outside edge.
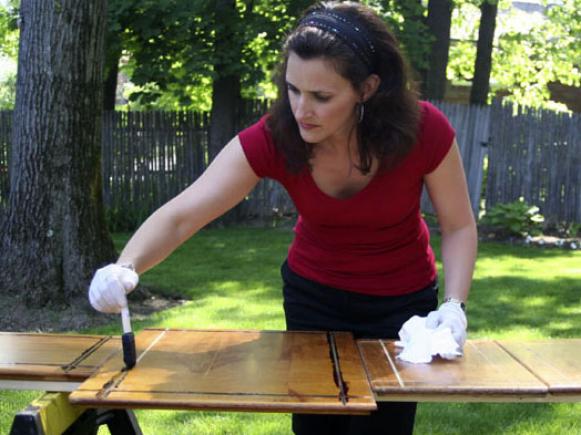
4. Apply stain to the newly cut grooves before sanding the doors. By staining the grooves before sanding the original finish off the door, the groove will ultimately be stained darker for an accent look. Using this technique, after sanding we will stain the entire door, including the groove, so the groove will be extra dark.
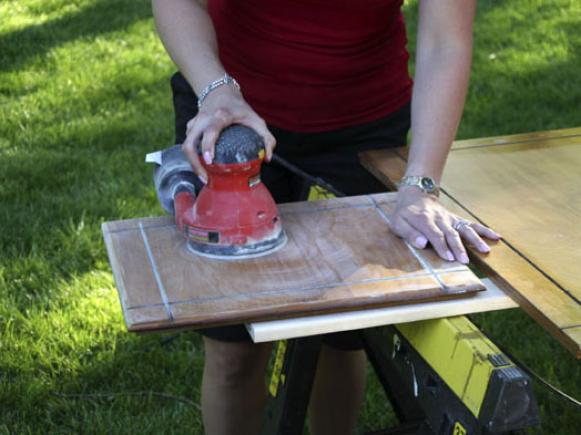
5. Sand the doors. Once the stain in the grooves has dried, sand the old finish off the door. Since we're going darker, we don't need to get to the bare wood. Just work on getting the shiny polyurethane off.
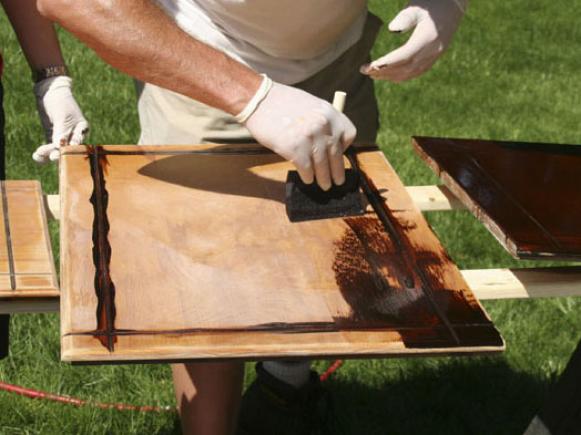
6. Stain the doors. Apply two to three coats of stain, allowing cure time between applications according to the stain manufacturer's directions.
Note: For this project, we used a mahogany stain that incorporates a polyurethane sealer. In that way, the stain and sealer goes on in one step.
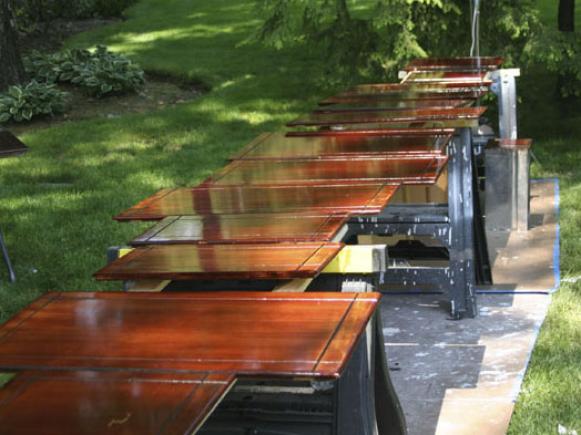
7. Once the final coat has been applied, allow the stain finish to dry fully.
8. Sand and stain the faces of the cabinets using the same sanding and staining techniques as for the doors.
Tip: When sanding with an orbital sander, always sand with the grain.
9. Once the stain on the cabinets and doors has cured fully, simply reinstall the door hardware and re-hang the doors.

.-Battle-on-the-Beach-courtesy-of-HGTV.-.jpg.rend.hgtvcom.196.196.suffix/1714761529029.jpeg)


