How to Frame a Mirror
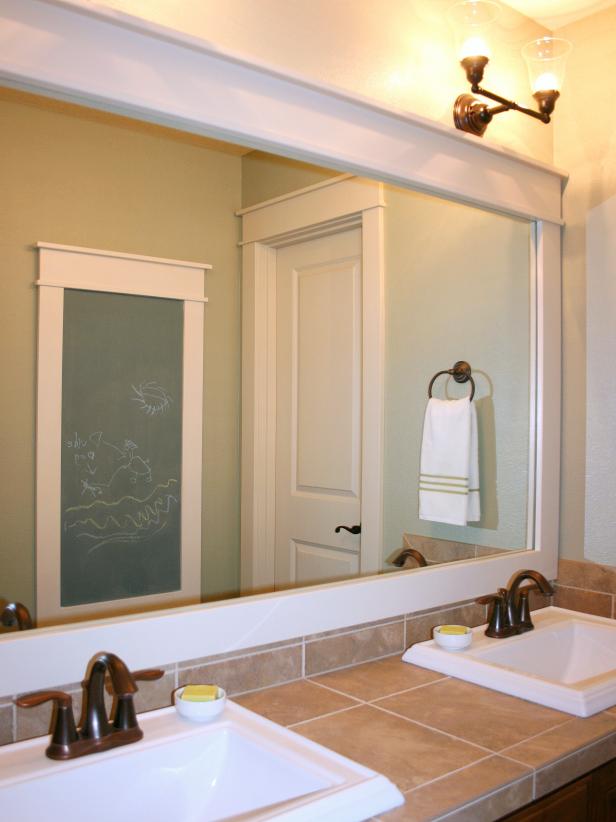
Materials Needed:
- 70-1/2" length 4 1/2" wide primed MDF baseboard
- 70-1/2" length 3 1/2" wide primed MDF baseboard trimmed down to 1"
- 70-1/2" length 3 1/2" wide primed MDF baseboard trimmed down to 1 1/2–"
- 38-1/2" lengths 3 1/2" wide primed MDF baseboard (2)
- 63-1/2" length 3-1/2" wide primed MDF baseboard
- tape measure
- paneling adhesive
- extra-strength wood glue
- caulk
- level
- latex paint
- latex paint extender
- extra-fine sanding pad
- paint brush
- painter's tape
- tack cloth
- drop cloth
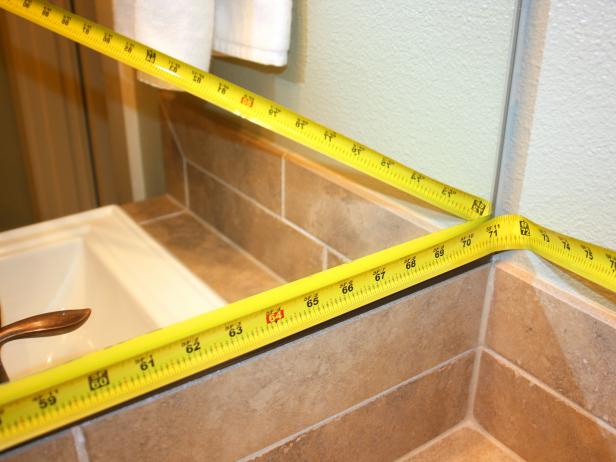
Step 1: Measure Mirror and Select Frame Style
Determine trim style and positioning of trim around mirror to obtain measurements specific to mirror being framed. Use measurements to cut lengths of primed MDF baseboard. Tip: Have materials cut at a home improvement store and consider using style of door casings in home as inspiration for the look of the mirror frame.
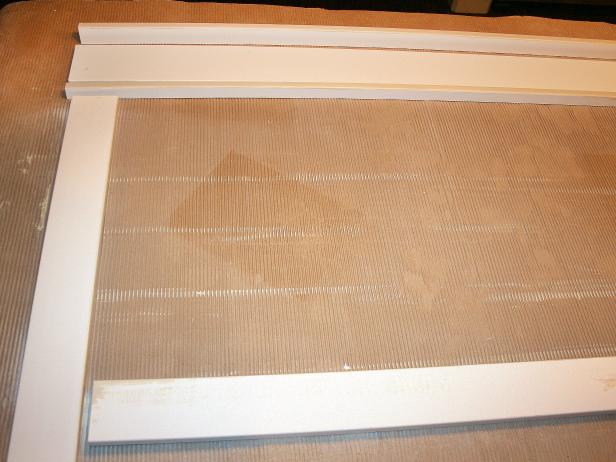
Step 2: Prepare Work Area
Gather required materials. Lay out lengths of trim on flat working surface.
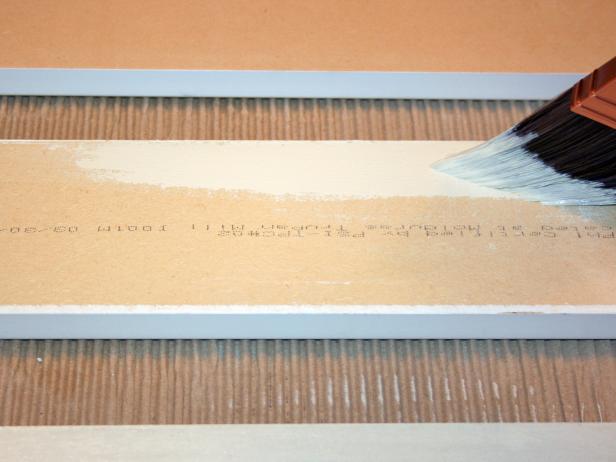
Step 3: Paint Back Sides
Add latex paint extender to paint, lengthening drying time and minimizing brush strokes. Paint back side of trim along edges that will extend over edges of mirror. Let dry two hours.
Tip: The back edges will be reflected in mirror.
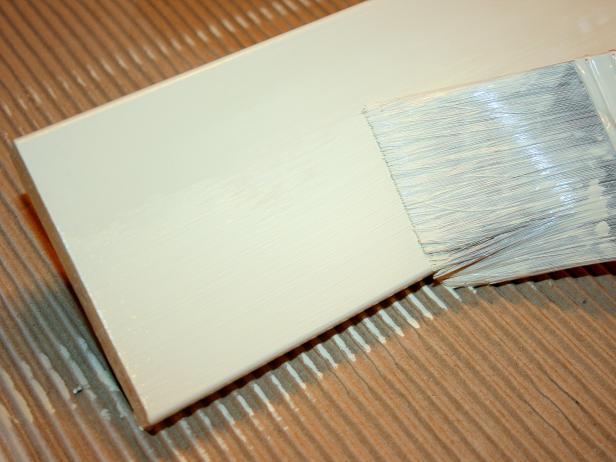
Step 4: Paint Trim
Paint front sides and edges of trim. Let dry two hours.
Step 5: Sand
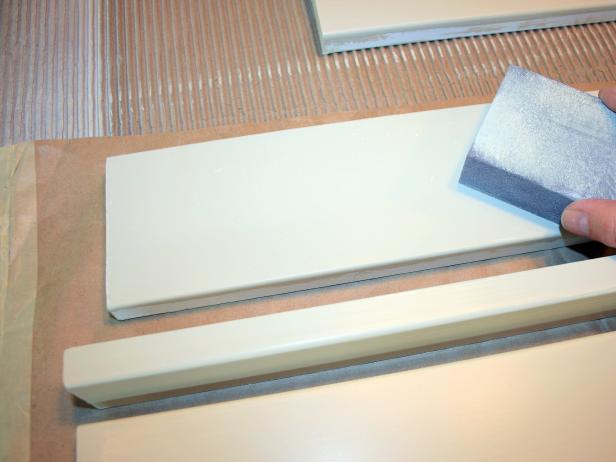
Use extra-fine sanding pad to lightly sand surfaces. Wipe clean with tack cloth.
Step 6: Glue Top Frame Together
Glue three lengths of MDF baseboard forming top frame with extra strength wood glue. Press pieces firmly together. Let dry two hours.
Step 7: Caulk Joints
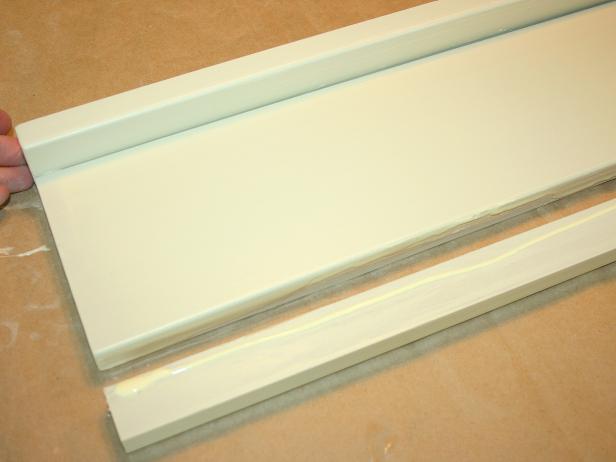
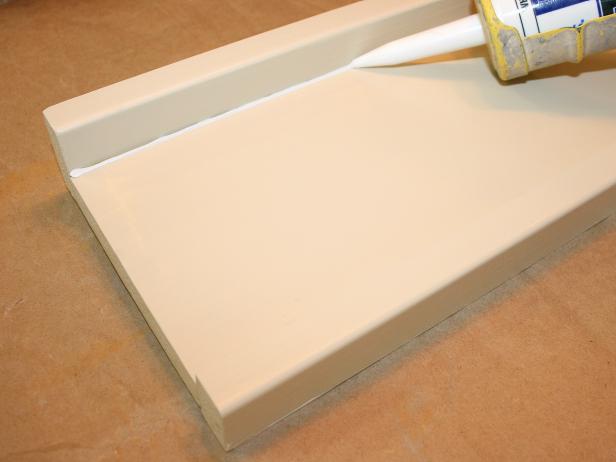
Run a bead of caulk along seam joints. Smooth caulk line and wipe away any excess. Let dry one hour.
Step 8: Apply Touch -Up Paint
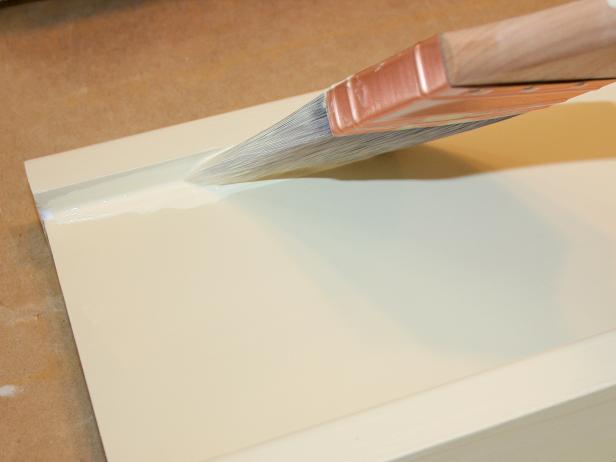
Paint over caulk by lightly brushing layer of paint along joint.
Step 9: Apply Second Coat of Paint
Paint a second layer of paint over fronts and sides of trim. Let dry 12 hours before installation.
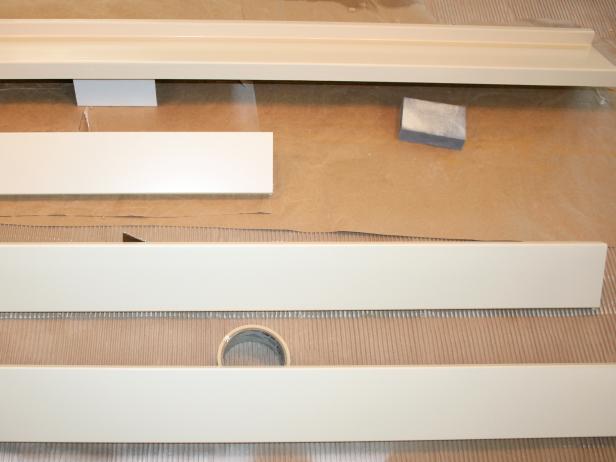
Step 10: Install Top Frame
Apply paneling adhesive to area where top frame piece will be positioned.
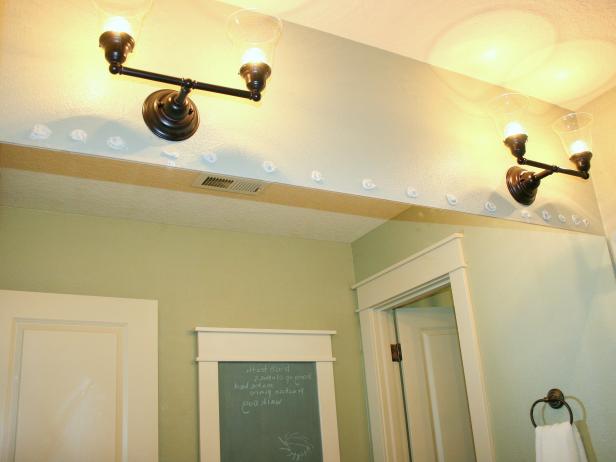
Step 11: Position and Tape
Press frame piece onto adhesive, check for proper placement and ensure piece is level. Secure in place using clean-release tape.
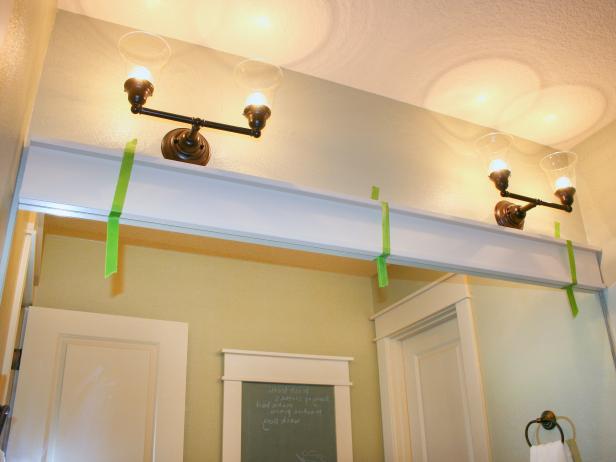
Step 12: Repeat Steps
Repeat prior steps, installing two side pieces of trim followed by bottom piece.
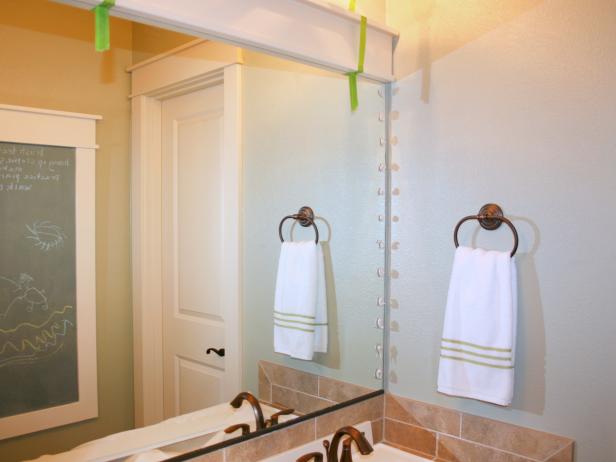
Step 13: Check Placement and Tape
Check all joints where trim meets to ensure pieces are positioned correctly and square. Make any necessary adjustments before adhesive begins to dry. Secure in place using clean–release tape. Let dry 24 hours.
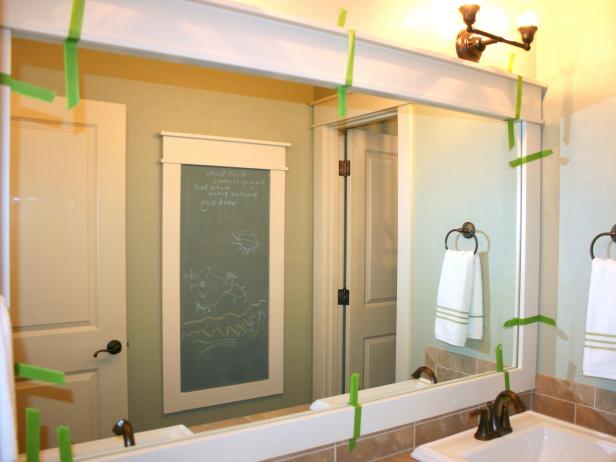
Step 14: Caulk Joints
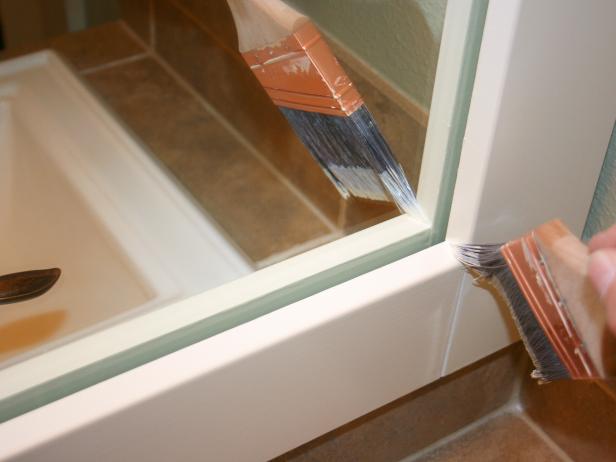
Run a bead of caulk along any gaps at joints. Smooth caulk line and remove any excess. Let dry one hour.

Step 15: Apply Touch Up Paint
Paint over caulked joints and any areas of frame requiring touch-ups.

.-Battle-on-the-Beach-courtesy-of-HGTV.-.jpg.rend.hgtvcom.196.196.suffix/1714761529029.jpeg)


