How to Fix Cracks in Concrete
Learn from the DIY experts at HGTV.com how to fix minor cracks in concrete in your driveway and patio.
Jennie Andrews
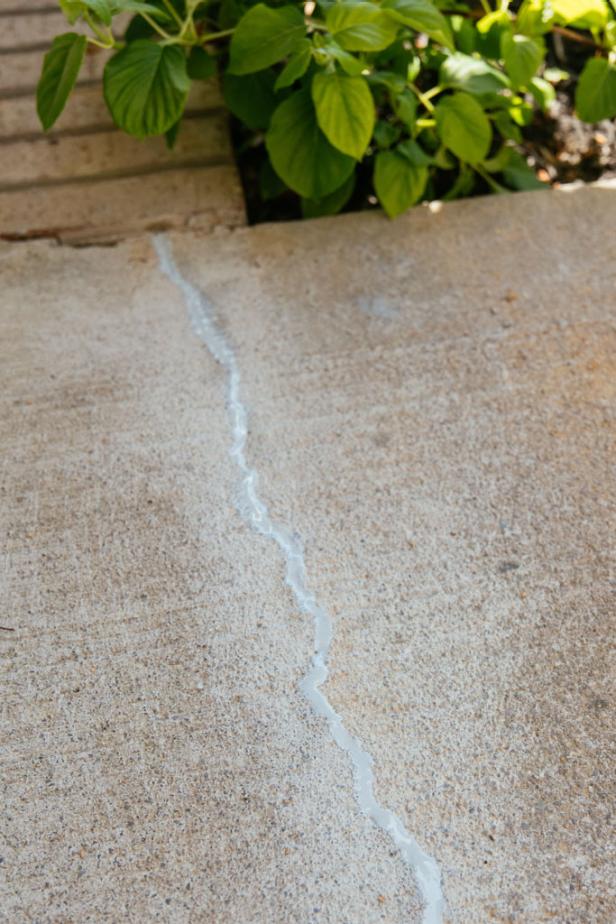
Sealing even the smallest hairline cracks can make a big difference to the lifespan of your concrete.

Cracks in concrete around your home are certainly unsightly. However, your home's visual charm is only one reason to repair cracks as soon as they happen. Cracks that are left unaddressed can widen and cause big problems down the road. Sealing even the smallest hairline cracks can make a big difference to the lifespan of your concrete.
Understanding Why Cracks in Concrete Happen
While concrete is generally a very durable and long-lasting material, all concrete will eventually crack. It is simply the nature of a rigid material. Understanding why concrete cracks will give you a head start on successfully maintaining your concrete and keeping it functional and beautiful for a very long time. Concrete typically cracks because of heavy loads, ground movement, moisture penetration and fluctuations in temperature — especially large changes over short time frames. Moisture infiltrates the concrete and then expands as it freezes, causing the concrete to crack. Moisture can also weaken the ground beneath the concrete, causing the slab to shift. Patching and sealing cracks as they occur can keep moisture out and protect the integrity of your concrete, adding to its longevity and visual appeal.
Flexible sealants are the best choice for repairing and sealing thin cracks in concrete. The two most widely used sealants are latex-based and polyurethane-based. Latex products are water-based, so application and clean-up are easy. Polyurethane products require clean-up from chemicals such as paint thinners, but the results offer a slightly more durable finish. No matter which you choose, their flexibility allows the concrete to shift slightly, reducing the risk of further damage. Likewise, both products are available in caulk tubes, making application easy for even the novice DIYer. They can also be used on both horizontal and vertical surfaces.
Tools + Supplies
- ruler or tape measure
- masonry sand (for deep cracks)
- chisel
- hammer
- concrete sealant
- stiff brush
- soap such as dishwashing liquid
- gloves
- damp rag
Jennie Andrews
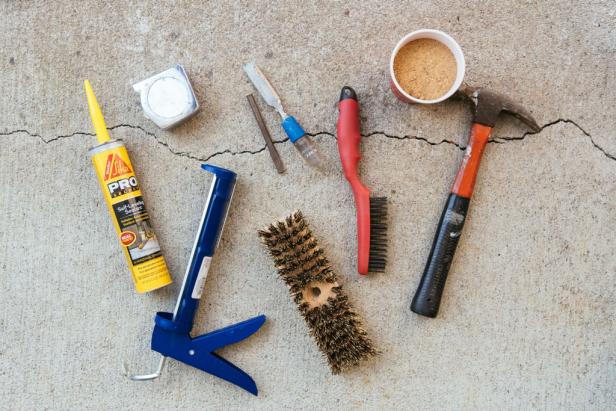
Materials and supplies for repairing cracks in concrete include sealant and caulking gun, tape measure or ruler, chisel, stiff bruish, masonry sand and a hammer.
1. Identify Fixable Cracks in Concrete
Assess the severity of the cracks in your concrete. You can opt for a DIY repair if your concrete and cracks fit within a few parameters.
- First, make sure your concrete does not have an excessive number of cracks and appear to be crumbling.
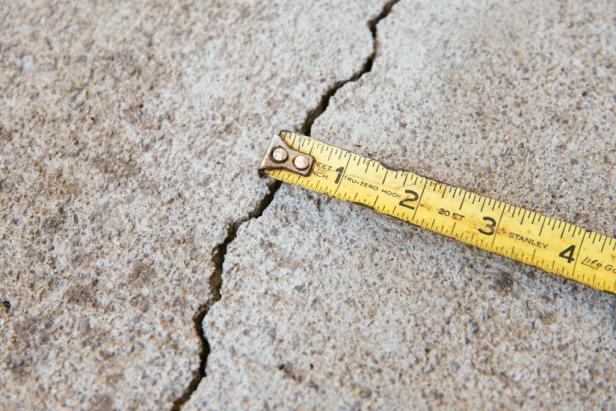
- Second, the crack should be less than 1/2 inch wide.
- Lastly, the crack should be level; one side of the crack shouldn't be sinking down or heaving upward. Otherwise, your concrete may be past a DIY solution. It's time to call in a professional, who may use a combination of jacks, mortar and sealants to level and repair large cracks in your concrete.
Jennie Andrews
For DIY repairs, cracks should be less than 1/2-inch wide.
2. Prepare Crack to be Repaired
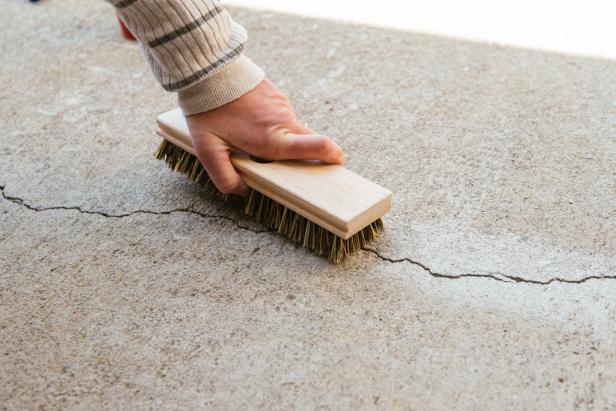
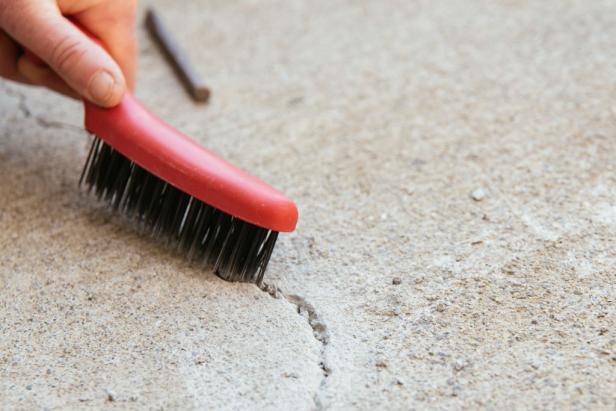
Spending some time preparing the concrete for the sealant will make a big difference in the quality of your seal. Clean the area around the crack well. Use soap — such as dishwashing liquid — and a stiff brush to scrub the surface (Image 1), taking special care to remove any oils that may be on the concrete. Make sure the crack is dry before making the repair.
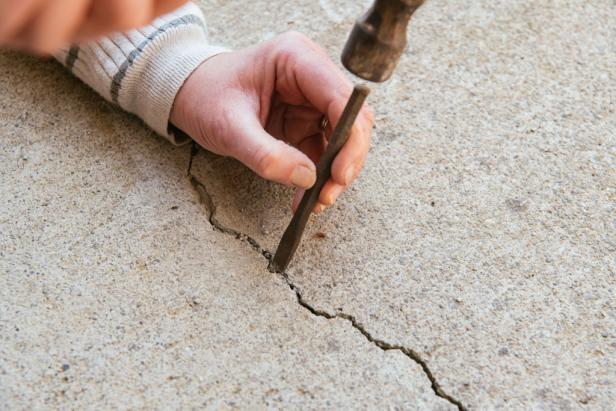
While it may seem counterintuitive to make a hairline or thin crack larger, cracks need to be chiseled into a V-shaped groove. This allows the sealant to penetrate down into the crack and seal out all moisture. Hairline cracks, especially, can’t be sealed by simply applying sealant or concrete to the surface. Water will still be able to penetrate underneath the patch.
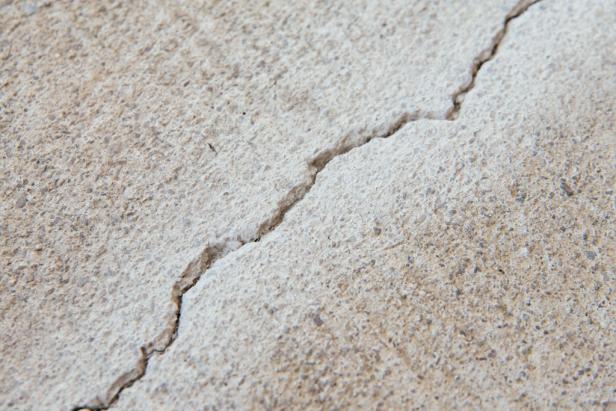
Open the thin crack to at least 1/4 inch by placing the chisel into the center of the crack and chipping away any loose or crumbling concrete (Image 2). The sides of the crack should be vertical or form a V-shape. Use a wire bristle brush to scrub away any crumbles from the crack (Image 3) and any dust from the area around the crack. The area around the crack should be free of any debris (Image 4). You also can use a shop vac or blower to remove the dust and loose concrete.
Jennie Andrews
Jennie Andrews
Jennie Andrews
Jennie Andrews
3. Add Sand to Deep Cracks
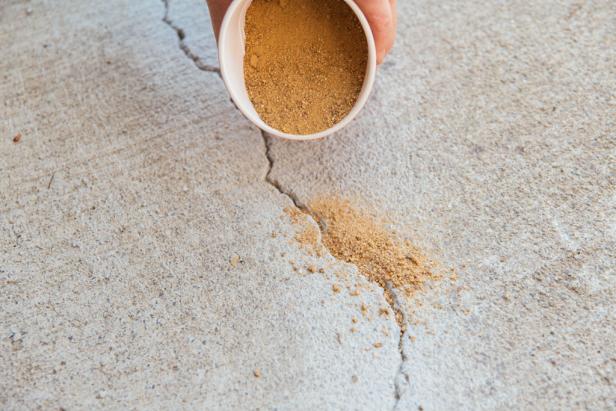
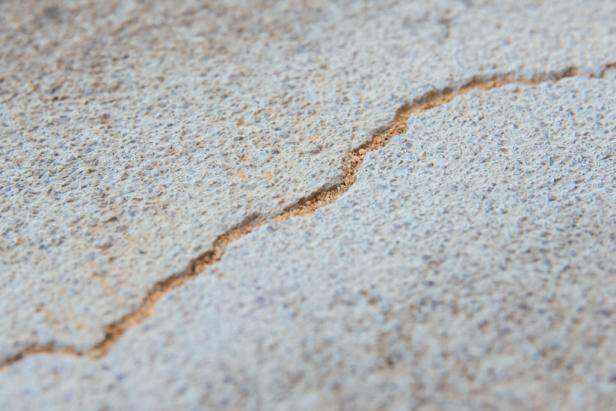
Measure the depth of the crack. If the crack is deeper than about 1/4 inch, you will need to fill the crack with masonry sand (Image 1) until the crack is just 1/4 inch deep (Image 2) before adding sealant.
Jennie Andrews
Jennie Andrews
4. Add Sealant
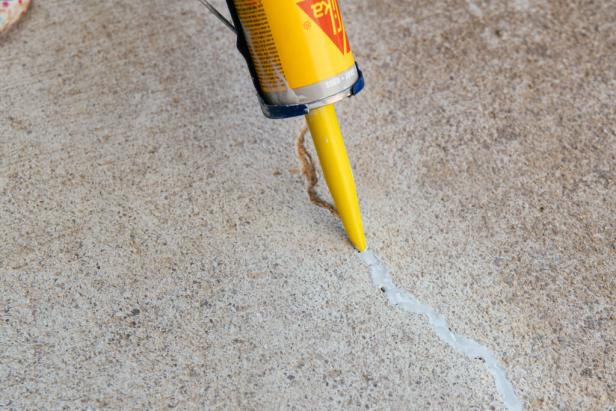
Insert the tube of sealant into a caulk gun and cut the tip of the tube at an angle. Run a bead of sealant along the crack, making sure the sealant fills the gap (Image 1). Wipe the surface gently with a damp rag or a gloved finger to level the sealant.
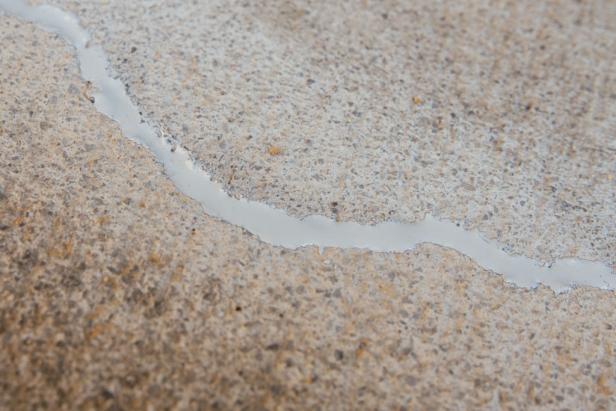
Since the sealant will shrink slightly and may drop into the crack a bit, wait 24 hours and check for a completely solid seal (Image 2). You may need to repeat the last step if the sealant has dropped or you see gaps.
Jennie Andrews
Jennie Andrews
5. Care for Your Concrete
The best way to keep your concrete looking beautiful for the longest possible lifespan is to keep it from cracking in the first place and to repair cracks as soon as they occur. There are a few ways you can help prevent cracks. Start with high-quality materials and professional installation. Professionals understand that water content matters when it comes to avoiding shrinkage and weak concrete. Allowing the proper curing time is also very important. Avoid putting extremely heavy loads on your concrete. Normal vehicles are fine, but large, exceptionally heavy commercial vehicles or tractors can wreak havoc.
How to Repair and Reseal an Asphalt Driveway or Walkway
Follow these instructions for repairing cracks and applying a fresh coat of sealant to asphalt or blacktop surfaces.
Yearly, apply a high-quality concrete sealer to the entire surface to protect it from oils, water and other debris. While applying the sealer, inspect the concrete for new and resealed cracks. Repaired cracks may need to be resealed every couple of years. Concrete is a durable and long-lasting material. A bit of care and attention will increase its longevity even more, giving you a worry-free and beautiful driveway or patio for years to come.

.-Battle-on-the-Beach-courtesy-of-HGTV.-.jpg.rend.hgtvcom.196.196.suffix/1714761529029.jpeg)


