How to Create a Chalkboard Kitchen Backsplash

Materials Needed:
- flathead screwdriver
- quart of chalkboard paint
- can of chalkboard spray paint
- sponge or washcloth
- degreasing soap or spray cleaner
- 2 1/2" sash paintbrush
- 6" foam roller and tray
- painter's tape
- decorative wood trim
- finish nailer and nails (or hammer and finish nails)
- tape measure
- hand saw or chop/miter saw
- pencil
- caulk
- chalk
- paper towel
- trim paint
Prep for Painting
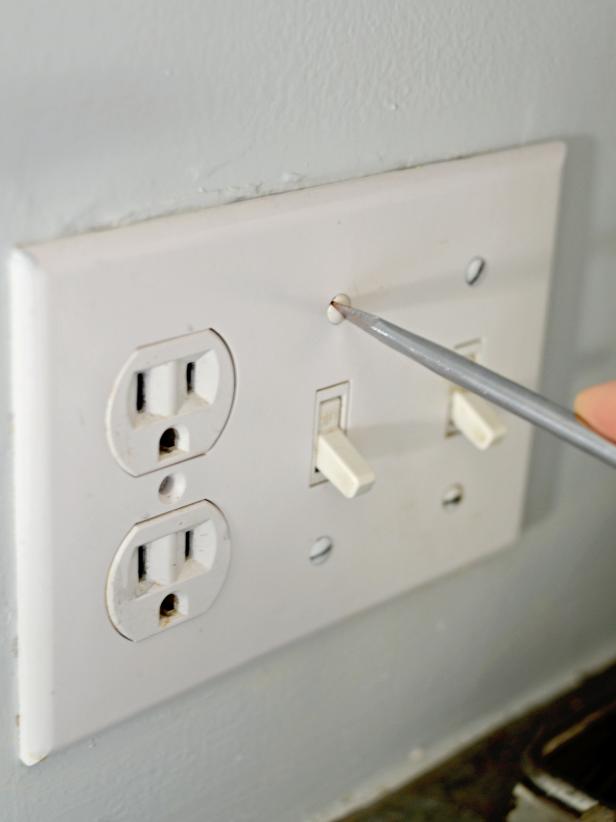
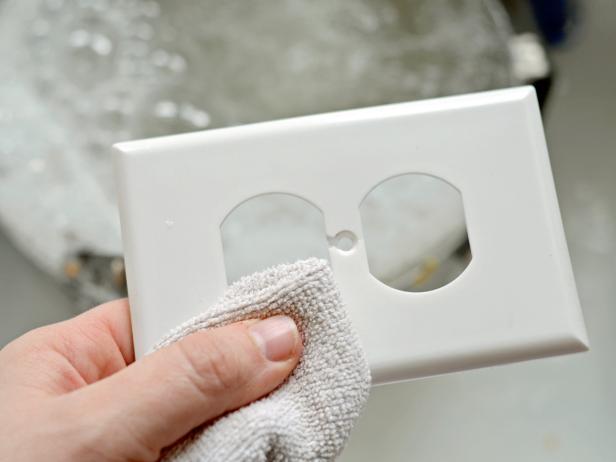
Use a screwdriver to remove all switch plates (Image 1). Kitchen walls and switch plates may be greasy, so clean them with grease-cutting soap or cleaner and a sponge or washcloth first to ensure paint will properly adhere (Image 2). Allow walls and switch plates to fully dry before painting.
Paint Walls and Switch Plates
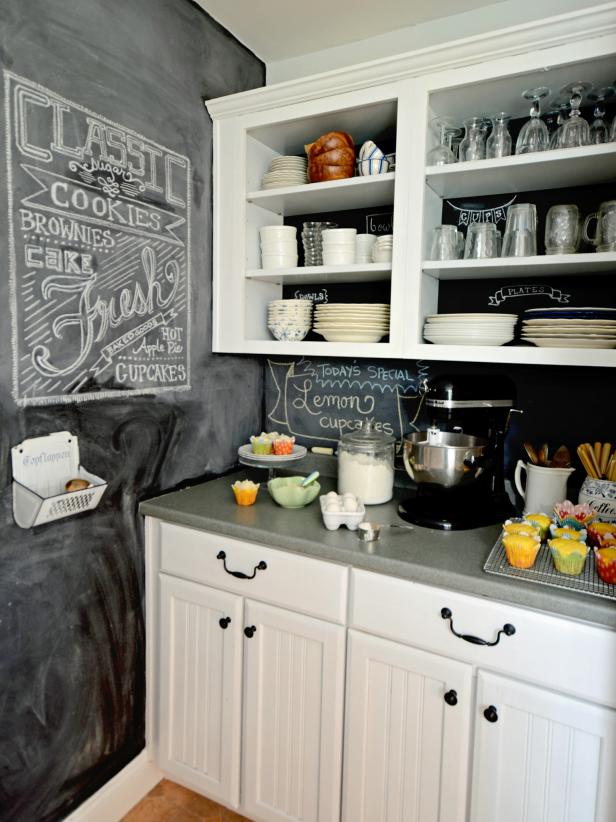
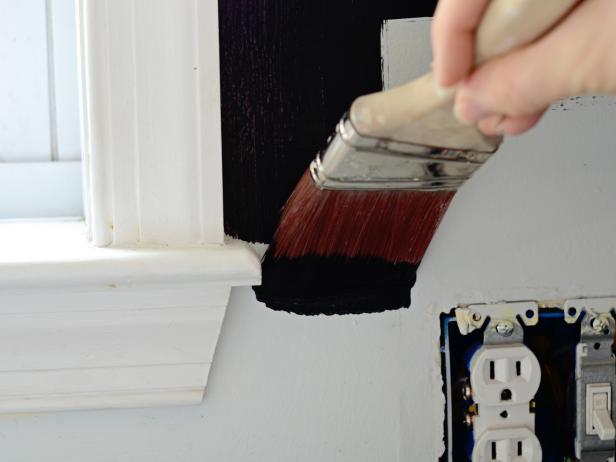
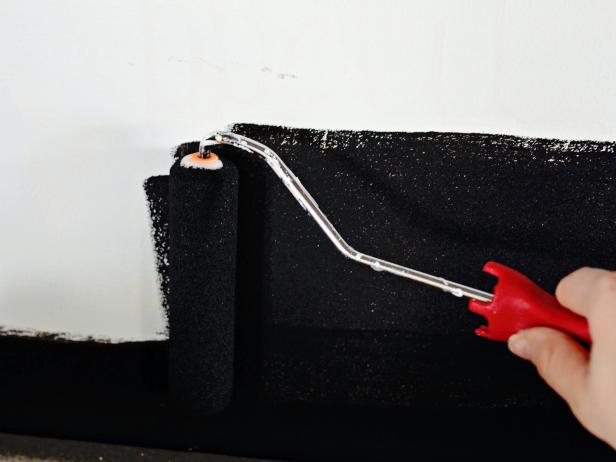
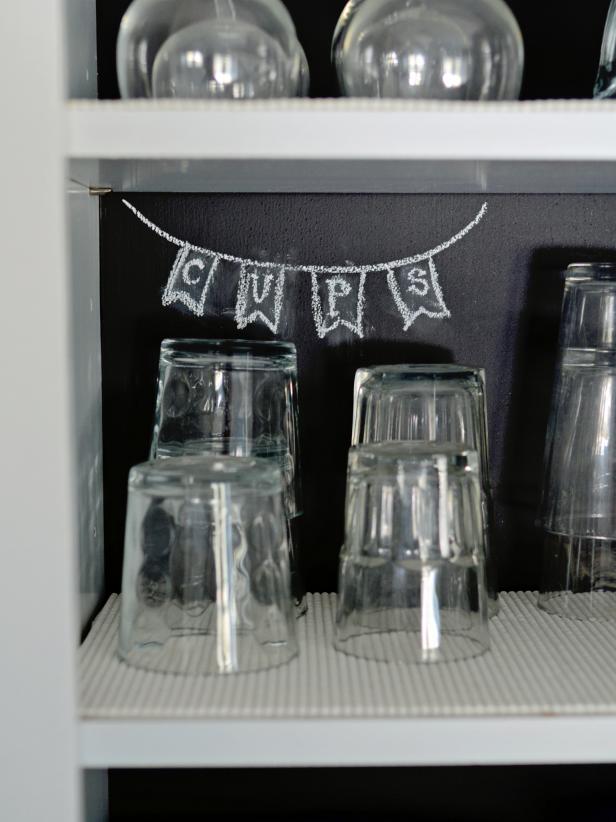
First, cut in around cabinets, outlets, trim and counters using a 2 1/2" sash brush (Image 1). If necessary, painter’s tape can be used to ensure a clean edge. Use a six-inch foam roller to apply paint to wall (Image 2). Allow paint to fully dry then apply a second coat if necessary. Tip: Wrap brush and roller in plastic wrap to keep them moist between coats. While wall paint is drying, apply chalkboard spray paint to switch plates. It's better to apply two thin coats instead of one thick coat to prevent drips and bubbling. Note: Chalkboard paint looks great on just the backsplash area or can be applied on the back of open shelves or an entire accent wall (Image 3).
Season Chalkboard
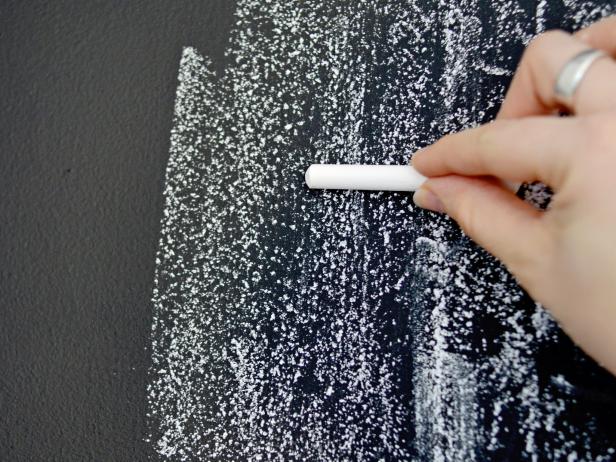
Once paint has fully dried on the walls and switch plates, reinstall switch plate covers. It's important to season the chalkboard surface prior to use. This prevents writing from being "burned into" the surface. To season the chalkboard, hold a piece of chalk flat lengthwise against the wall and cover the entire surface. Tip: Wipe with a dry paper towel for a smeary, vintage look or with a wet cloth for a cleaner look.
Install Trim
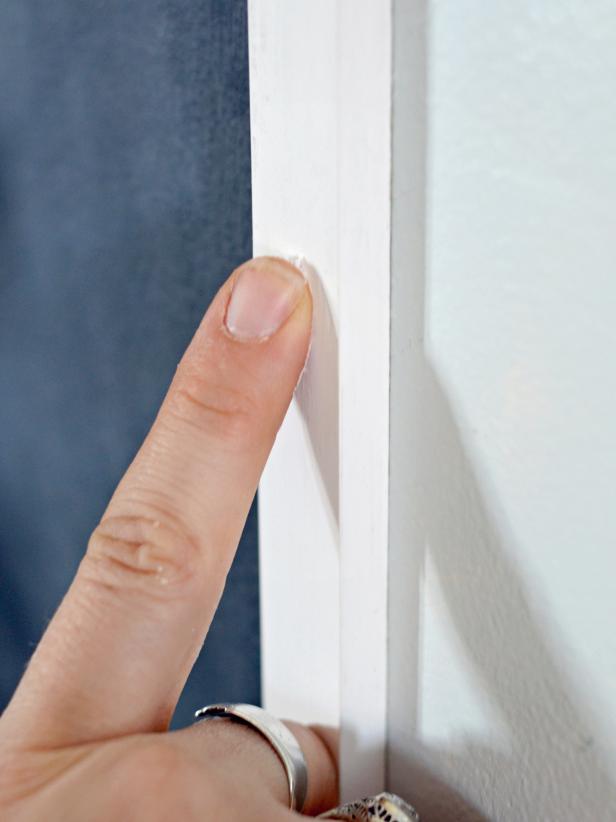
In some kitchens, it may be necessary to install pieces of trim to provide a clean edge where the chalkboard paint ends. Measure space where trim will be installed with a tape measure. (For example, measure area between counter and bottom of upper cabinet.) Transfer measurement onto trim and mark with a pencil. Cut trim to size with a hand saw or chop saw (miter saw). Fit trim into place to ensure a proper fit then secure to wall with a finish nailer or hammer and finish nails (Image 1). Use caulk to fill seams and nail holes (Image 2). Paint trim in desired paint color and finish. Tip: A wet fingertip is the best tool for smoothing out caulk. Voila — your chalkboard backsplash is finished! Keep colored chalk handy so family members can jot down messages, recipes, shopping lists, etc. (Image 3).



.-Battle-on-the-Beach-courtesy-of-HGTV.-.jpg.rend.hgtvcom.196.196.suffix/1714761529029.jpeg)


