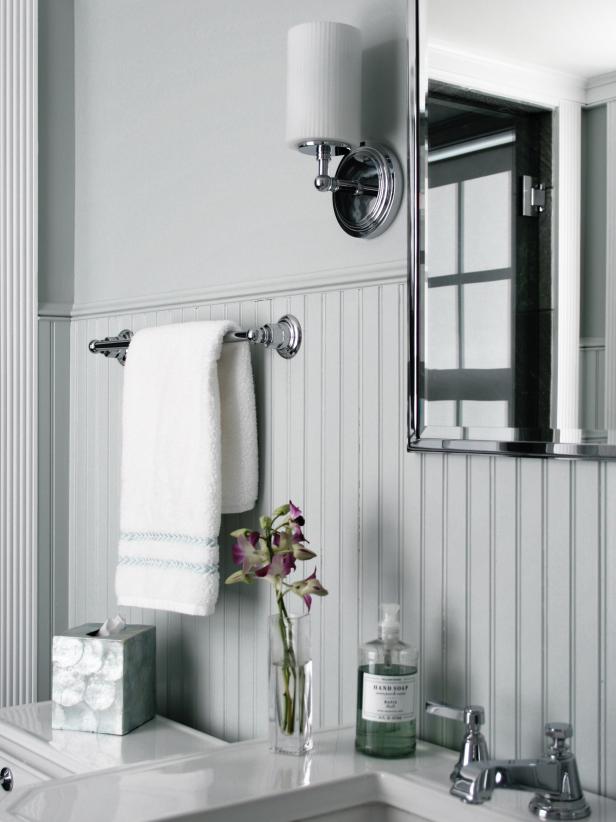
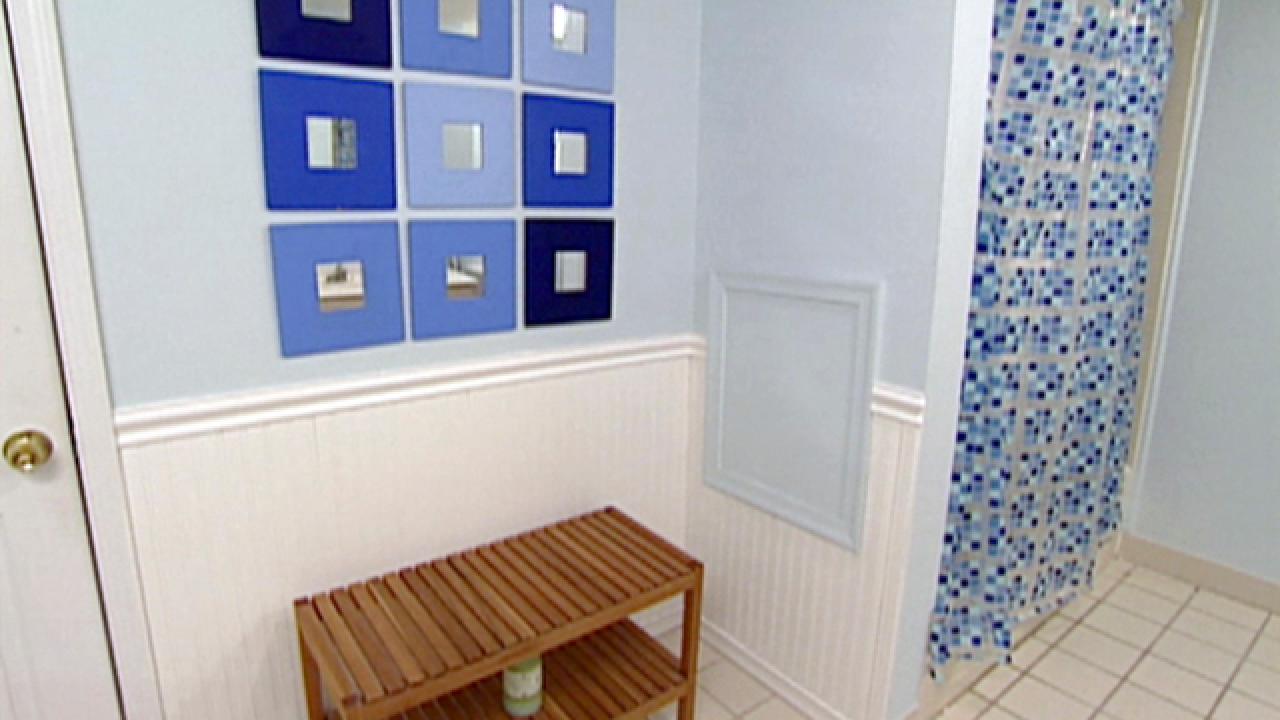
How to Cover Dated Bathroom Tile with Wainscoting
Materials and Tools:
100 square feet of beadboard wainscoting
24 feet, top molding
24 feet, base molding
1/2 inch a/c plywood (1 sheet)
1 gallon of paint
hammer drill with 1/8-inch bit
cordless drill
power miter saw
caulking gun and paintable caulk
air compressor with hoses
finish nail gun
Steps:
1. Disconnect the water supply to the sink and carefully remove the sink. Also remove any towel bars or other accessories from the area that will be covered by wainscoting.
2. Cut the 1/2-inch plywood into 2-inch strips, and apply the strips over the tile. Drill through the grout lines, and attach the strips to the studs in the wall using screws. These strips will be used to attach the beadboard.
3. Attach the beadboard pieces using the nail gun. Cut them to fit using a miter saw.
4. Install the baseboard and top molding using the nail gun.
5. Caulk all the seams, and touch up the paint.
6. With the new wainscoting installed, you can now paint the room. Tip: You might prefer to paint the bathroom walls, above the beadboard, before you start the installation in order to save having to trim paint the new wainscoting.
7. Reinstall the sink.

.-Battle-on-the-Beach-courtesy-of-HGTV.-.jpg.rend.hgtvcom.196.196.suffix/1714761529029.jpeg)


