Easy Woodworking Project: Build a Simple Garden Bench
Get step-by-step instructions on how to make a simple yet sturdy garden bench.

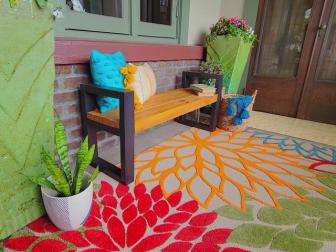
The best part of any landscape is a vantage from which to enjoy it. With no angled cuts, unusual materials or challenging assembly techniques, this attractive garden bench is an easy afternoon project.
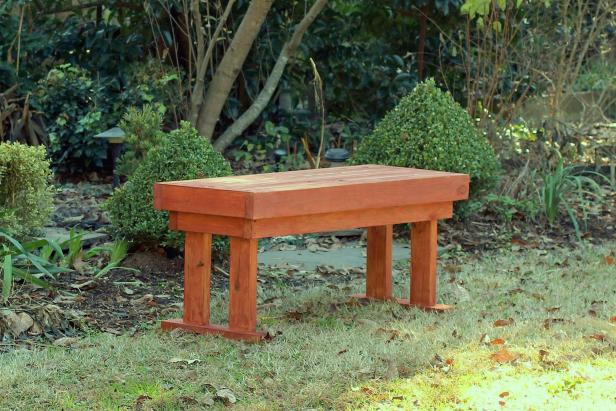
Photo by Mick Telkamp
Tools and Materials:
- (2) 2x4 x 48” boards
- (2) 2x4 x 45” boards
- (2) 2x4 x 18” boards
- (4) 2x4 x 16-1/2” boards
- (4) 2x4 x 15” boards
- (2) 2x4 x 4-1/2” boards
- (9) 2x2 x 45” boards
- (2) 2x2 x 15” boards
- scrap 3/8” plywood
- one box 2-1/2” deck screws
- one quart stain or paint
- measuring tape
- drill with Phillips head bit and #8 countersink bit
- square
- paintbrush
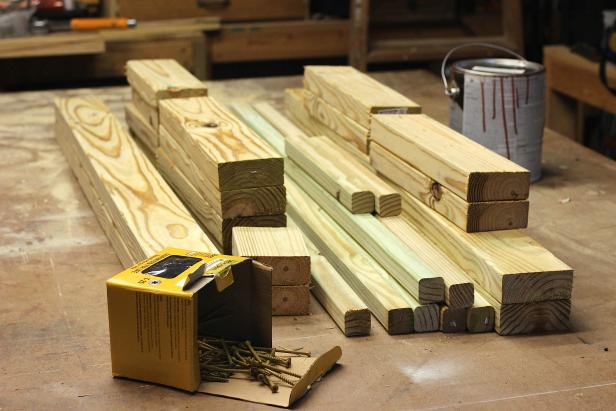
Photo by Mick Telkamp
Step 1: Lay Out Top Frame
Arrange two 2x4 x 48” boards and two 2x4 x 15” boards to form a long rectangle.
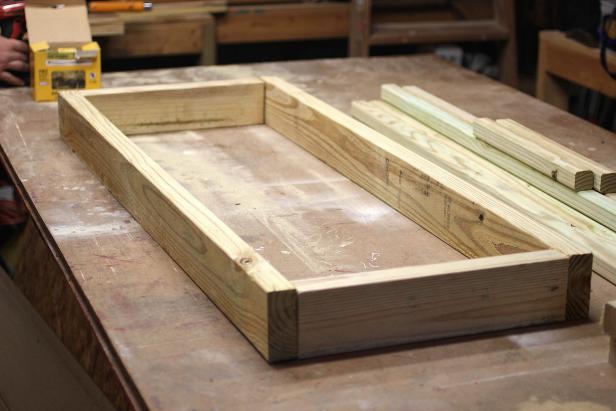
Photo by Mick Telkamp
Step 2: Assemble Top Frame
Use a drill with #8 countersink bit to drill two pilot holes into each corner through the long side about 3/4” from the end and an inch from the top and bottom of the board. Switch to the Phillips head bit and drive 2-1/2” deck screws through each drilled hole (a total of eight) to assemble the top frame.
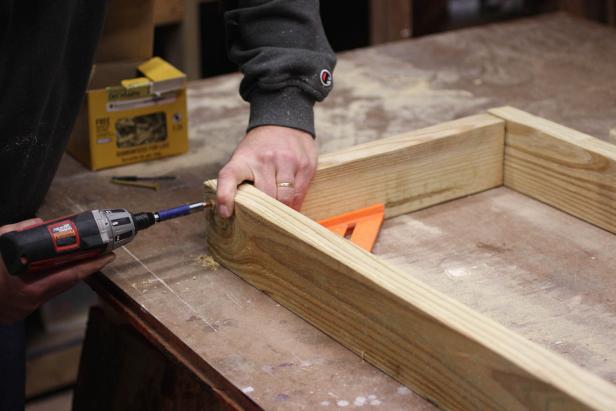
Photo by Mick Telkamp
Step 3: Insert Bench Slats
Insert nine 2x2 x 45” boards into the assembled frame spaced 3/8” apart. Place scrap pieces of 3/8” plywood in between the slats to keep the slats evenly spaced until they are attached.
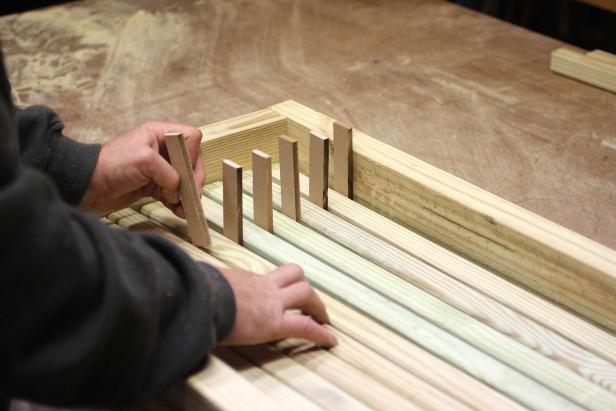
Photo by Mick Telkamp
Step 4: Insert Cleats
Insert a 2x2 x 15” board into each end of the frame (on top of the slats) and attach each to the frame with three evenly-spaced 2-1/2” deck screws (drill pilot holes first to reduce the risk of splitting).
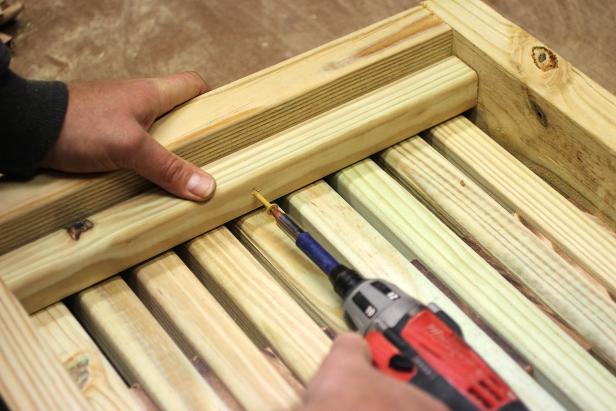
Photo by Mick Telkamp
Step 5: Insert Center Braces
Measure 15 inches from each end of the frame and insert a 2x4 x 15” board at each marked spot. These center braces should rest flat on top of the slats and will serve as support once assembly is complete.
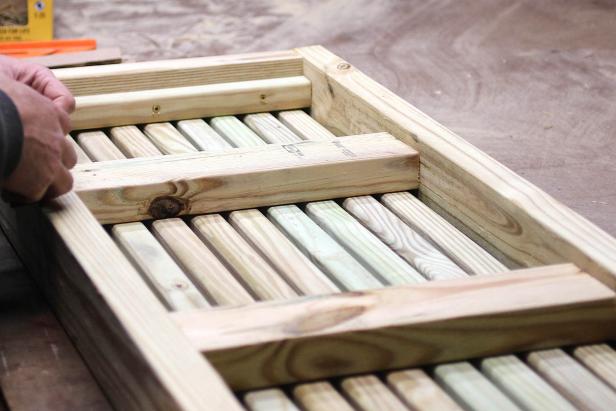
Photo by Mick Telkamp
Step 6: Affix Center Braces
At each end of a center brace, drive a screw into each side at a 45-degree angle to attach the brace to the frame. Repeat the process with the other center brace.
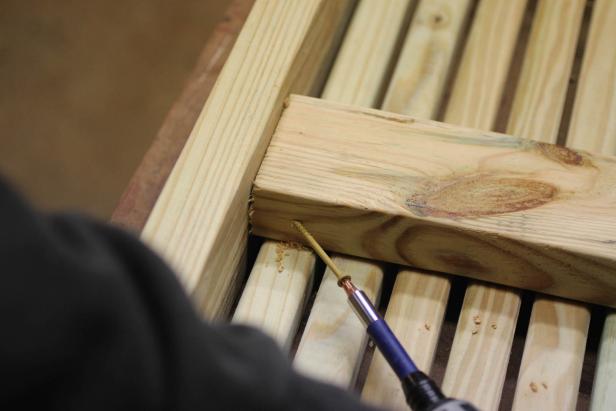
Photo by Mick Telkamp
Step 7: Attach Bench Slats to Cleats
Drill pilot holes through an end cleat into each bench slat and attach the slats to the cleat using nine 2-1/2” deck screws. Repeat the process with the cleat at the opposite end.
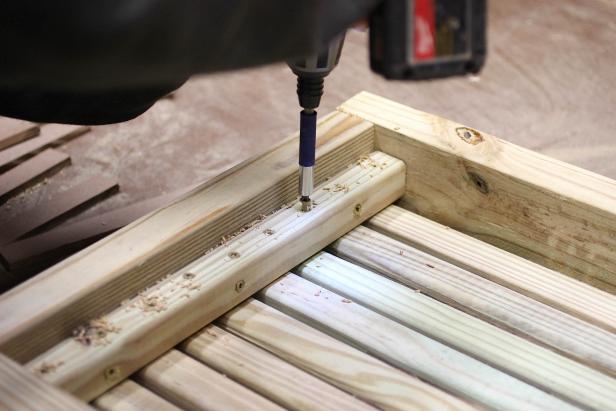
Photo by Mick Telkamp
Step 8: Attach Bench Slats to Center Supports
Drill pilot holes through each center support into each bench slat and attach the slats using 2-1/2” deck screws. When the bench slats have all been attached, the assembly of the top frame is complete. Set aside and continue to base assembly.
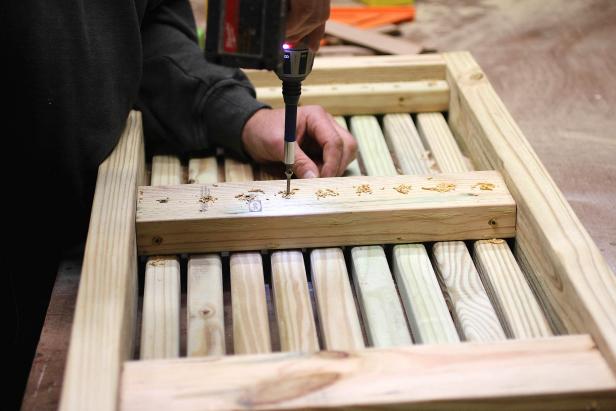
Photo by Mick Telkamp
Step 9: Assemble Base Frame (Skirt Board)
Arrange two 2x4 x 45” boards and two 2x4 x 12” boards to form a long rectangle. As with the top frame, drill two pilot holes at each corner and assemble the frame using 2-1/2” deck screws.
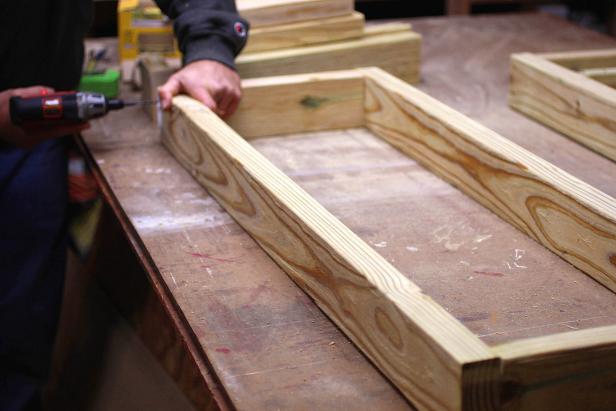
Photo by Mick Telkamp
Step 10: Attach Legs to Skirt Board
Place a 2x4 x 16-1/2” leg at each inside corner of the base frame with the broad side facing the end. Tap in 2x4 x 4-1/2” boards between the legs at the short ends and attach the legs to the frame with two screws each, positioned 1 inch from the long side of the frame and 1 inch from the top or bottom of the frame to position diagonally from each other. Drive a screw at the center of the 2x4 x 4-1/2” board into the frame to attach.
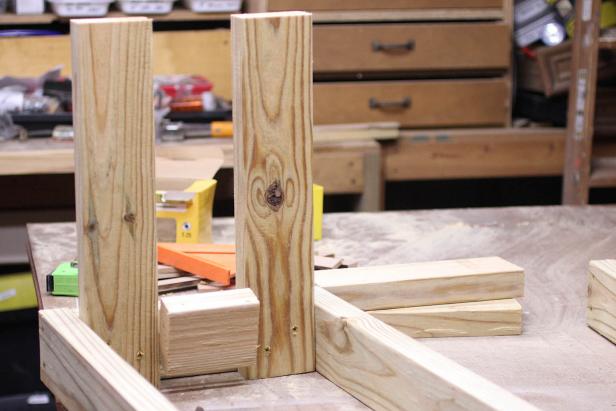
Photo by Mick Telkamp
Step 11: Complete Leg Assembly
Sandwich each pair of legs into the frame with a 2x4 x 12” board. Drive two screws through the board at each leg to secure and drive a final screw through the center of the board.
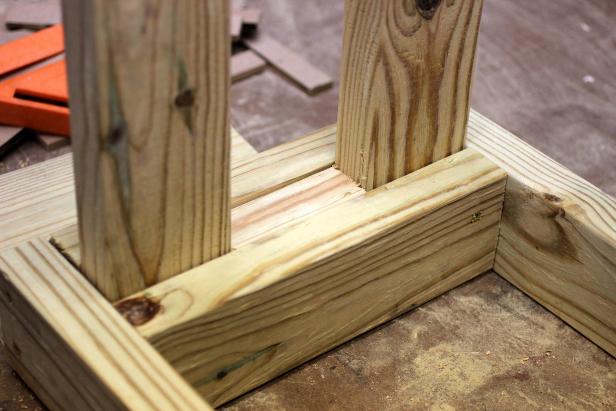
Photo by Mick Telkamp
Step 12: Attach Feet
Center a 2x4 x 18” board on each pair of legs and attach with two deck screws driven through the foot into the bottom of the leg.
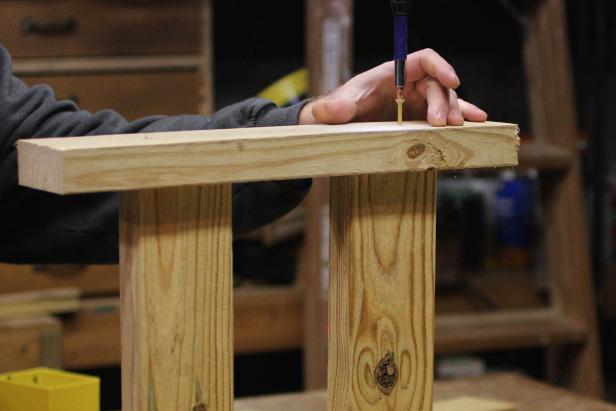
Photo by Mick Telkamp
Step 13: Assemble Bench
Flip the base upright and place the bench top on top of it. Tap the bench top until the top of the base is nestled snugly and securely inside the top.
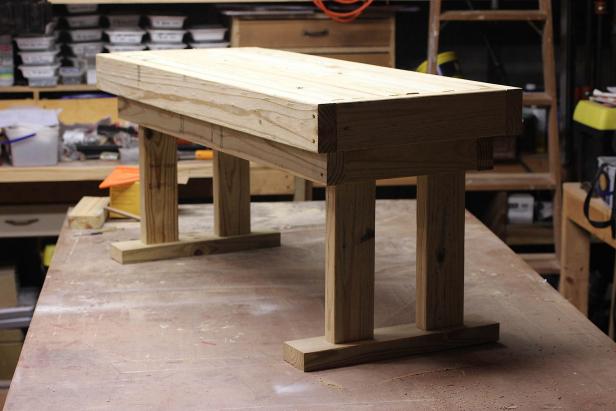
Photo by Mick Telkamp
Step 14: Attach Top to Base
From beneath the bench, drive a deck screw through the base frame at the end of each center brace to attach the base to the top. Construction is complete.
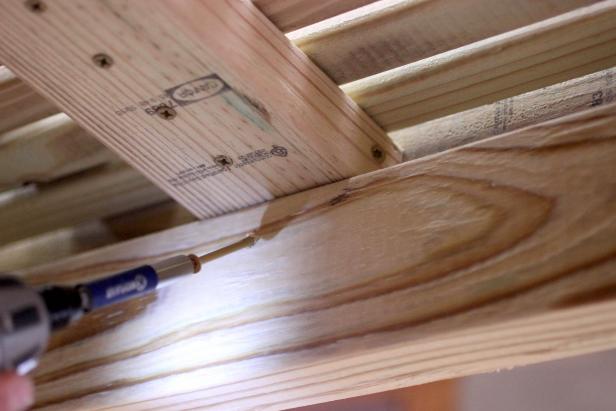
Photo by Mick Telkamp
Step 15: Paint or Stain Bench
Apply exterior-grade paint or stain to the bench. Make sure to cover the undersides as well to protect it from the elements. Allow it to dry before transporting.
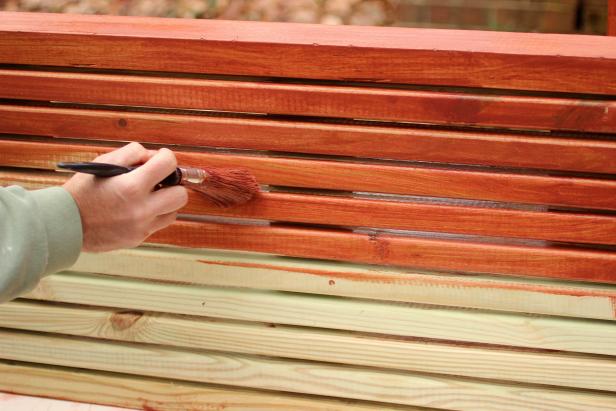
Photo by Mick Telkamp
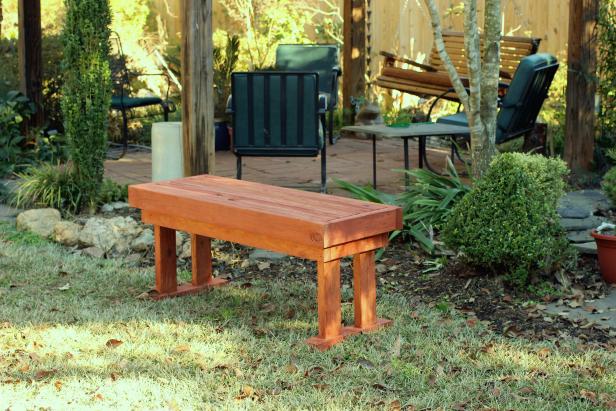
Photo by Mick Telkamp
DIY Modern Bench 01:41
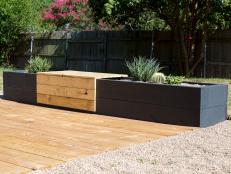
This stylish bench is a great place for a break when spending time outside.

.-Battle-on-the-Beach-courtesy-of-HGTV.-.jpg.rend.hgtvcom.196.196.suffix/1714761529029.jpeg)


