How to Build a Modern Outdoor Bench
Looking for more outdoor seating or a decorative bench for your porch? Try your hand at this easy woodworking project that can be built in less than a day.

Shain Rievley
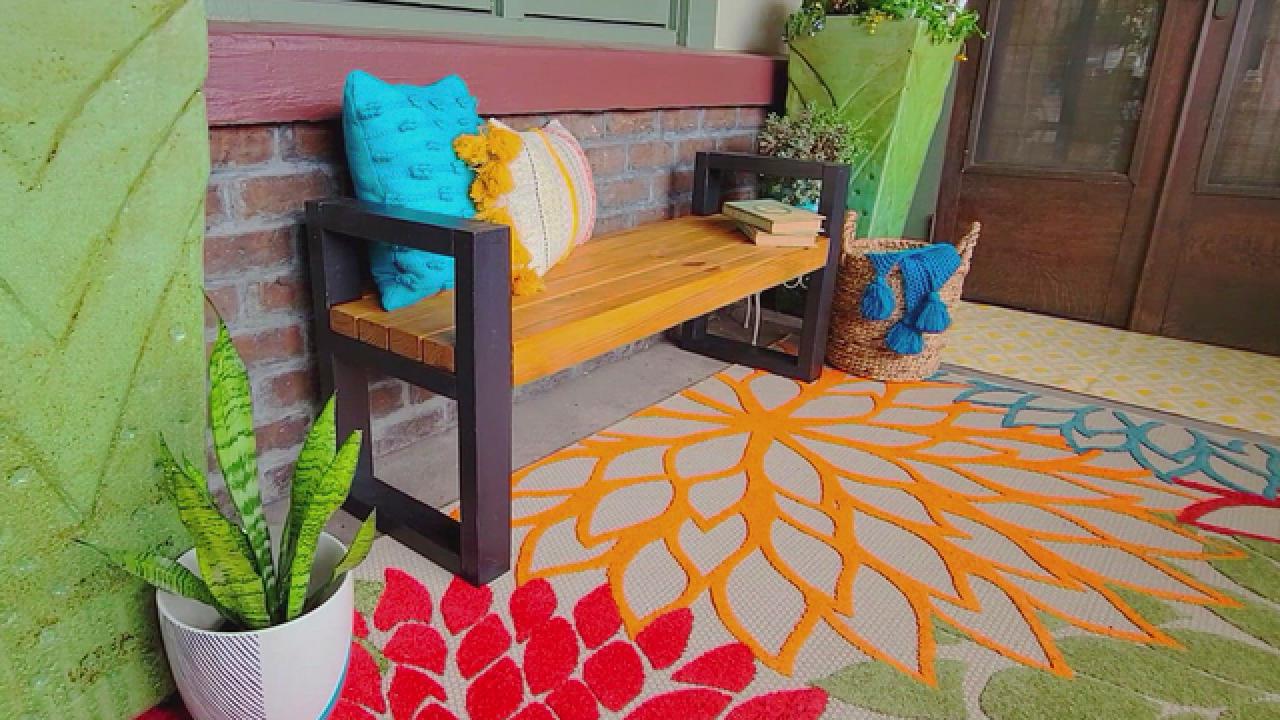
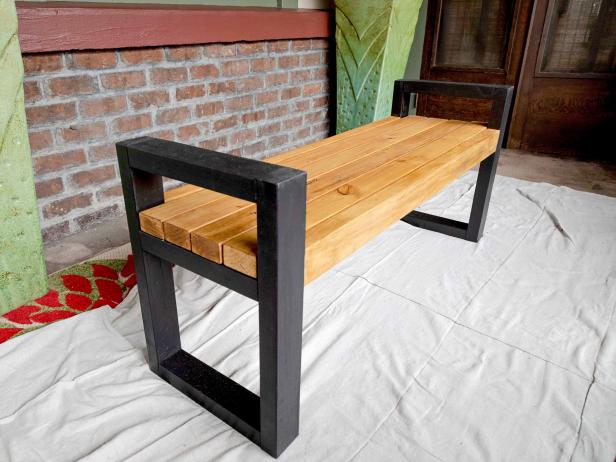
We made this bench using dimension lumber and basic fasteners. You'll need some basic woodworking skills, but not a lot of money if you already have the tools. We chose to finish our bench with a combination of stain and exterior-grade paint.
Tools and Materials:
- (6) 2x3 x 8’ pressure-treated lumber
- 1x4 x 8’ pressure-treated lumber
- miter saw
- wood glue
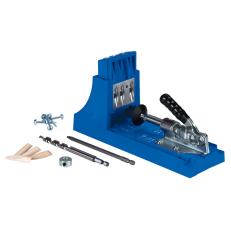
- pocket-hole jig system
- 1-1/4" pocket-hole screws
- 2-1/2" pocket-hole screws
- drill
- sandpaper
- paint tarp
- paint roller and tray
- quart exterior paint
- stain brush
- measuring tape
- 2-1/2" deck screws
- 1-1/2" deck screws
Step 1: Cut List
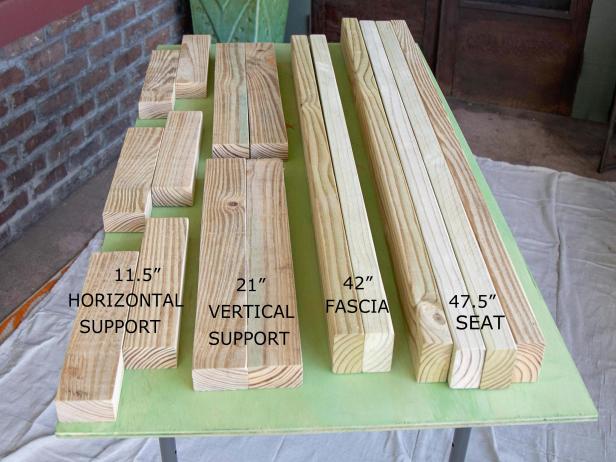
Use a circular saw or miter saw to cut pressure-treated 2x3s to the following lengths.
- (4) 47-1/2” for the seat
- (2) 42” for the fascia
- (4) 21” for the vertical side support
- (6) 11-1/2" for the horizontal side supports
- Cut the 1x4 to create two 11-1/2" pieces
Shain Rievley
Step 2: Sand Wood
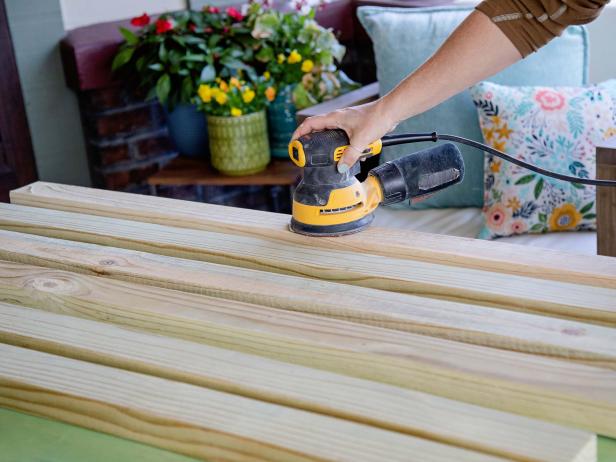
Use an orbital sander or a sanding block to smooth down all wood. Wipe away the dust and residue with a tack cloth or a microfiber towel.
Shain Rievley
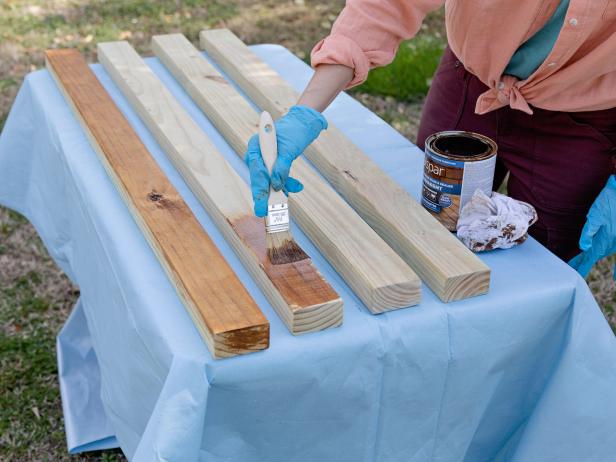
Step 3: Stain the Seat Slats
Use an exterior high-quality stain for the seat and fascia boards. Apply with a stain brush then gently wipe away. Two coats should do it. Lightly sand between coats.
Shain Rievley
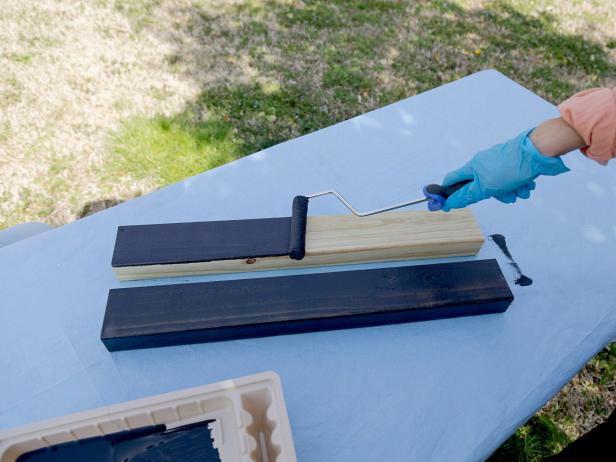
Step 4: Paint the Legs
Lay out the wood for the sides. Apply two coats of exterior high-endurance paint. We chose black for a sleek, modern look.
Shain Rievley
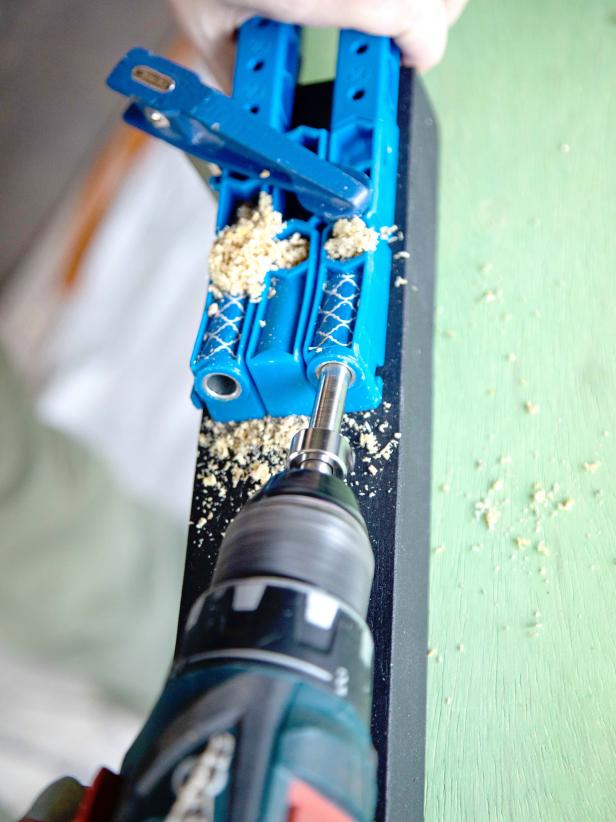
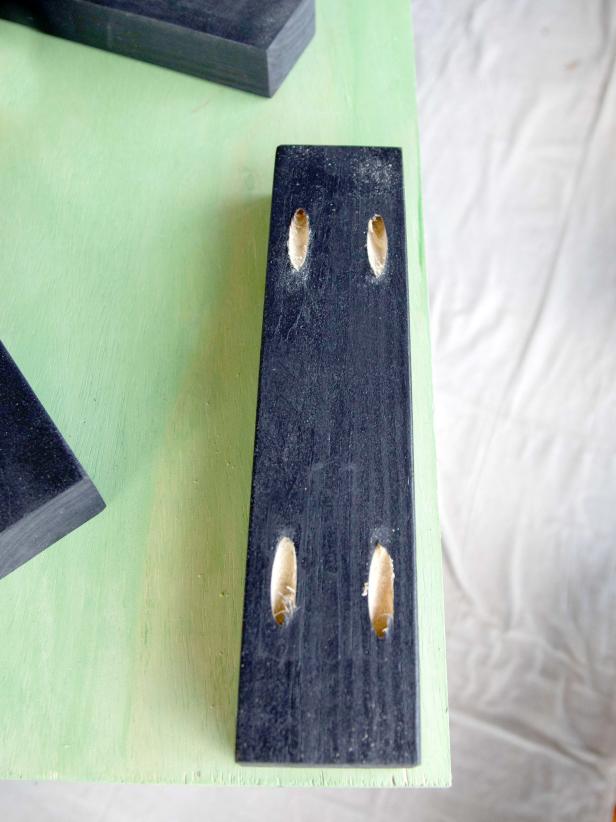
Step 5: Create Pocket Holes
To hide the fasteners, we chose to use pockets holes for the screws. Clamp the wood and pocket-hole jig down to a table. Create two pocket holes on each end of all six horizontal supports and the two stained fascia boards.
Shain Rievley
Shain Rievley
Step 6: Build the Sides
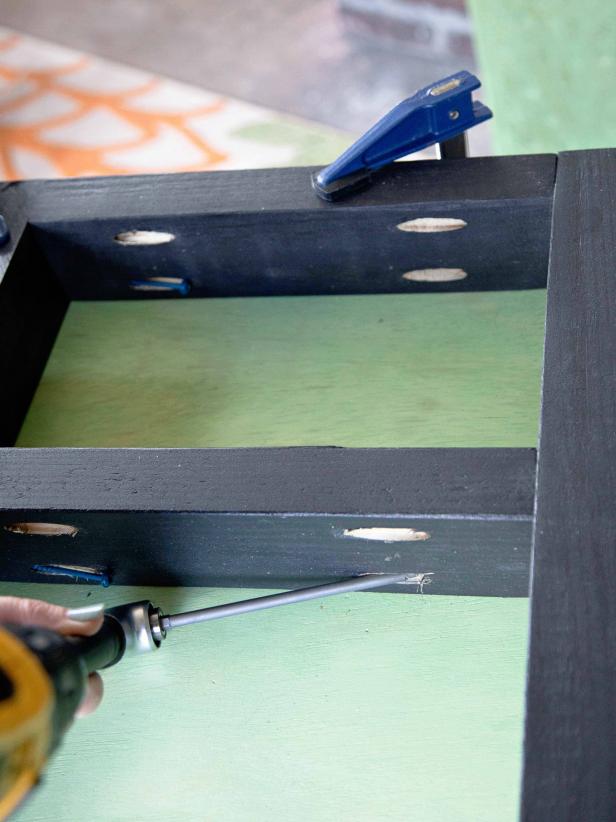
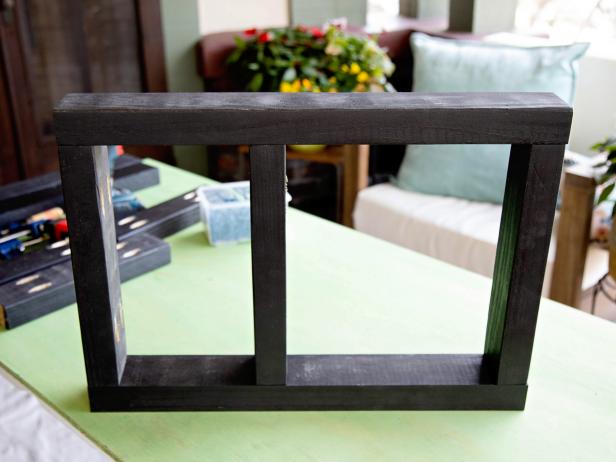
Lay out two 21” vertical pieces. Screw in three horizontal supports to connect the side pieces together. Make sure all pocket holes face down. Place the first one flush to the top, the next one 7” down and the last one flush to the bottom. Repeat to create the second side.
Shain Rievley
Shain Rievley
Step 7: Attach Fascia Boards
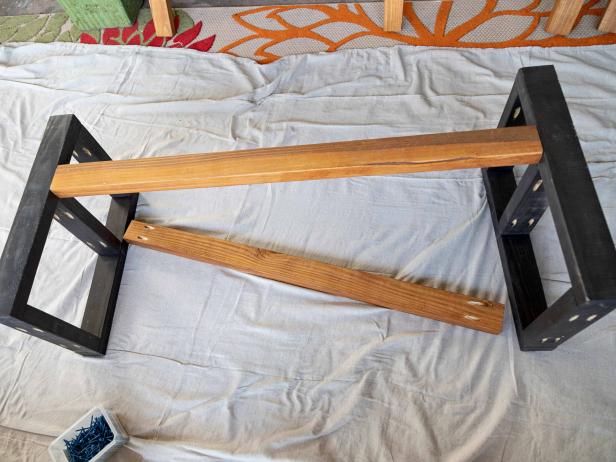
Join the two sides with the 42” fascia boards. Line up the bottom of the fascia boards (vertically) with the bottom of the middle horizontal support. Flip the bench upright.

Shain Rievley
Shain Rievley
Step 8: Add the Seat Slats
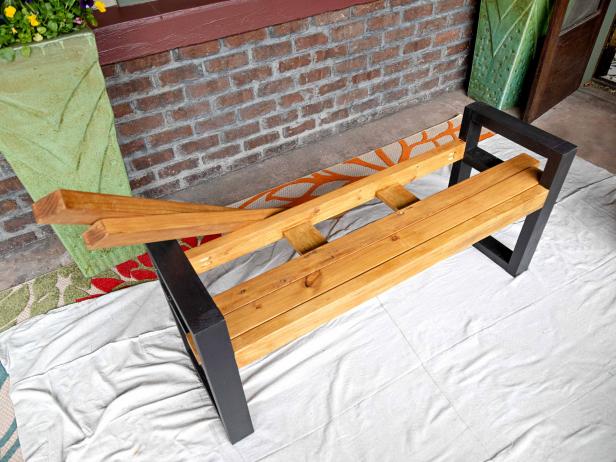
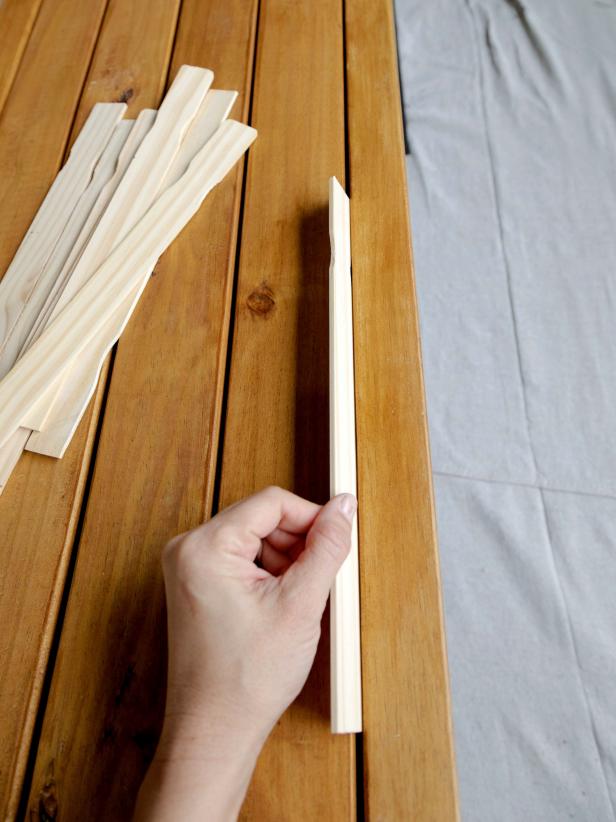
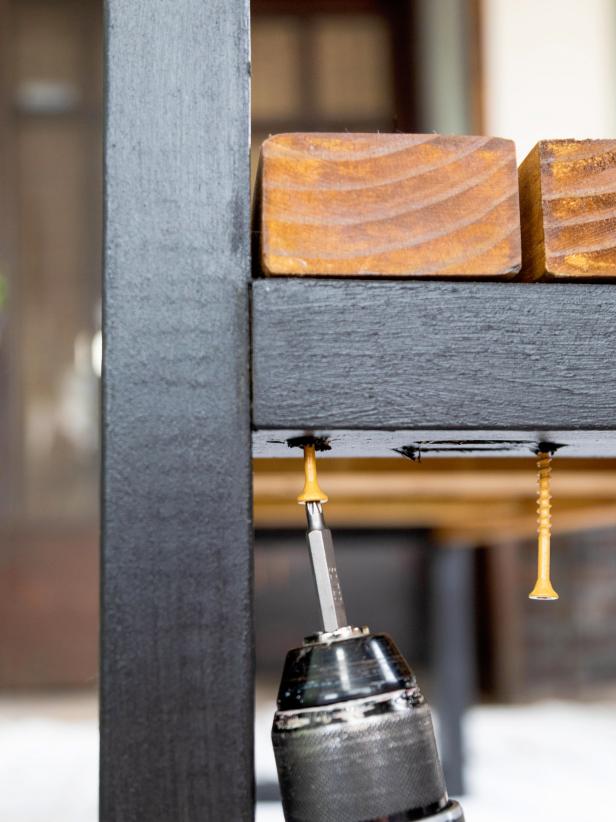
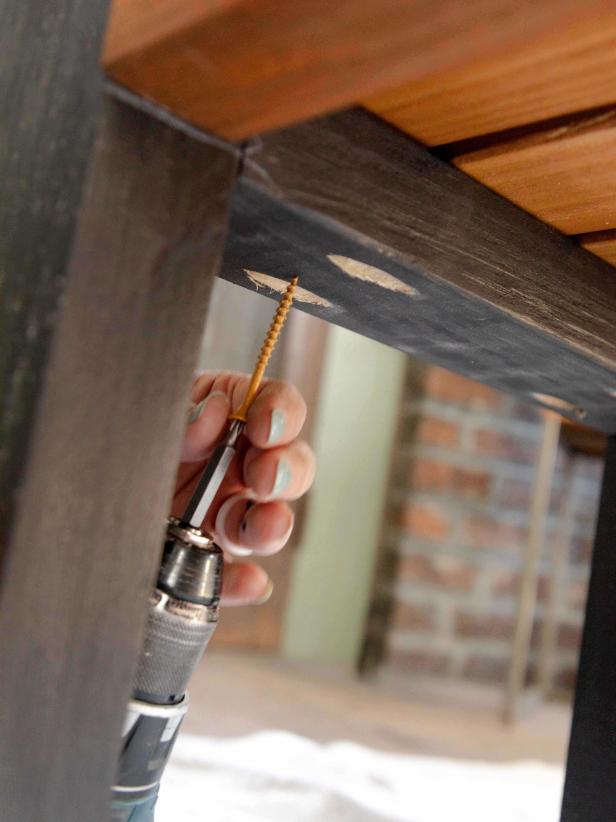
Place the four 47-1/2" 2x3s flat on top of the frame with the ends resting on the middle support of the side pieces. Evenly space the 2x3 pieces — we used paint stir-sticks as spacers. Once in place, attach the boards from underneath to hide the screws.
Shain Rievley
Shain Rievley
Shain Rievley

Shain Rievley
Shain Rievley
Step 9: Support the Seat
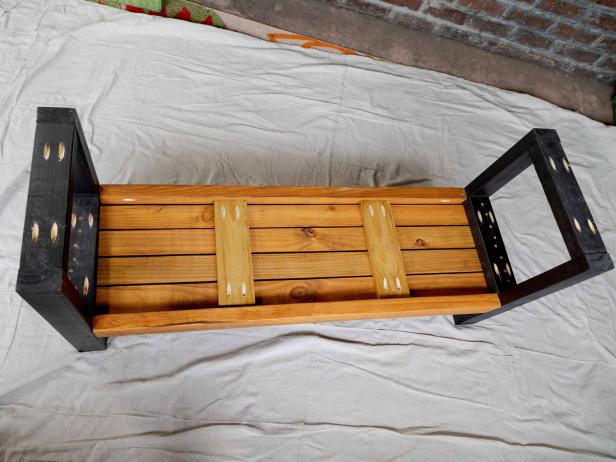
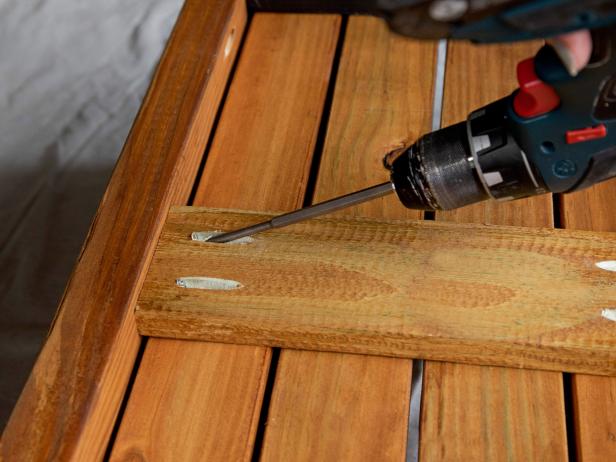
Add cross supports underneath the seat by attaching the 1x4s to the fascia boards. Lay the support pieces 13” from each side. Then use pocket holes to screw the 1x4s into the fascia with 1-1/2" deck screws.
Shain Rievley
Shain Rievley
Step 10: Protect the Bench
Cover the entire bench with two coats of clear exterior polyurethane. This will ensure the durability of the bench.

Shain Rievley

Shain Rievley
Shain Rievley

Shain Rievley

.-Battle-on-the-Beach-courtesy-of-HGTV.-.jpg.rend.hgtvcom.196.196.suffix/1714761529029.jpeg)


