How to Build a Copper Wedding Arch
Save money and make pictures pop by building your own wedding arch out of copper pipes.
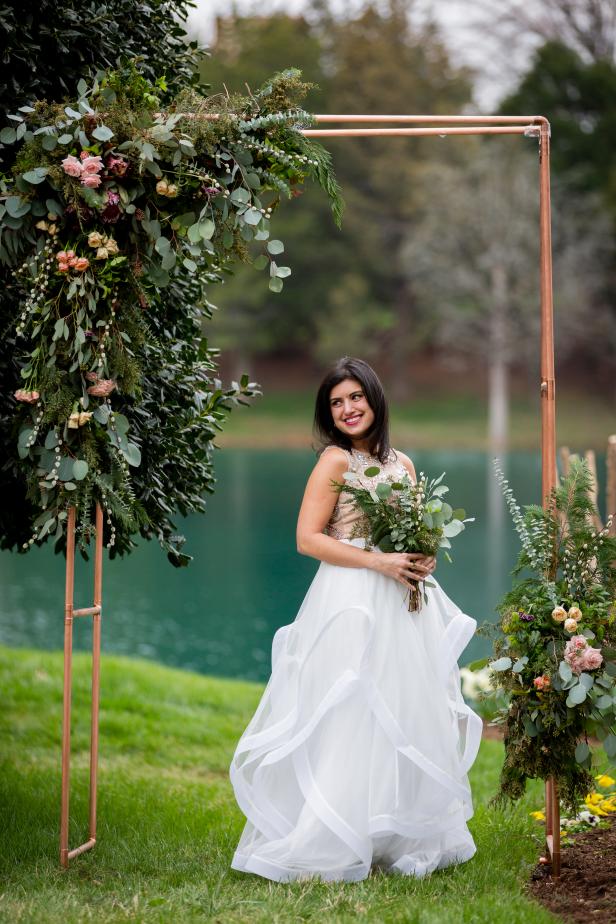
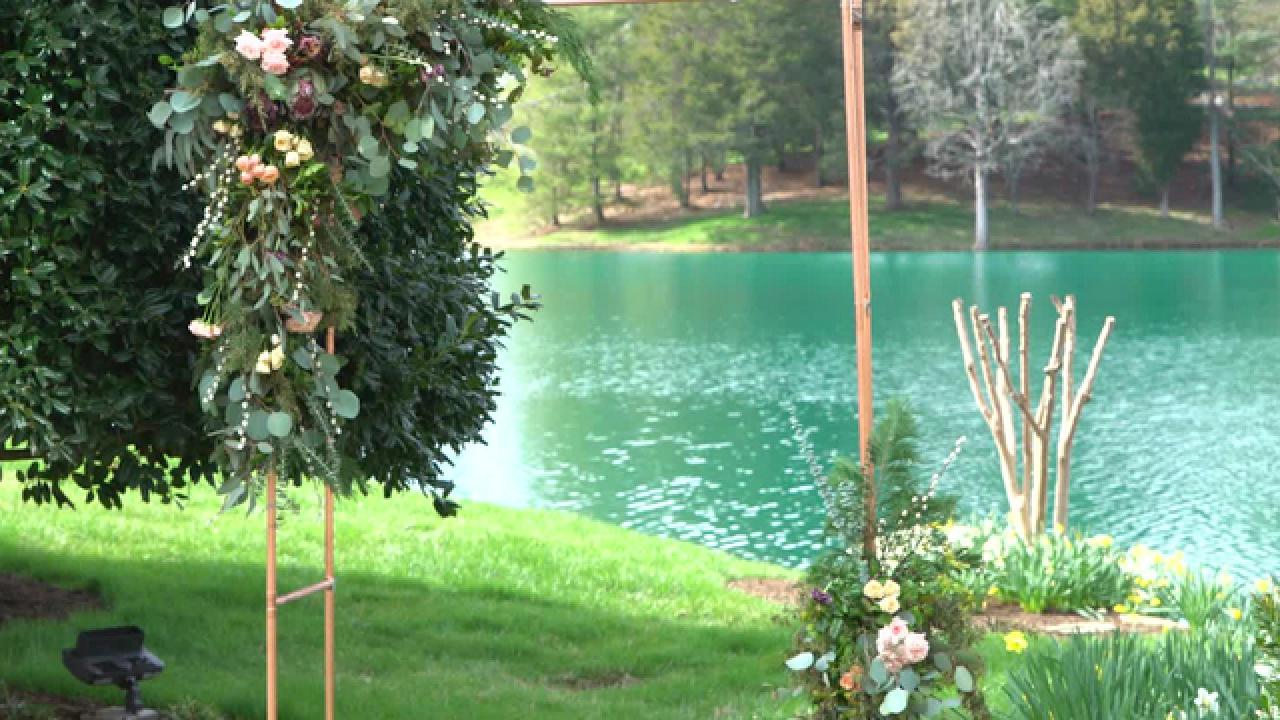
Say "I do" to a beautiful wedding backdrop by crafting your own DIY arbor from copper piping. This simple, modern and sleek design allows for easy set-up the day of and is ready to be adorned with the flowers and greenery of your choosing. The versatile design means this arbor can be used time and time again for birthdays, engagement celebrations or any party that benefits from an eye-catching photo booth or backdrop.
Materials Needed
- 3/4" copper piping and fittings
- grocery store flowers
- chicken wire
- greenery
- pipe cutter
- metal epoxy
- protective gloves
- shears
- hammer
- tent stakes
- cotton rope
Copper Piping Cut List
- (12) 28” pieces
- (8) 2’ pieces
- (2) 5’ pieces
- (4) elbows
- (20) tees
- (8) 1-1/2” pieces
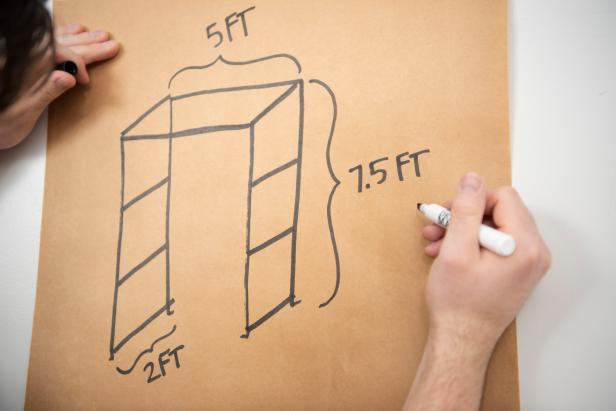
Sketch Design
Sketch out your plan before building. Our measurements are 7-1/2' tall, 5' wide, 2' deep.
Clara MacLellan
Cut Copper Piping
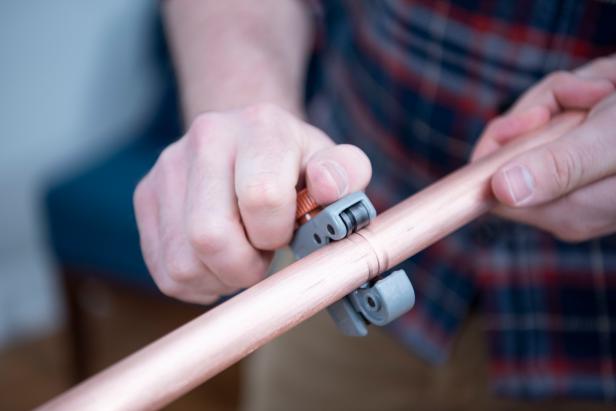
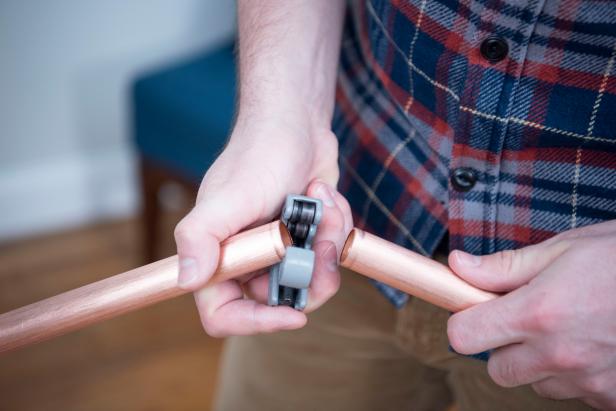
Use a pipe cutter to cut piping to size. To do this, tighten the clamp as much as possible and spin (Image 1). Once you've made a groove, tighten it a bit more, and spin until cut (Image 2).
Clara MacLellan
Clara MacLellan
Assemble Side Pieces
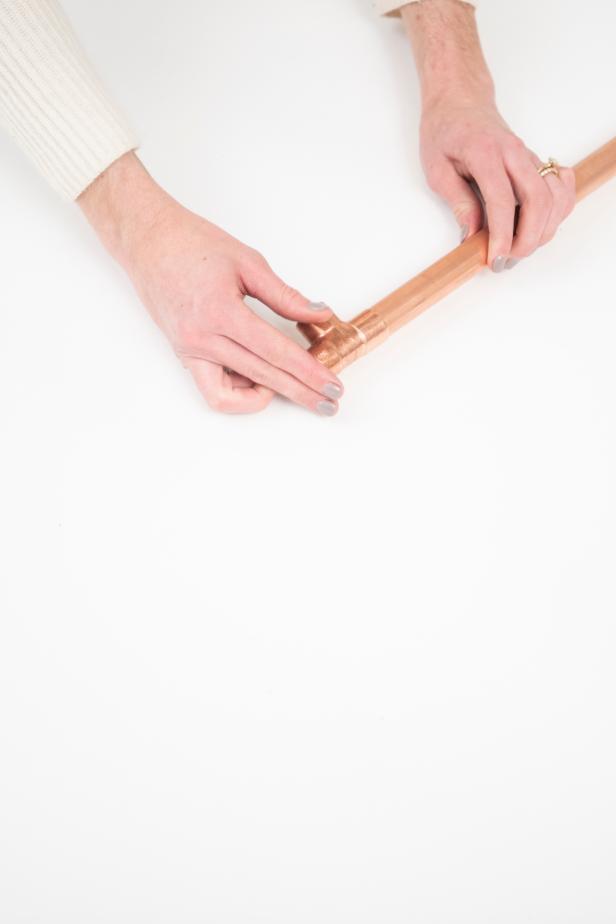
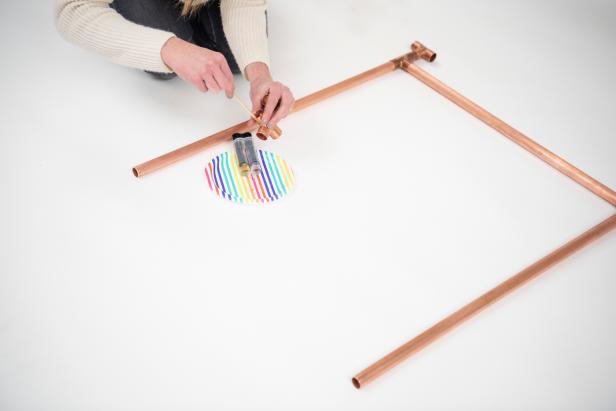
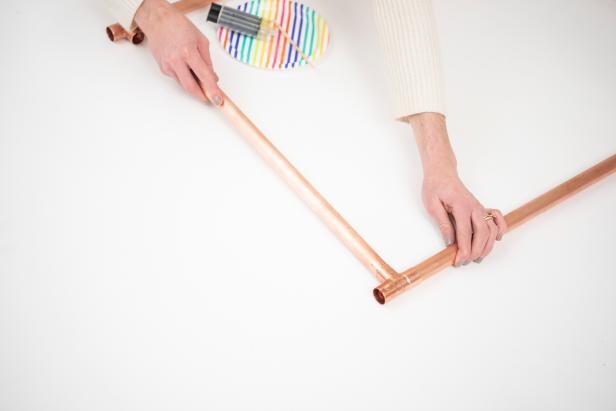
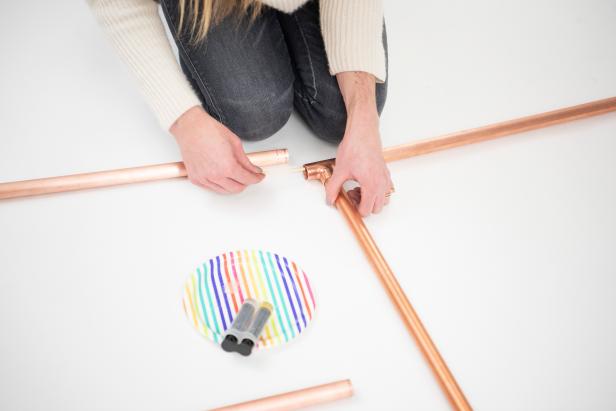
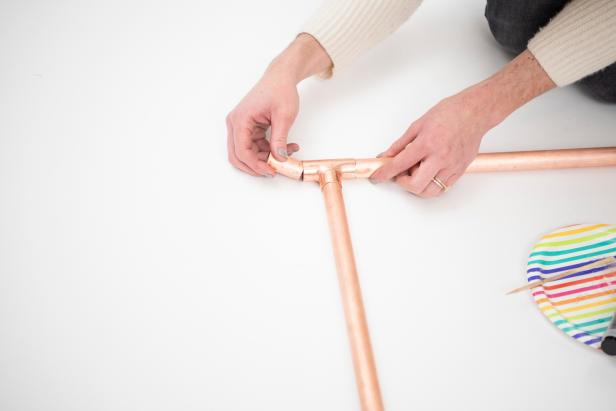
It's easiest to assemble the cut pieces on the floor. Note: Wait to attach crossbars the day of the event at the site, so you can easily transport the side pieces. Apply epoxy with a wooden skewer to attach pipe pieces. Attach a 1-1/2" piece to a three-way tee, followed by another three-way tee. Repeat for the other side. Connect the two sides by attaching a 2' pipe in between (Image 1). Attach a 28" piece on each side, followed by copper tees on each side (Image 2). Connect those pieces with another 2' piece to create a square (Image 3). Repeat to make three total squares — like a ladder (Image 4). Attach a 1-1/2" piece on each end for attaching the crossbars later (Image 5). Tip: Mix epoxy in small batches because it sets quickly.
Clara MacLellan
Clara MacLellan
Clara MacLellan
Clara MacLellan
Clara MacLellan
Attach Crossbars
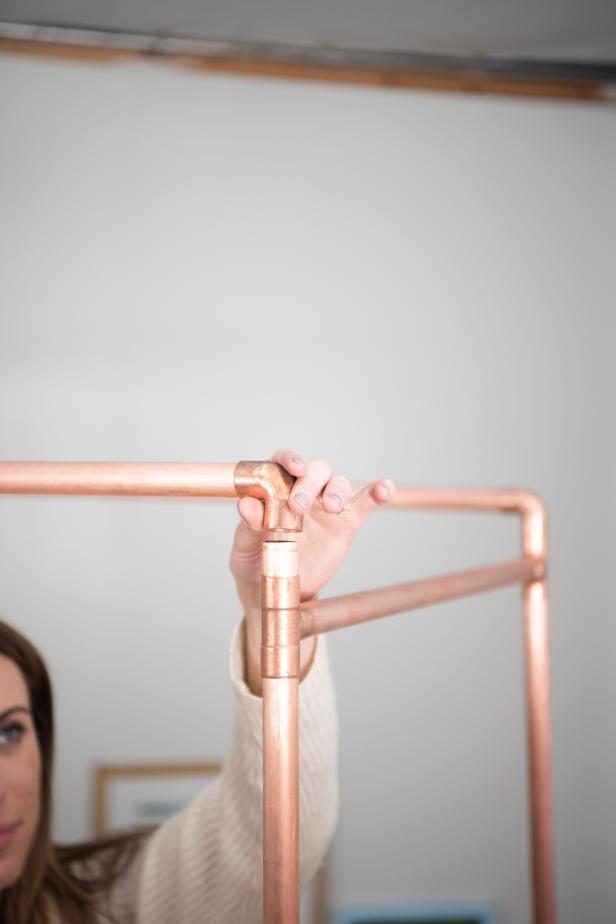
Once at the site, attach the top 5' crossbars using 90-degree elbows. You can choose to skip the epoxy so you can adjust the crossbars easier.
Clara MacLellan
Secure Arbor
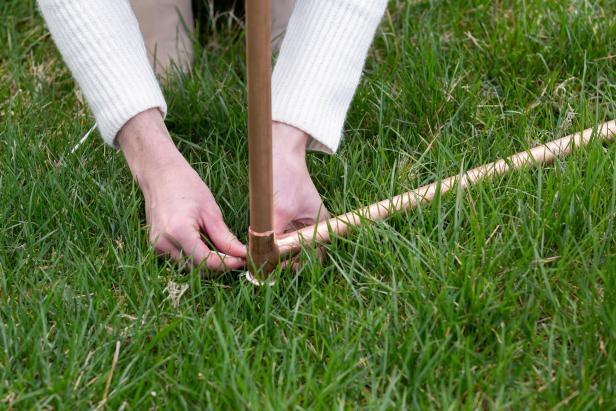
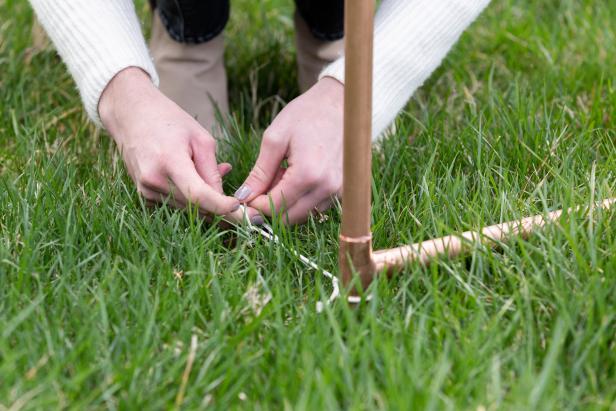
Secure the arbor to the ground by tying cotton rope around the arbor's legs (Image 1), then around the tent stakes (one per leg). Hammer in (Images 2 & 3).

Add Wire, Greenery and Flowers
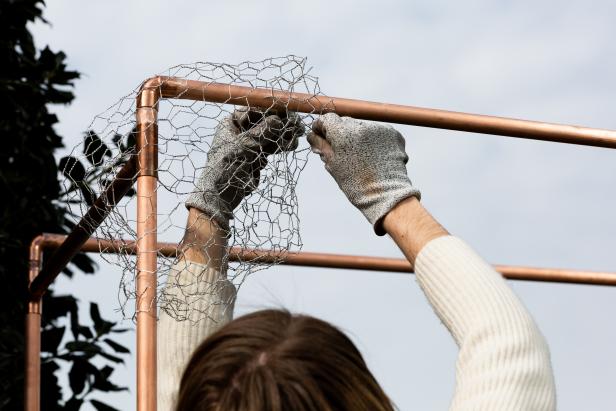
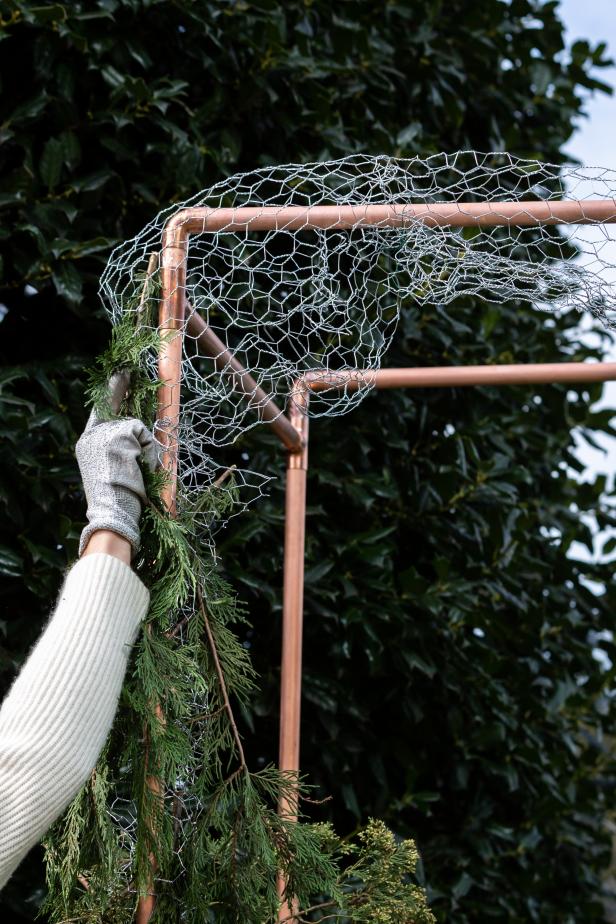
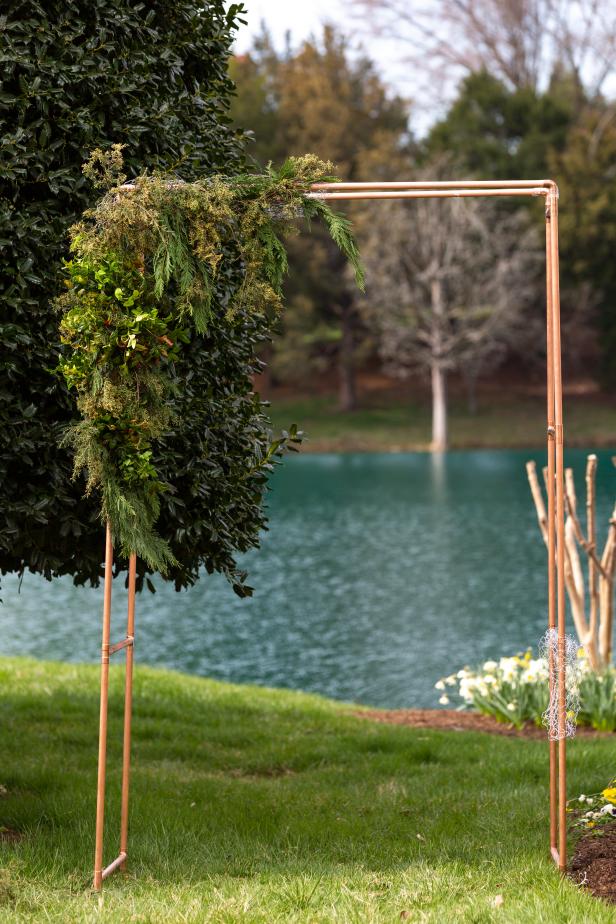
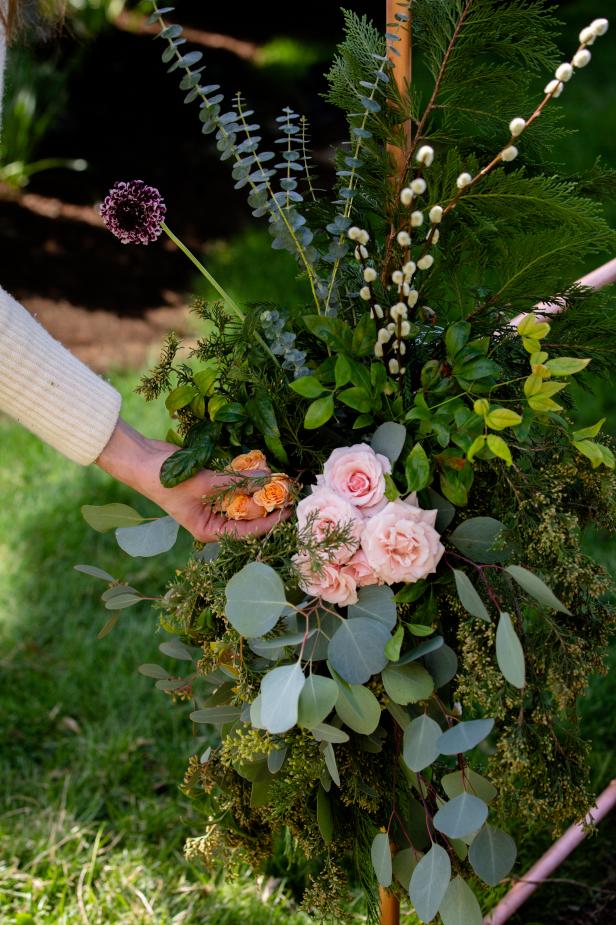
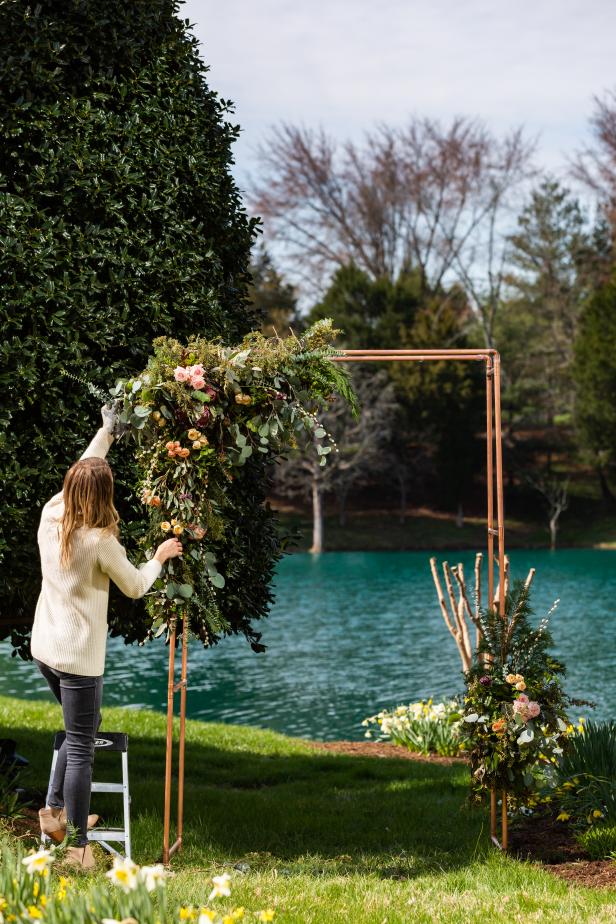
On the day of the event, cut and wrap chicken wire around the corners and sides of the arbor while wearing gloves (Image 1). Start by adding greenery to the chicken wire until lush, then fill with flowers until you reach the desired look (Images 2-5).
More Ways to Dress It Up
3 Ways to Dress Up a Copper Pipe Arbor
Try one of these budget-friendly ways to dress up a copper pipe arbor for any party.

.-Battle-on-the-Beach-courtesy-of-HGTV.-.jpg.rend.hgtvcom.196.196.suffix/1714761529029.jpeg)


