Halloween Decor: How to Make Creepy Apothecary Jars
Take your Halloween decor to the next level with these easy-to-make apothecary jars made from recycled medicine bottles.
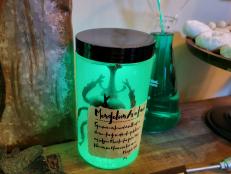
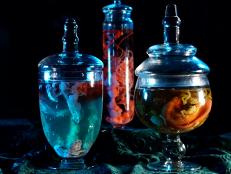
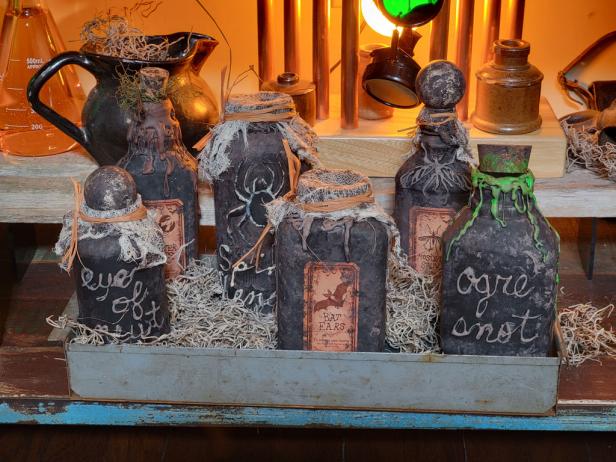
This Halloween, whip up a tray of mad scientists’ favorite ingredients. You can use it as a centerpiece for your costume party buffet or use it to decorate your coffee table or mantel. For this project, we used recycled medicine bottles because they offer a variety of shapes and sizes. We drew designs on some of the bottles and used store-bought labels on the others to mix up the look of our apothecary bottles.
Jessyca Williams
Tools and Materials:
- large medicine bottles in various shapes
- black chalk paint
- paintbrush
- tan and brown acrylic paint
- paper plate
- sea sponge
- nitrile gloves
- fine-tip hot glue gun and glue sticks
- apothecary bottle labels
- cheesecloth
- raffia
- corks
- wooden craft balls
1. Prep + Paint Bottles
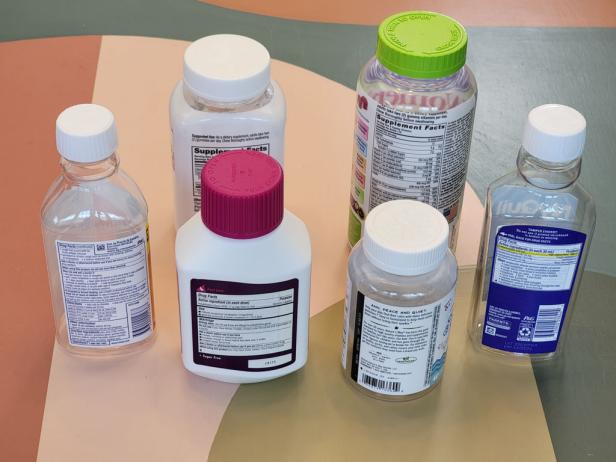
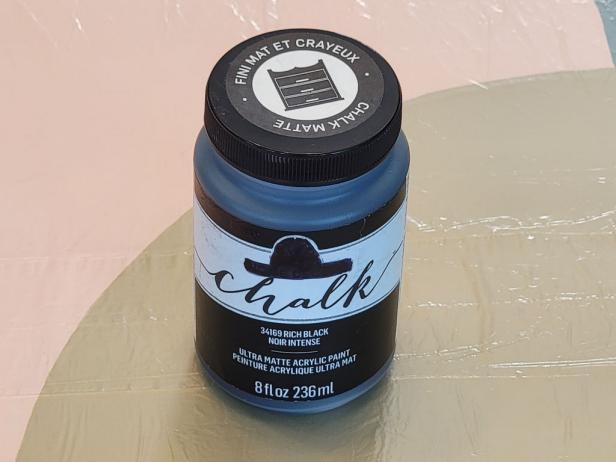
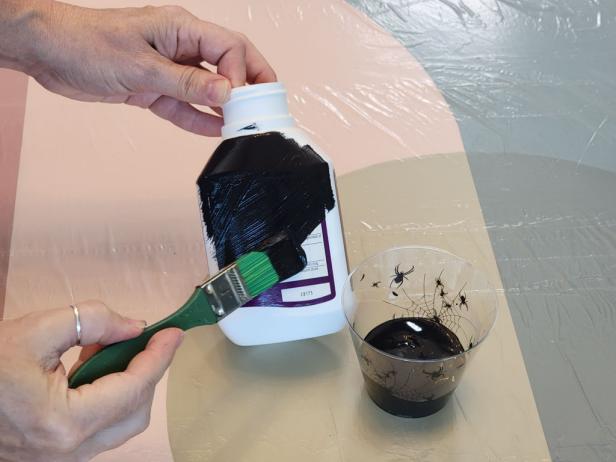
Gather large plastic medicine bottles. Look for ones that are wrapped in plastic labels instead of stickers. It’s easier to remove labels than stickers. Clean and dry the bottles. Paint the bottles with black chalk paint. You can paint over any labels that are not able to be removed. The chalk paint covers in one coat. Allow to dry.
Jessyca Williams
Jessyca Williams
Jessyca Williams

Jessyca Williams
2. Add Accent Colors
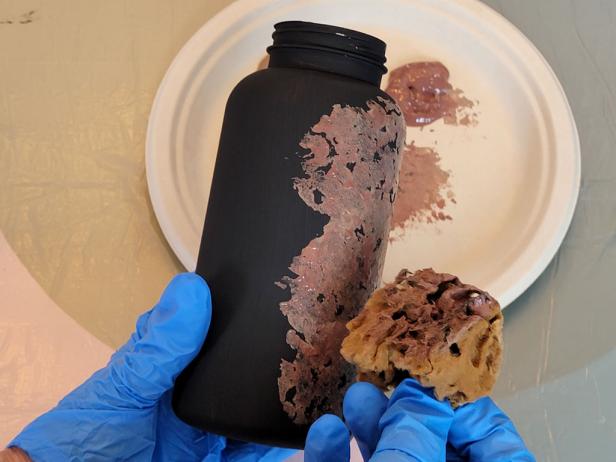
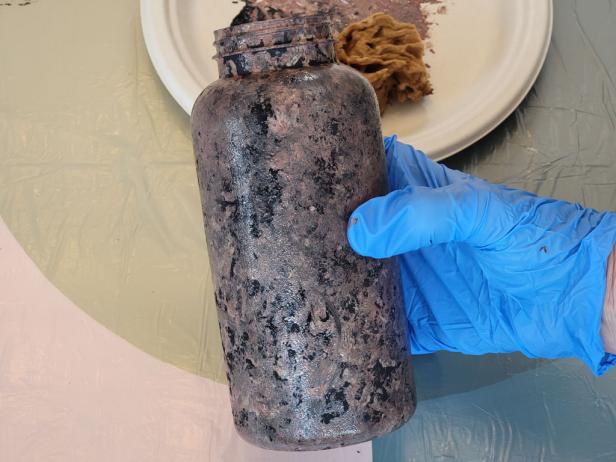
Pour a little bit of tan and brown paint onto a paper plate or paint palette. Use a sea sponge to mix the colors together and lightly dab onto the bottle. Change the dabbing angle of your hand often so the bottle looks distressed and old. Cover most of the bottle with a mixture of the colors. Be sure to cover the lip of the bottle and the top also. Allow the paint to fully dry.

Jessyca Williams
Jessyca Williams
Jessyca Williams
3. Create Designs on the Bottles
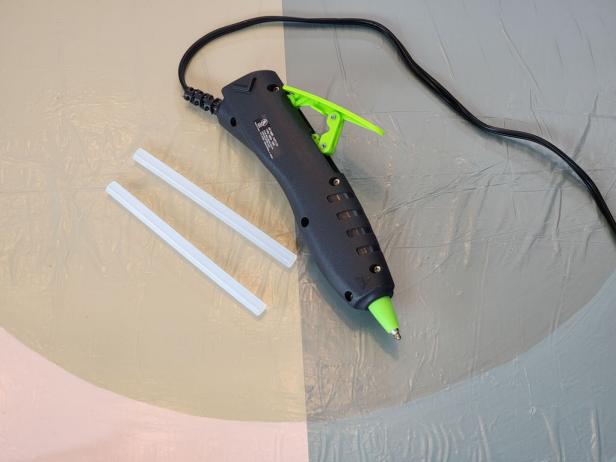
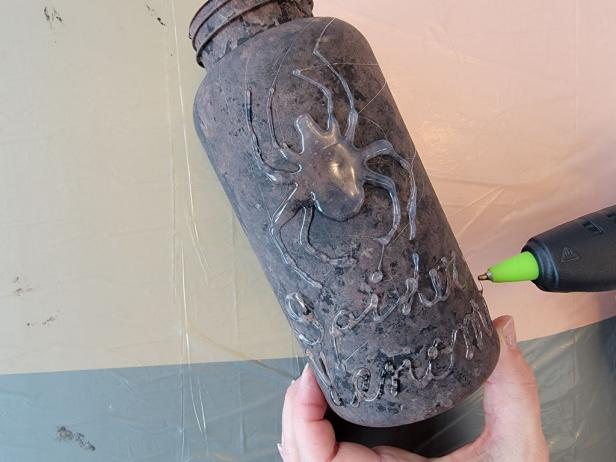
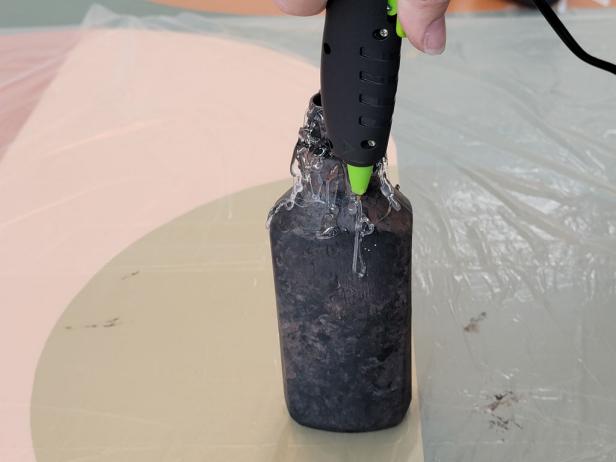
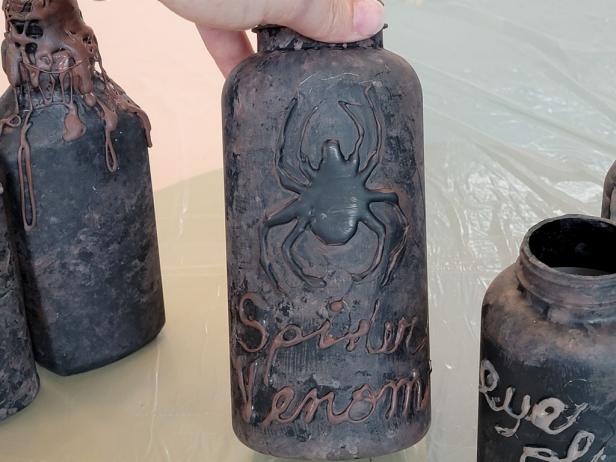
Use a fine-tip glue gun to draw and write designs on the bottles. We drew a spider onto one bottle and wrote “spider venom” underneath it. Other bottles have “eye of newt” and “ogre snot” written on them. Allow the glue to dry. (Tip: Cursive works best for writing words onto the bottles.) If you aren’t into drawing, just drip glue down the tops and sides of the bottles.
Jessyca Williams
Jessyca Williams

Jessyca Williams
Jessyca Williams
4. Cover Glue With Paint
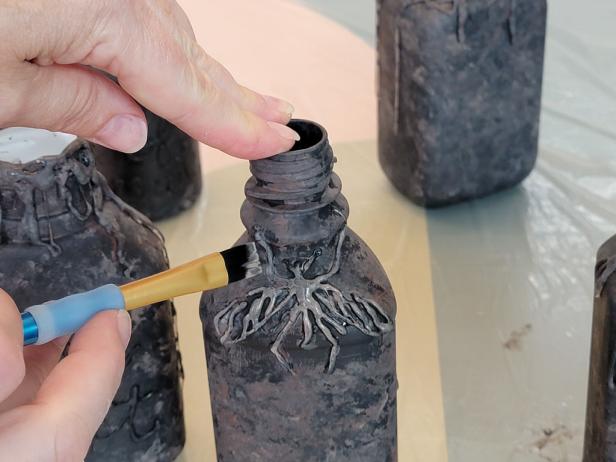
Dab the sponge into the paint again and go over all of the glue with the brown and tan paint. Touches of neon green on the tops of the bottles will provide a toxic radioactive vibe to your bottles. Use a small paintbrush to highlight any glue designs with light-colored paint. Allow the paint to dry.

Jessyca Williams
Jessyca Williams
Jessyca Williams
5. Glue On Labels
If using, add preprinted labels to bottles. We used labels on the bottles with only drips at the top. Dab some paint on the edges of the labels to make them look old.

Jessyca Williams
6. Top Off the Bottles
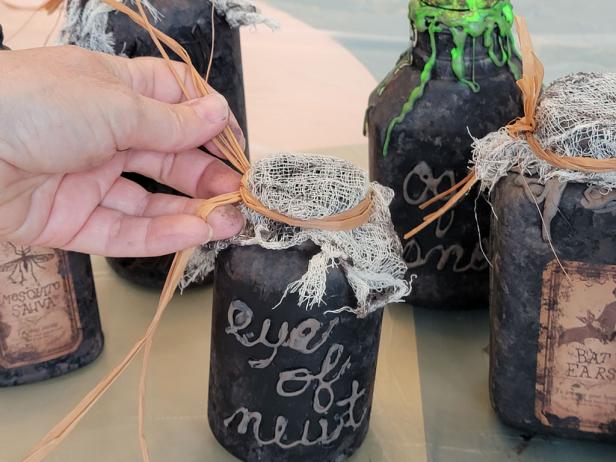
Dab brown paint onto the corks and wooden balls to give them an aged look. Cut small strips of cheesecloth and add paint to portions of those also. Fold over the cheesecloth and tie it to the tops of some bottles with strips of raffia. Other bottles can be topped with corks or wooden balls.

Jessyca Williams
Jessyca Williams
7. Display Bottles
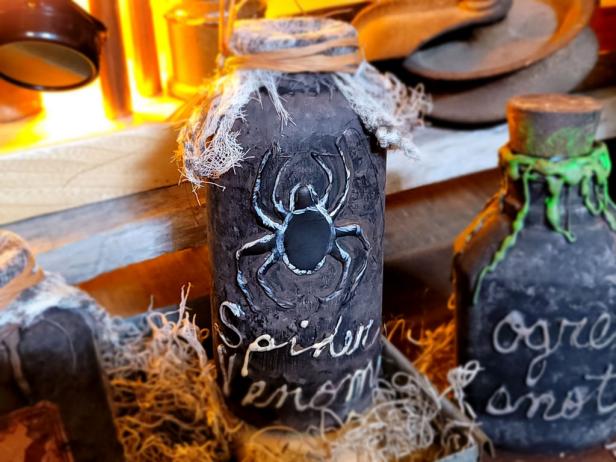
Arrange the apothecary bottles on a tray and decorate them with moss, plastic spiders or any other creepy elements.
Jessyca Williams

.-Battle-on-the-Beach-courtesy-of-HGTV.-.jpg.rend.hgtvcom.196.196.suffix/1714761529029.jpeg)


