Grow Your Own Kitchen Countertop Herb Garden
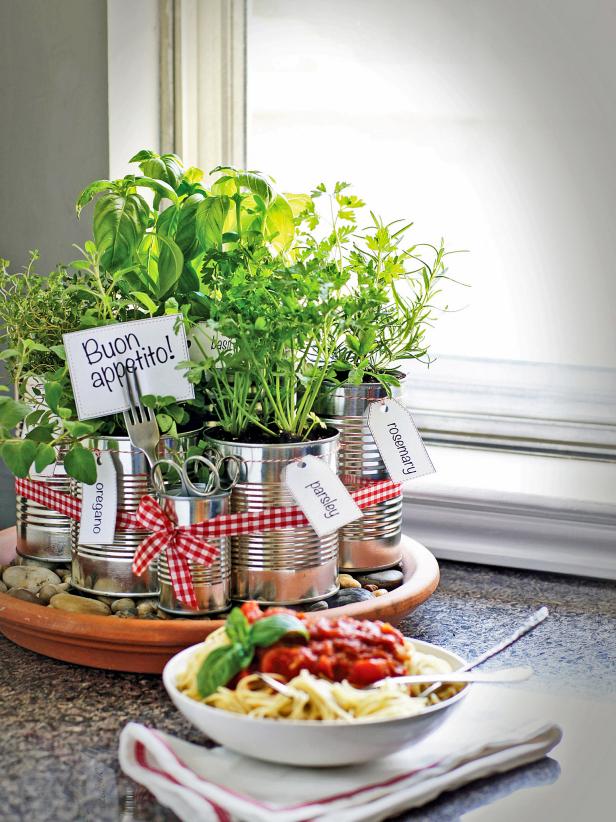

Materials Needed:
- 6 used food cans in a variety of sizes
- 2 basil plants
- 1 rosemary plant
- 1 thyme plant
- 1 oregano plant
- 1 parsley plant
- ribbon
- card stock
- old fork
- small scissors
- large terra-cotta saucer
- river rock or pebbles
- potting soil
- drill with small drill bit
- rubbing alcohol
- twine or string
- Download: Italian Herb Garden Tags
Prep Cans
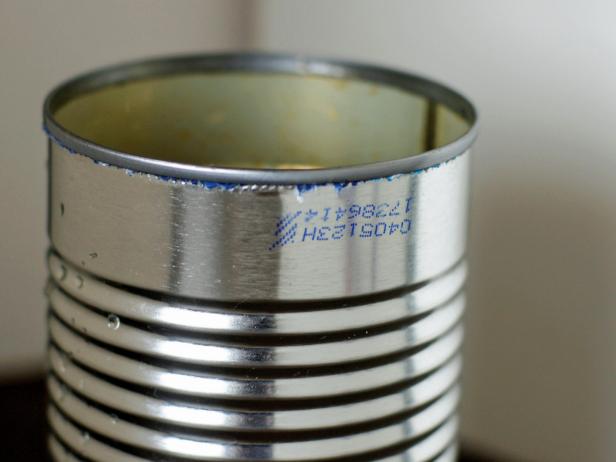
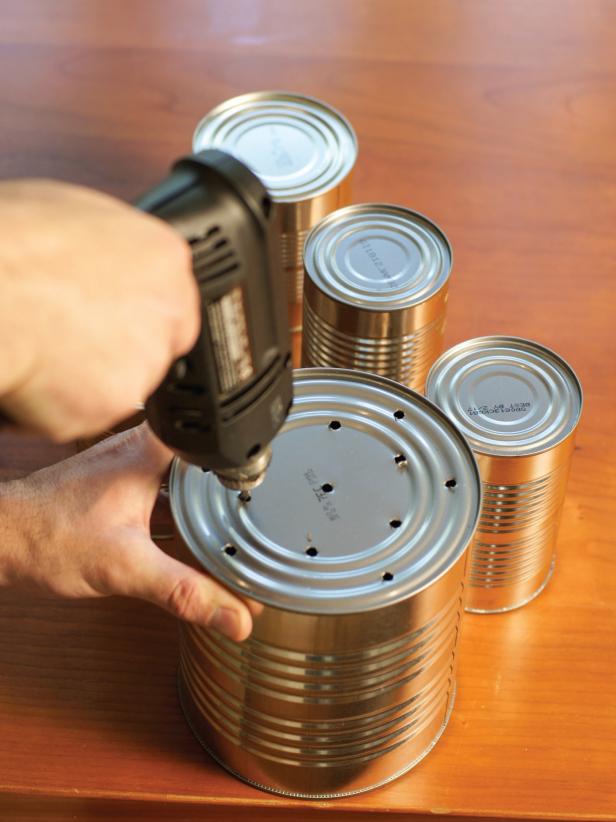
Wash cans thoroughly and allow to dry. Use rubbing alcohol to remove any ink that has been stamped on the cans (Image 1). Set the smallest can aside (this will be used later to keep scissors for snipping the herbs handy) then flip the remaining five cans over and drill several evenly spaced holes in the bottom for drainage (Image 2).
Prep Saucer
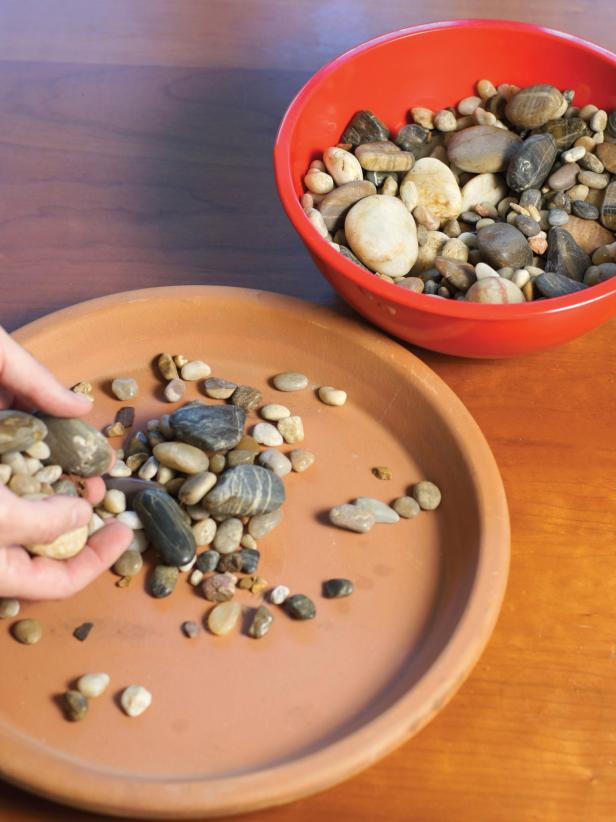
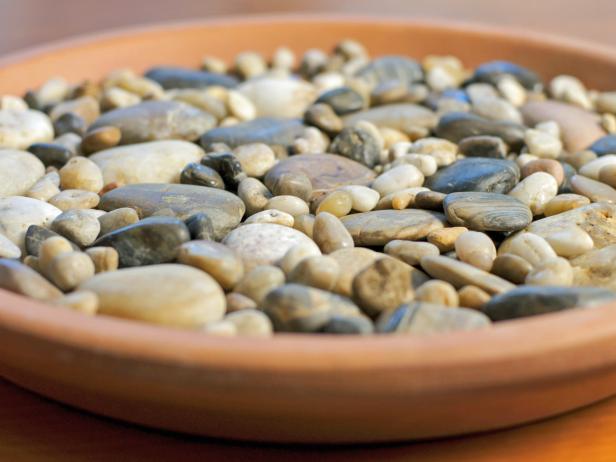
Fill terra-cotta saucer with a level layer of river rock and small pebbles to catch any drainage.
Add Herbs
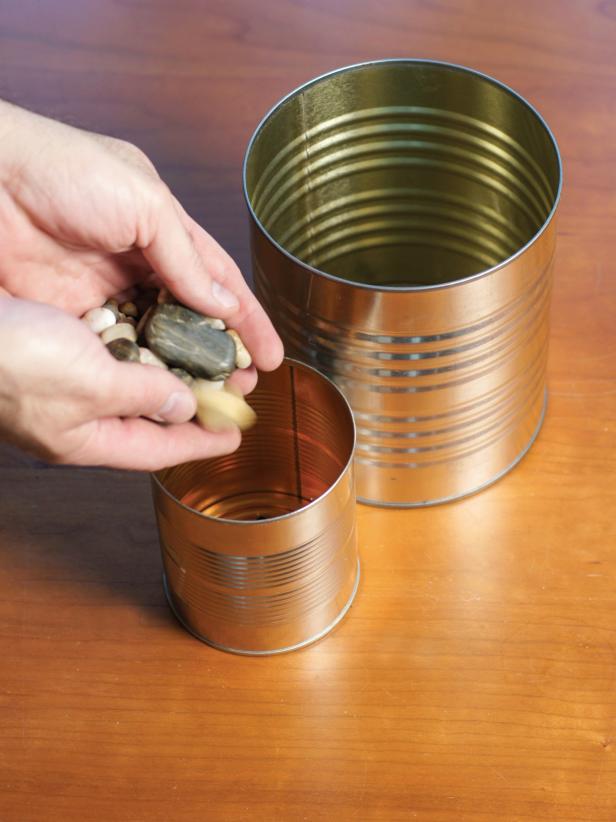
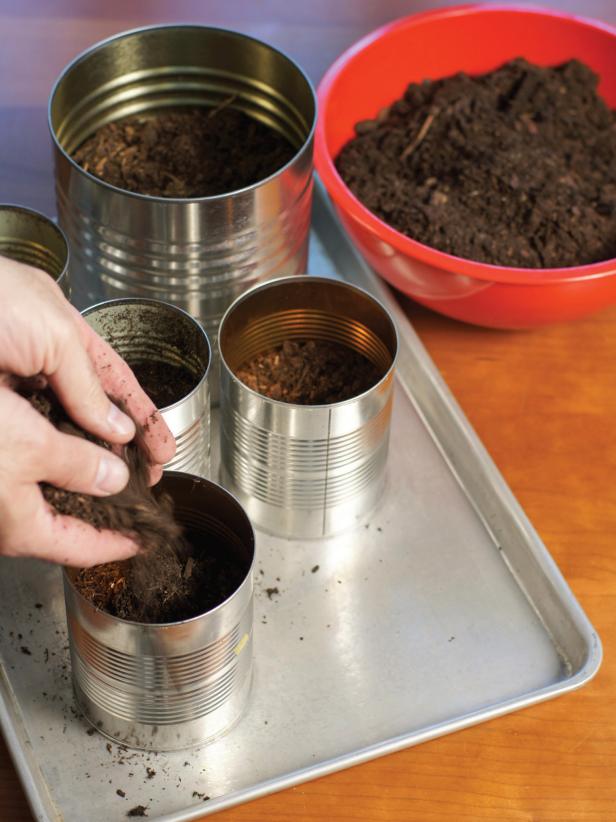
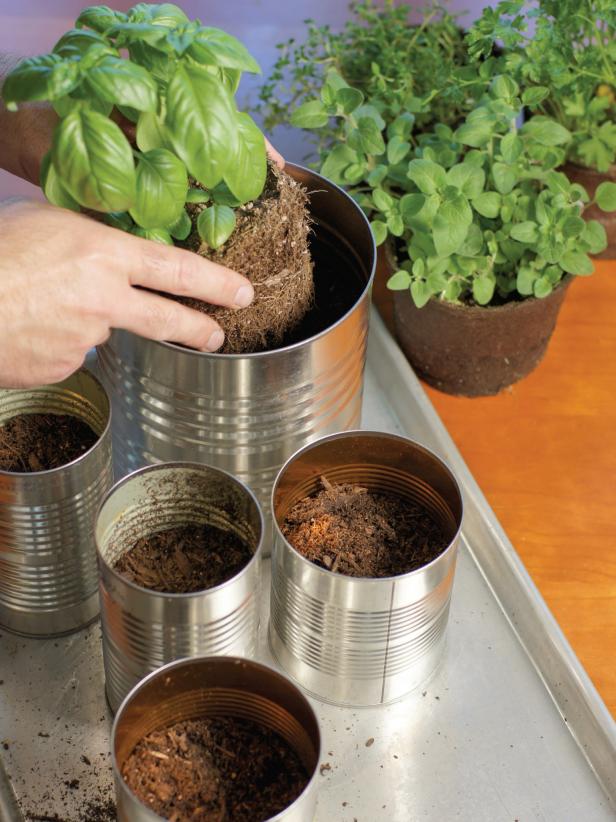
Fill the bottom of the five cans with a shallow layer of rocks for drainage (Image 1); top this with a layer of potting soil, only filling each can two-thirds full (Image 2). Finally, remove herbs from their pots and loosen the roots slightly by breaking them gently apart with your fingers. Add both basil plants to the largest can then plant the remaining herbs in the other four cans (Image 3). Fill in around each plant with more potting soil if necessary.
Assemble Herb Garden
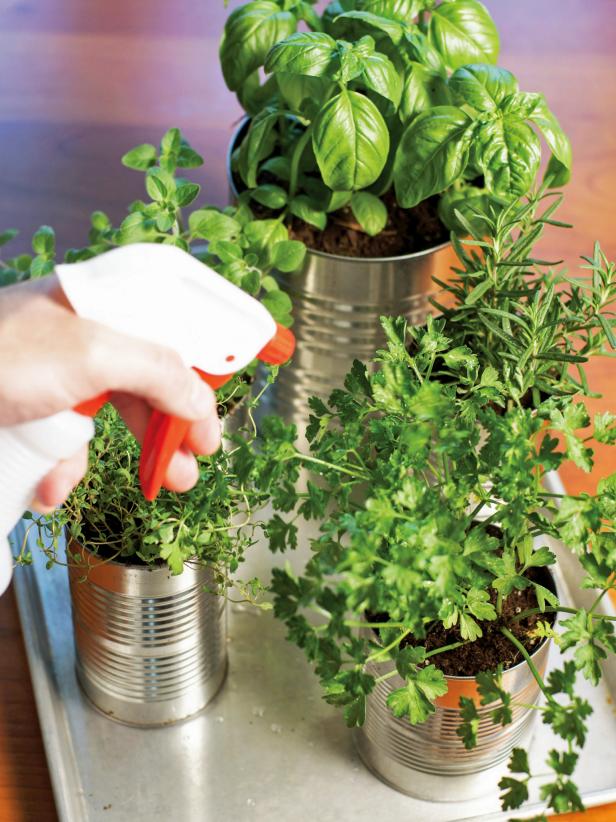
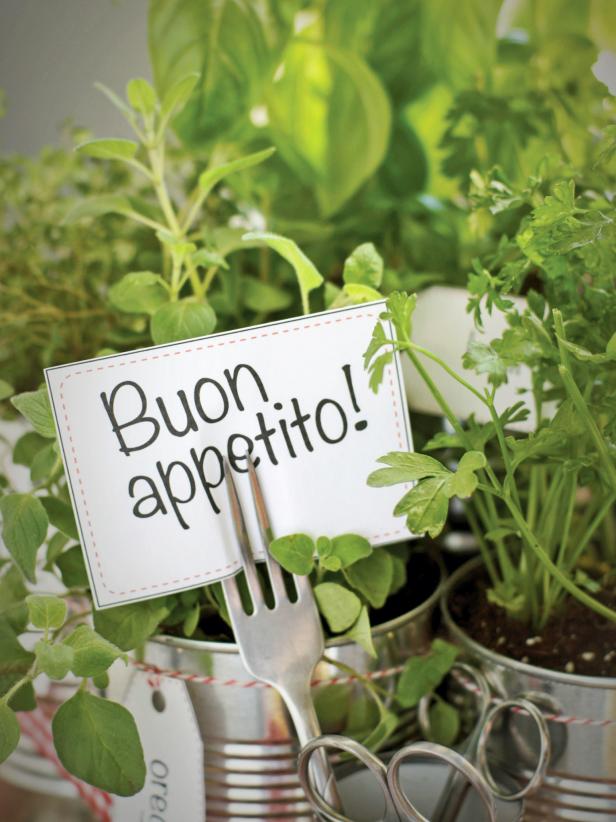
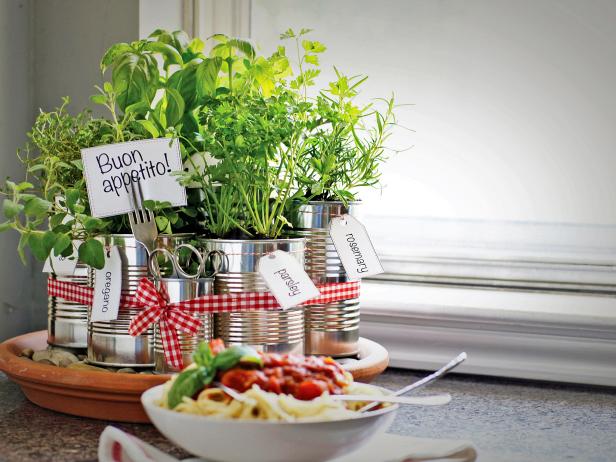
Give all the plants a good watering (Image 1). Arrange the cans on the terra-cotta saucer, placing them near a sunny window that gets a minimum six hours of sunlight a day. Add the smallest can to the front center, and use it to keep small scissors handy for snipping herbs. Wrap a length of ribbon around all the cans and tie together to secure. Print then cut out the plant labels and tie each around its respective can with twine or string. Finally, slide the printed greeting through the tines of an old fork (Image 2) and add it to the smallest can (Image 3).

.-Battle-on-the-Beach-courtesy-of-HGTV.-.jpg.rend.hgtvcom.196.196.suffix/1714761529029.jpeg)


