How to Make a 'Dying to Meet You' Welcome Sign for Halloween
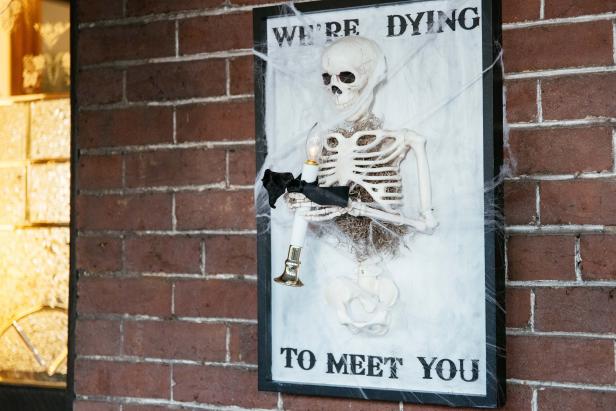
Dress up your porch or doorway with this glowing, easy-to-make Halloween outdoor decoration that uses basic craft supplies, a battery-operated candle and a skeleton.

Your neighbors will be just dying to know where you got this clever yet creepy welcome sign. You don't have to tell them it is one of the simplest DIY Halloween projects ever — it just takes a bit of assembly and not a lot of money.

Jennie Andrews Styling by Jill Tennant
Tools and Materials:
- zip ties
- drill
- industrial adhesive
- pull-apart spider's web
1. Prep and Position Skeleton
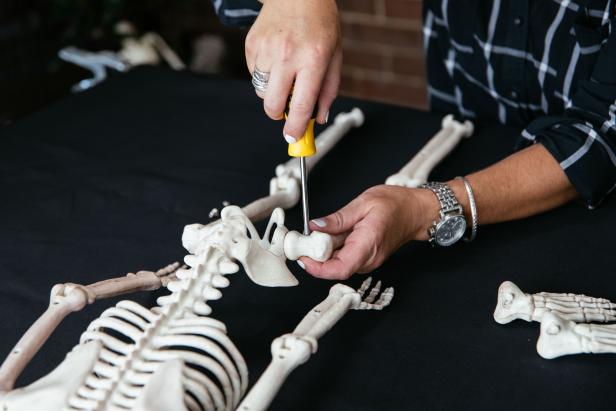
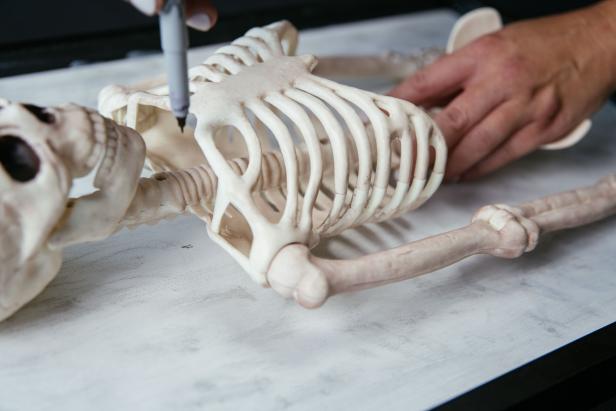
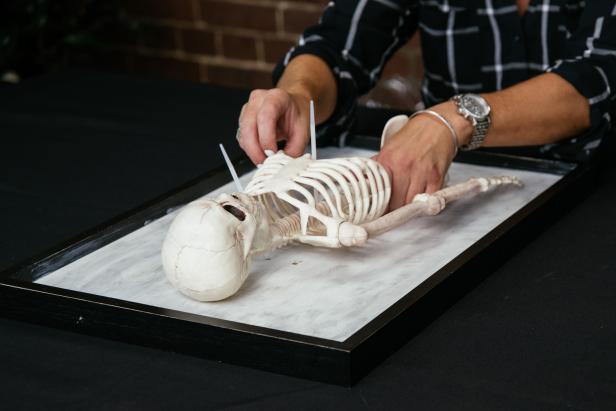
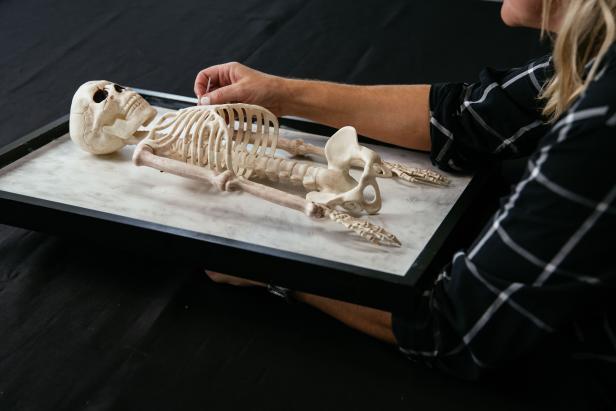
Most articulating skeletons are held together with screws that can be removed with a Phillips head screwdriver. Remove the legs, leaving only the torso, head and arms. Lay the skeleton down onto a blank wooden sign. Craft stores sell these signs ready-made, like the one we are using, or you could paint over a thifted sign. Mark a couple of dots on either side of the spine near the shoulders and a couple more dots near the bottom of the ribcage.

2. Attach Skeleton
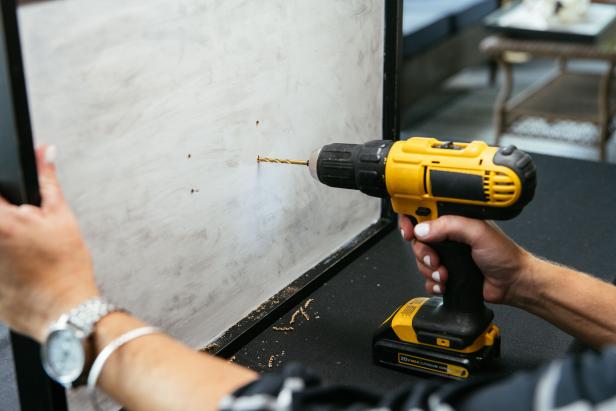
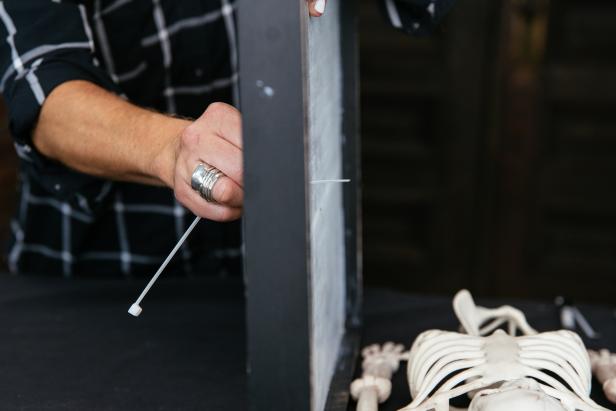
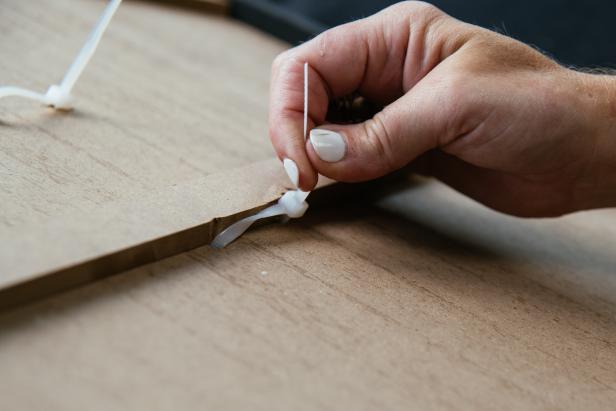
Drill a hole at each of the marked dots using an 1/8" drill bit. Thread a zip tie through one of the holes, around the spine and back through the second hole, zipping tightly behind the sign.
3. Attach Letters
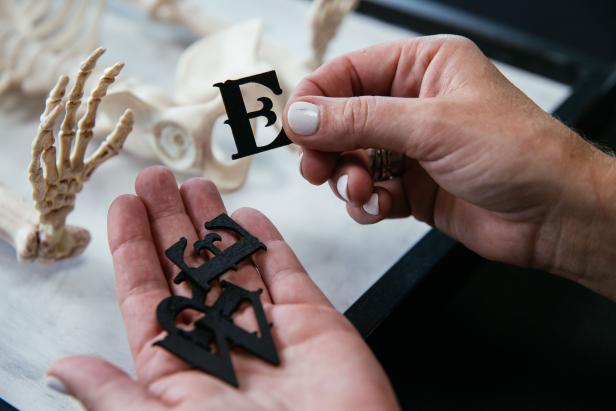
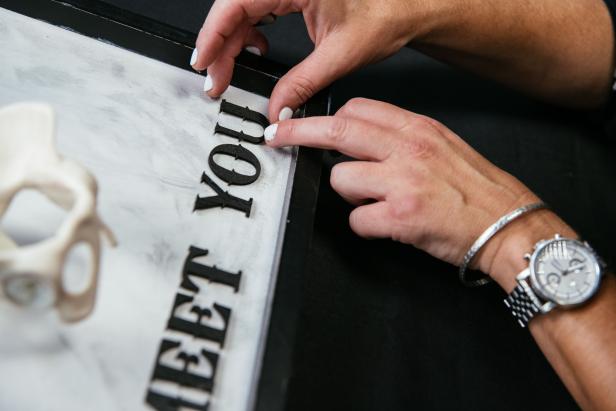
Paint the wooden letters black. Lay them out onto the sign to determine spacing, then attach them using industrial adhesive. Let dry.


4. Wire Thumbs
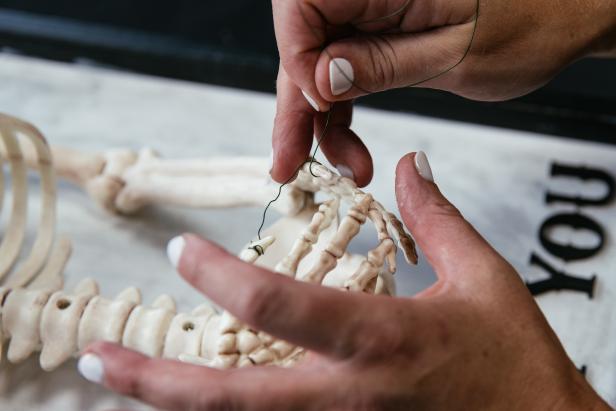
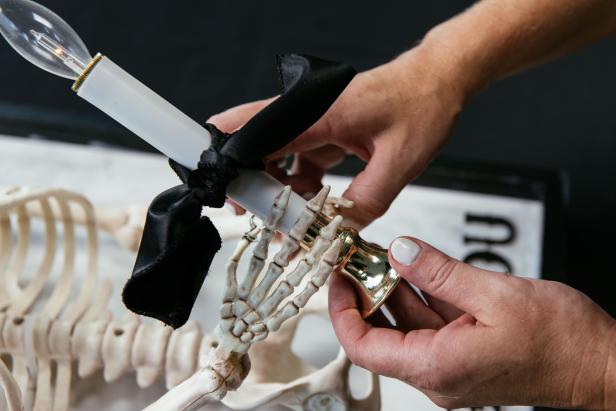
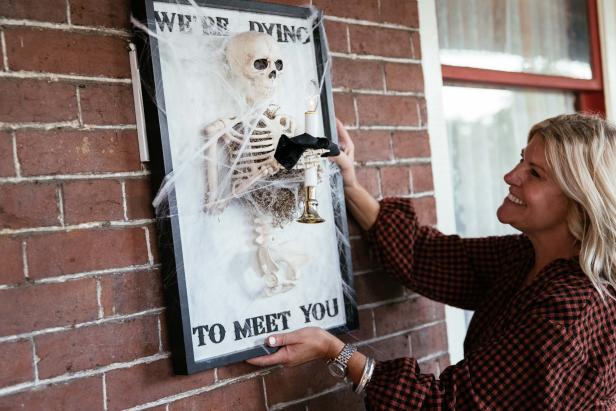
Wire the thumbs of the hands together, creating a cradle for the candle. Slide the candle in between the thumbs and first fingers.

5. Add Moss and Hang
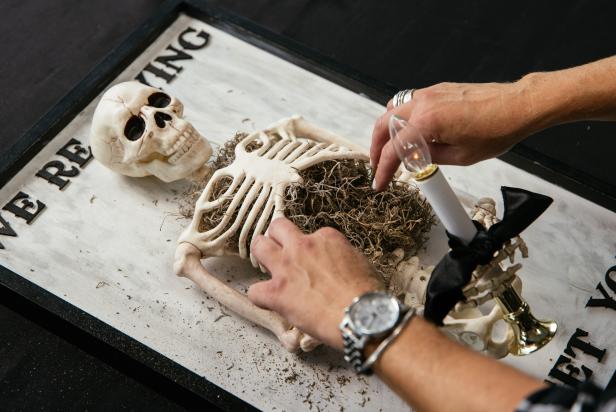
Stuff the chest cavity with Spanish moss to add a little extra creepiness. Stretch spider's web across the entire sign. Hang in a covered spot.
6. Enjoy
That’s it! With only a few simple steps, you have a frightfully illuminated sign to welcome all the ghouls and ghosts this Halloween.
Jennie Andrews Styling by Jill Tennant

.-Battle-on-the-Beach-courtesy-of-HGTV.-.jpg.rend.hgtvcom.196.196.suffix/1714761529029.jpeg)


