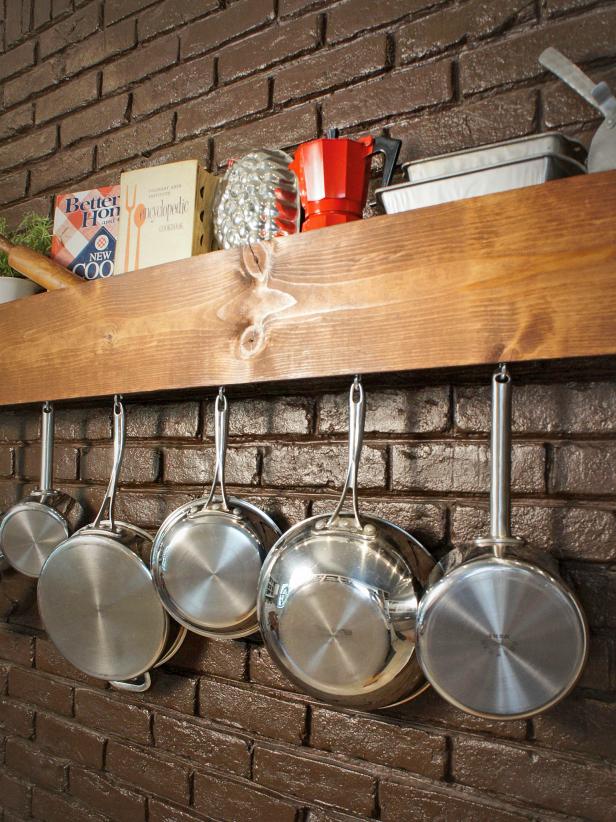
DIY Kitchen Storage Shelf and Pot Rack

Materials Needed:
- 5' section of 1/2" conduit pipe (common size in home improvement stores)
- 61" vinyl gutter
- 8"x1"x6' board, pine or oak (at least 73 inches long)
- 1"x2"x6' board, pine or oak (at least 61" long)
- miter box with saw
- set of wooden closet-bar brackets
- (8) 1" metal O-rings
- (8) 1/4" S-hooks
- (26) 5/8" wood or craft screws
- (6) 1 1/2" wood screws
- wood putty
- sandpaper
- 4 finishing nails
- stain and varnish or polyurethane
- paintbrush
- drill with small drill bit
- permanent marker
- tape measure
- wood glue
- large D-rings for hanging
- wall-mount anchors, if necessary
Prep Gutter and Wood Boards
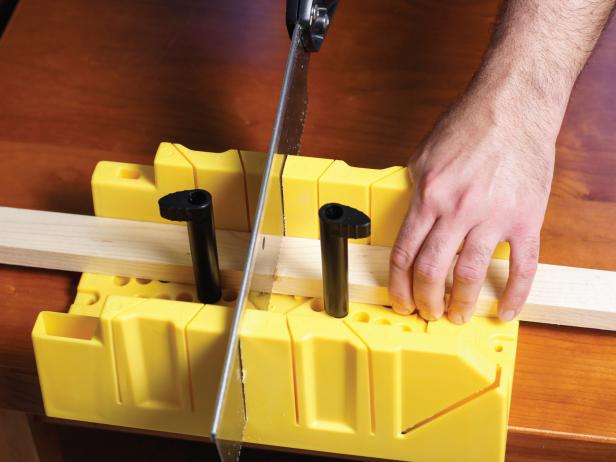
If necessary, cut vinyl gutter and 1x2x6 board to 61 inches (Images 1 and 2). Cut 8x1x6 board into three sections: one at 63 inches long and the other two at five inches long. Stain the wood boards as desired.

Drill Pilot Holes in Gutter
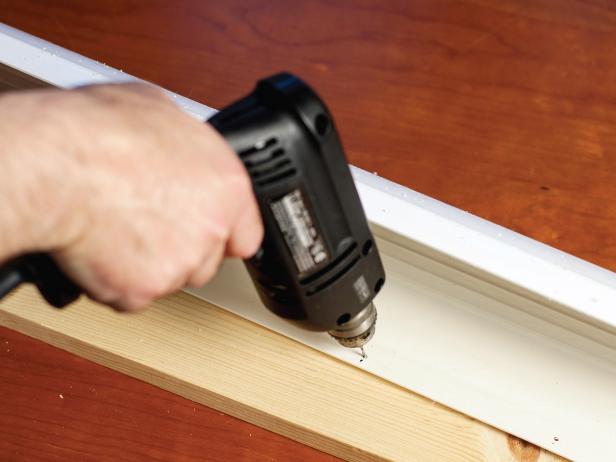
Use a tape measure to find the gutter's center (should be 30-1/2") and mark it with the permanent marker about 1/2" from the top (Image 1). Make a similar mark every five inches in both directions from the center. Drill holes at all of the marked spots with a drill bit just big enough to create a pilot hole for the small wood or craft screws to avoid cracking the gutter (Image 2).

Attach Gutter to Boards
Using the pre-drilled holes as your guide, center then attach the gutter to the 8x1x6 board using wood or craft screws (this will form the shelf's back side). Note: The top edge of the gutter should be flush with one long edge of the board with 1 1/2" of board extending beyond both ends of the gutter.
Attach Shelf's Front and Sides
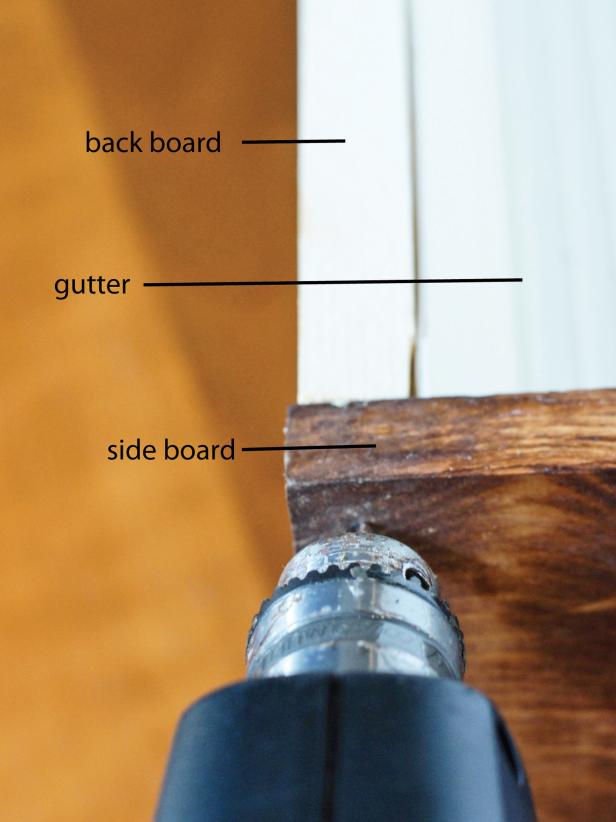
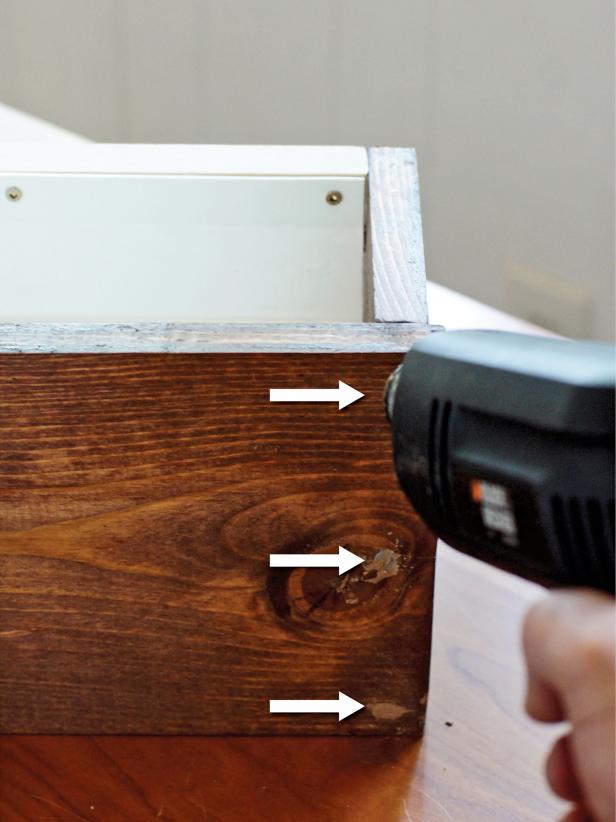
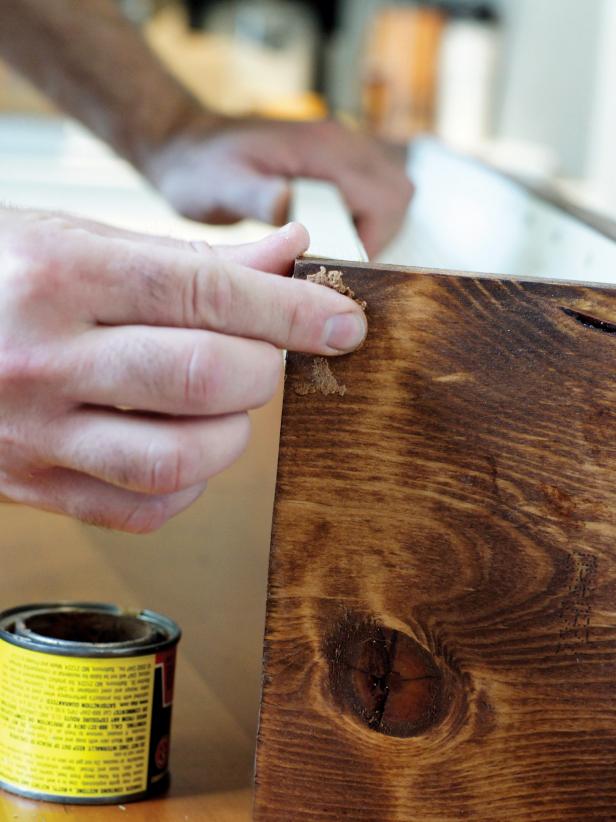
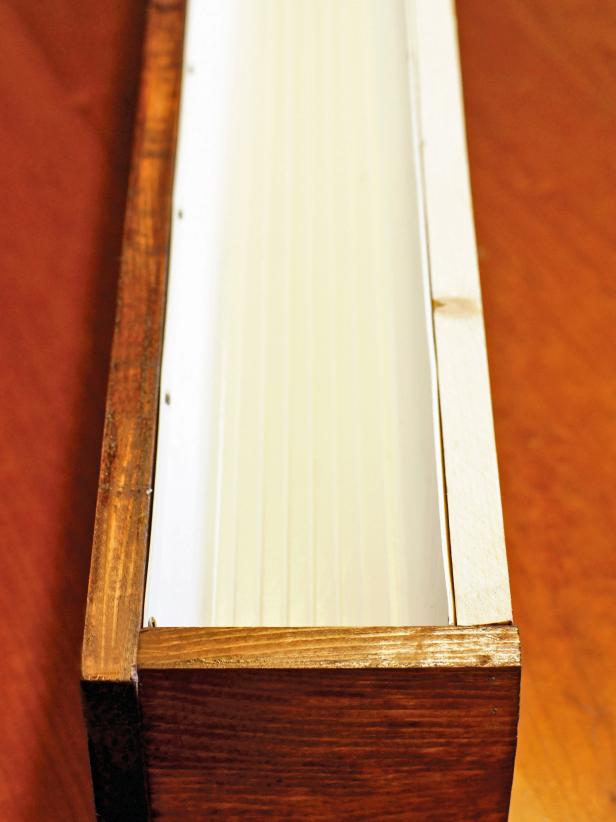
Attach the 5-inch boards as the shelf's sides. They should be snug against the back board and the ends of the gutter (Image 1). Using three 1 1/2" wood screws, attach the face board to the side boards by screwing straight through the face board into the side boards, countersinking slightly. Note: Place a screw at the top, middle and bottom of the face board then fill in the holes with stainable wood putty (Images 2 and 3). Once assembled, the gutter has been encased in wood boards; only the gutter's top and bottom haven't been covered (Image 4).
Add Closet Bar Brackets
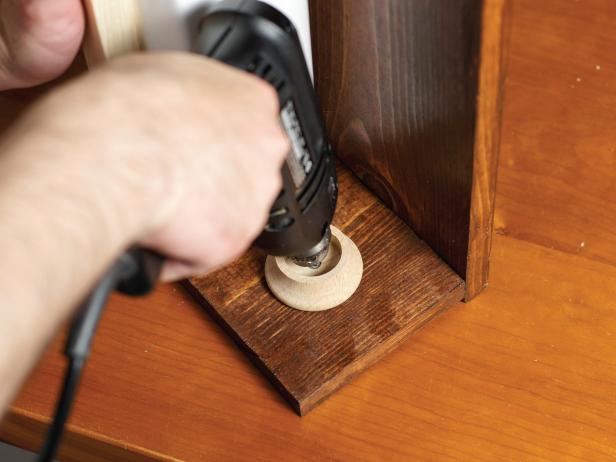
Place the assembled shelf on its side, center then screw the closet-bar brackets to the inside of each side board. Tip: The center should be 2 1/2" from the bottom and 2 1/2" from the face board.
Hang Shelf
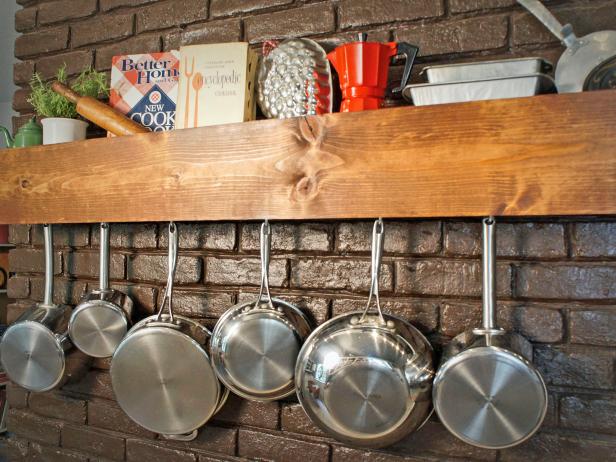
Place S-hooks on rings and slide rings onto conduit pipe (Image 1). Install conduit pipe in brackets. Hang finished shelf on a kitchen wall using D-rings mounted onto the shelf's back board (Image 2). Note: Before installing shelf, first position heavy-duty anchors in wall, if needed.


.-Battle-on-the-Beach-courtesy-of-HGTV.-.jpg.rend.hgtvcom.196.196.suffix/1714761529029.jpeg)


