DIY Outdoor Nesting Tables
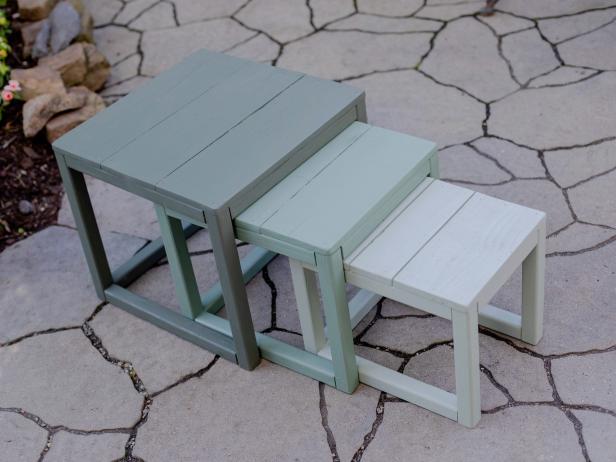
In need of more outdoor furniture? These sturdy nesting tables can also serve as extra seating for any outdoor space. Check out the step-by-step instructions for this simple woodworking project.
SHAIN RIEVLEY
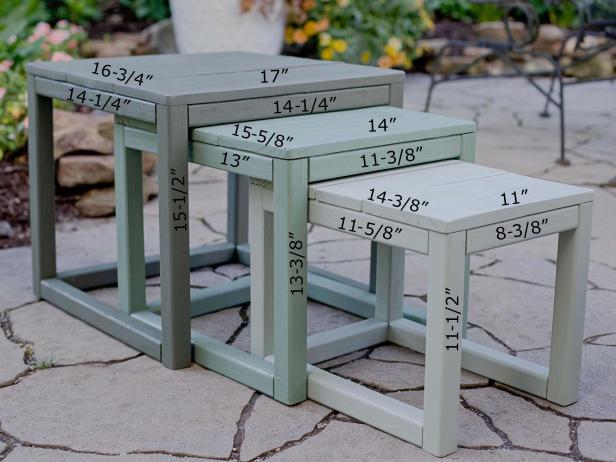
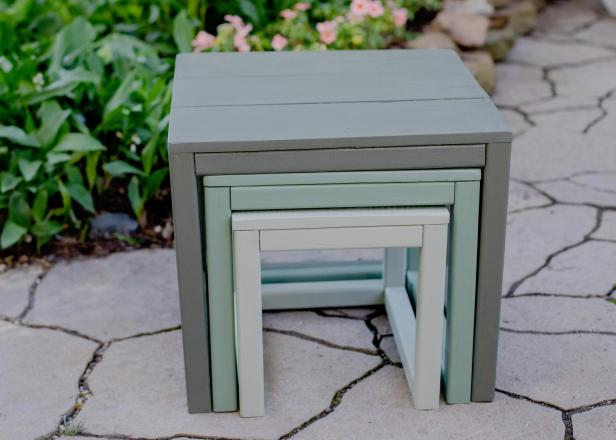
We made this set of nesting tables/benches in an afternoon using simple materials. Cedar fence panels were used for the tops and dimensional lumber for the bases, so it didn't cost a lot for materials. We chose to paint each table a different color for a stylish ombre effect.
Tools and Materials
The quantity of materials is for all three tables.
- (6) 2x2 x 8’ pressure-treated lumber
- (3) pressure-treated fence panels
- miter saw
- wood glue
- pocket-hole jig system
- (1) box 2-1/2" pocket-hole screws
- drill
- clamp
- 36” bar clamp
- right-angle clamps
- sandpaper
- paint tarp
- paint roller and tray
- exterior-grade paint
- measuring tape
Step 1: Cut List
Use a circular saw or miter saw to cut the 2x2s and fence panels into the following sizes.
For the large table:
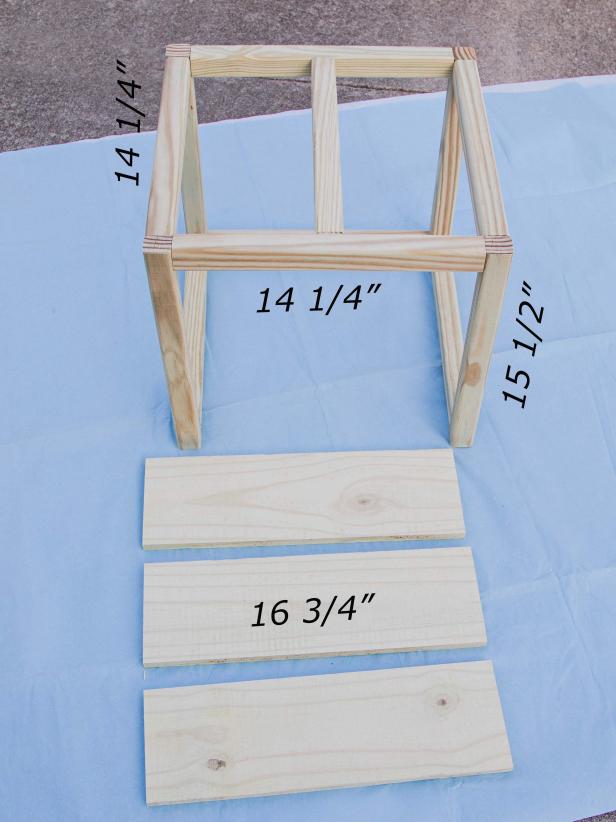
- (4) 15-1/2” legs
- (3) 14-1/4” leg width supports
- (5) 14-1/4” leg depth supports
- Cut the fence picket into (3) 16-3/4” pieces for the top
For the medium table:
- (4) 13-3/8” legs
- (3) 11-5/8” leg width supports
- (5) 13” leg depth supports
- Cut the fence pickets to (3) 15-5/8” x 14” pieces for the top
For the small table:
- (4) 11-1/2” legs
- (3) 8-3/8” leg width supports
- (5) 11-5/8” leg depth supports
- Cut the fence pickets to (3) 14-3/8” x 11” pieces for the top
SHAIN RIEVLEY

SHAIN RIEVLEY
The following instructions are for building the large table. The smaller sizes can be built the same way, just adjust sizes accordingly.
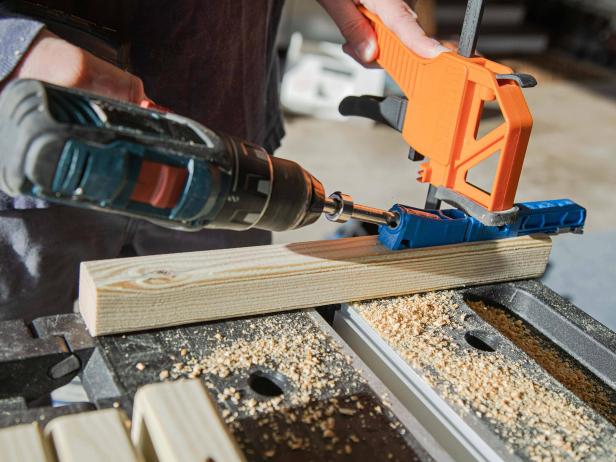
Step 2: Pocket Hole the Supports
SHAIN RIEVLEY

SHAIN RIEVLEY
SHAIN RIEVLEY
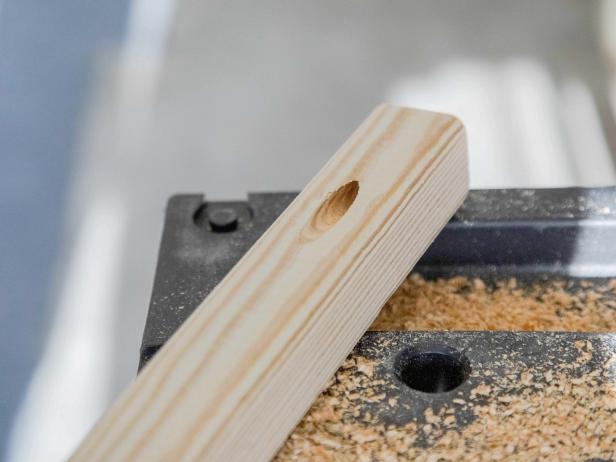
Create pocket holes in the 2x2 side support pieces. This wood is narrow so you will only need one pocket hole at each end on the same side.
Step 3: Sand It All Down
SHAIN RIEVLEY
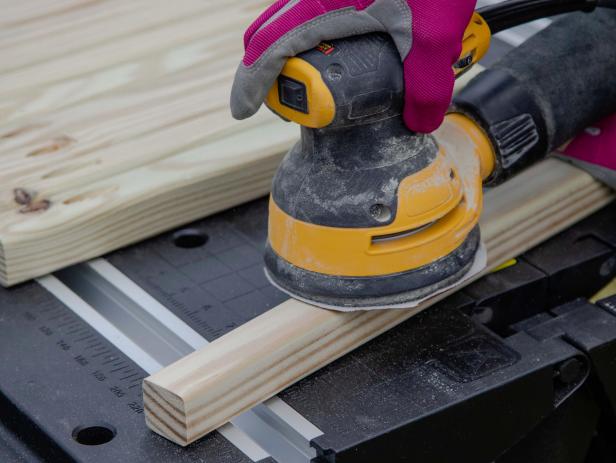
Sand all the wood. Pay extra attention to the pocket hole area since those tend to splinter. An orbital sander works well for this, but you can also use regular sandpaper or a sanding block.
Step 4: Make the Sides
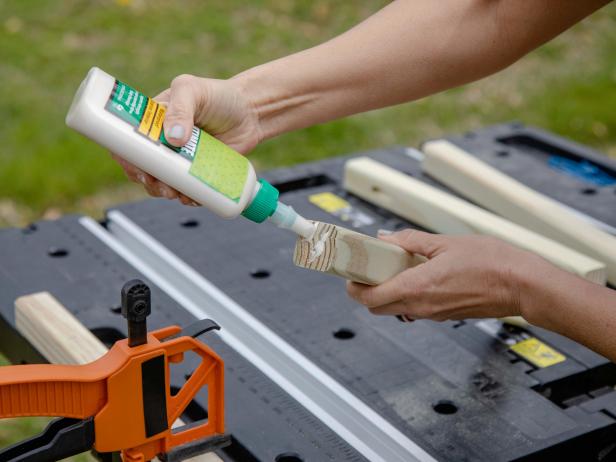
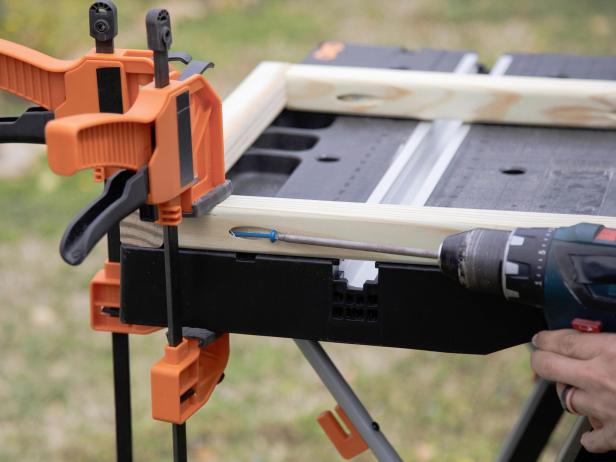
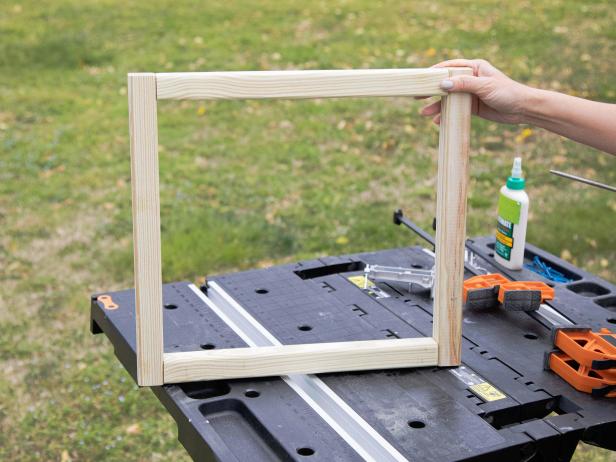
Add wood glue to the ends of two 14-1/4” pocket-holed pieces. Screw them into two 15-1/2” pieces to make a square shape. Make sure that all pocket holes are face down. You may find it easier to clamp everything to a worktable to keep it in place while fastening the pieces together. Use right-angle clamps at the corners to make sure your angles are square. Repeat the process to make the other side.
SHAIN RIEVLEY
SHAIN RIEVLEY
SHAIN RIEVLEY
Step 5: Frame the Top
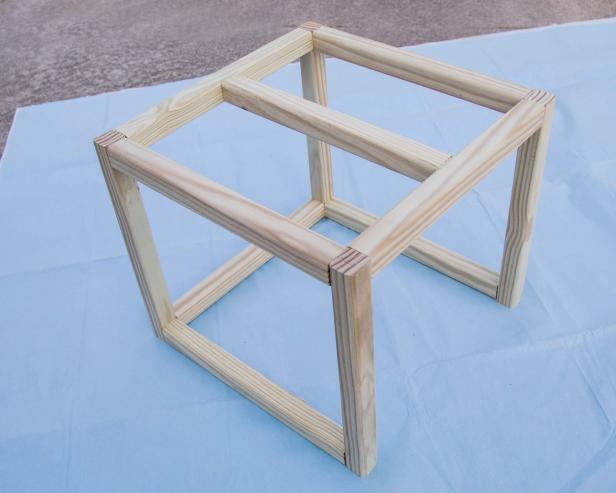
Add wood glue to the ends of two 14-1/4” pocket-holed pieces. Use large 36” clamps to secure the two side pieces with supports between at the very end. Screw into the pocket holes.

SHAIN RIEVLEY
Step 6: Add Middle Support
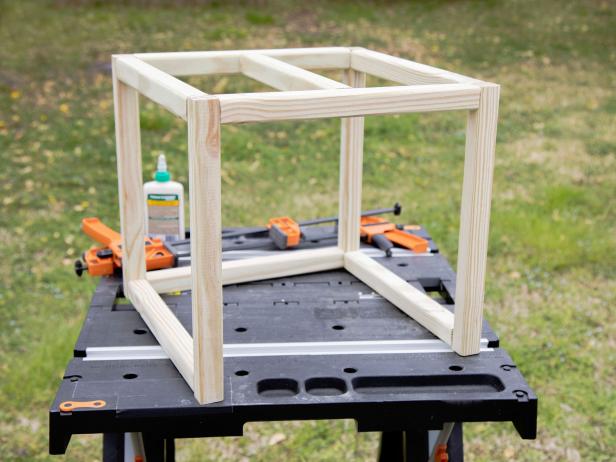
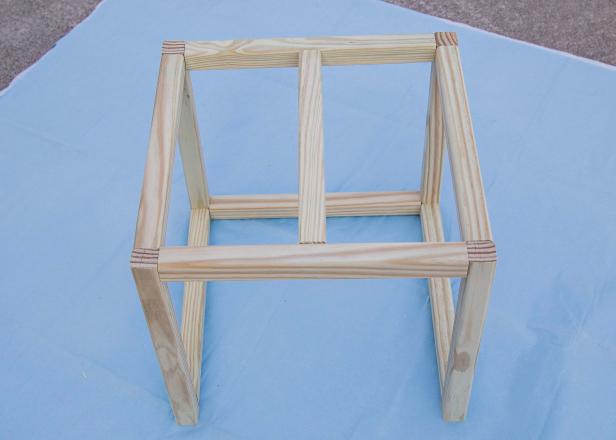
Use the same process to add the middle support for the top. This will help make the seat sturdier. When it’s screwed in, flip the base upright.
SHAIN RIEVLEY
SHAIN RIEVLEY
SHAIN RIEVLEY
Step 7: Attach the Seat
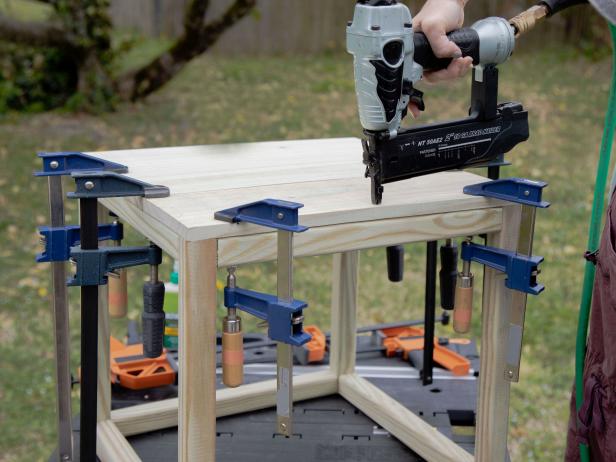
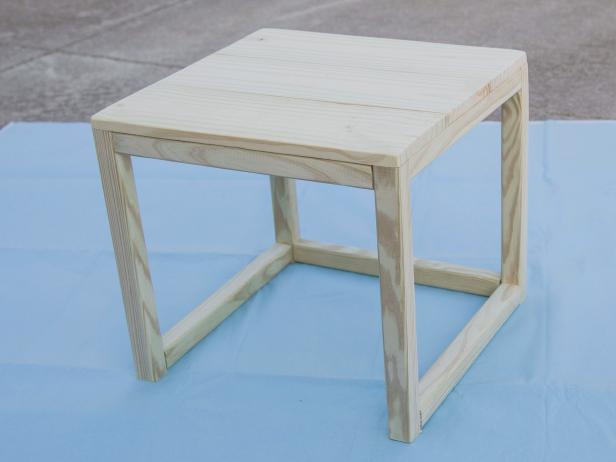
Fence panel wood is lightweight and works perfectly for this outdoor project. Add wood glue to the top frame and seat support. Place your three cut fence panel pieces on top and nail them into place.
SHAIN RIEVLEY
SHAIN RIEVLEY
SHAIN RIEVLEY
Step 8: Paint
Add two coats of paint to each table. Use durable exterior paint.

SHAIN RIEVLEY
Step 9: Make It Nesting
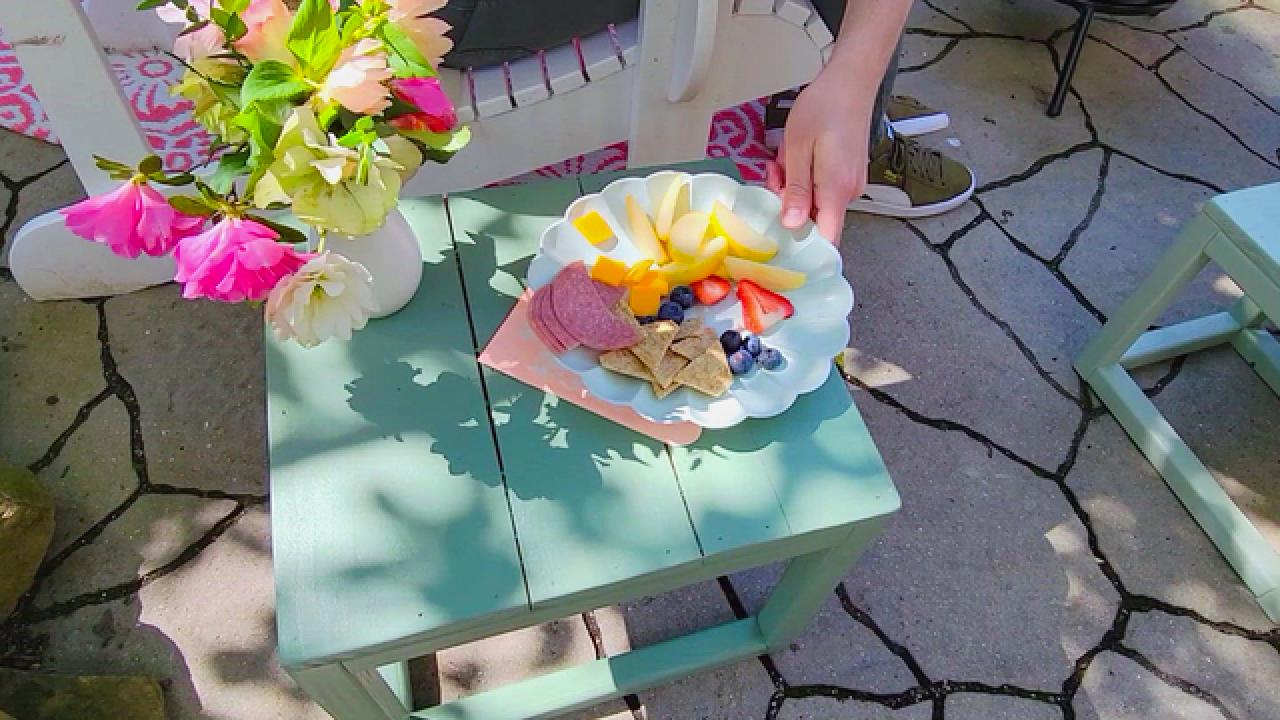
You can make as many of these seats as you need. The smaller versions are just the right size to use as side tables as well as benches.
SHAIN RIEVLEY

.-Battle-on-the-Beach-courtesy-of-HGTV.-.jpg.rend.hgtvcom.196.196.suffix/1714761529029.jpeg)


