DIY Holiday Glitter Village Houses
The holidays have never sparkled this bright! Make this glam decor using cardboard boxes and a lot of glitter.

If you love miniature Christmas villages, but don't want to spend too much or can't find one that matches your dazzling personality, then it's time to craft your own. With cardboard, acrylic paint and some glitter, you can create a sparkling Christmas village that will rival those found in a store.

Materials Needed
- thick cardboard
- ruler
- marker
- downloadable house template
- hot glue gun + sticks
- acrylic sealer spray
- acrylic craft paint
- paintbrush
- paint pen
- extra fine champagne glitter
- disco glitter
- vellum paper
- scissors
- craft glue
- decoupage glue
- foam brush
- scrap wood or cardboard
- miniature Christmas decoratives
Assemble Cardboard House


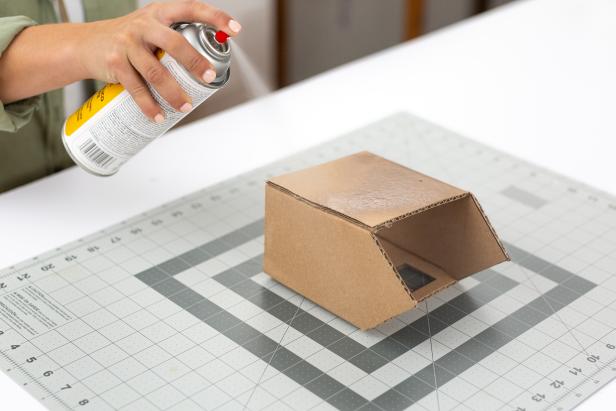
Begin by hand drawing and transferring measurements onto your piece of cardboard using our template and a ruler and marker. Use a utility knife to cut out the perimeter and windows and score the corners of the house’s frame using the measurements on the template. Next, fold the cardboard cutout at the scored corners and secure with hot glue. Spray with acrylic sealer and allow to dry for thirty minutes.
Paint House + Add Windows


Apply two coats of acrylic craft paint to the exterior of the house, letting dry between coats. Glue pieces of vellum paper to the inside of the house to create a frosted window look.
Decorate the Roof

Cover a 6"x6" piece of cardboard with white acrylic paint. Once dry, coat the surface with decoupage glue and sprinkle with a generous amount of extra-fine champagne glitter. Don’t forget to apply glitter to the edges, too.
Finish House
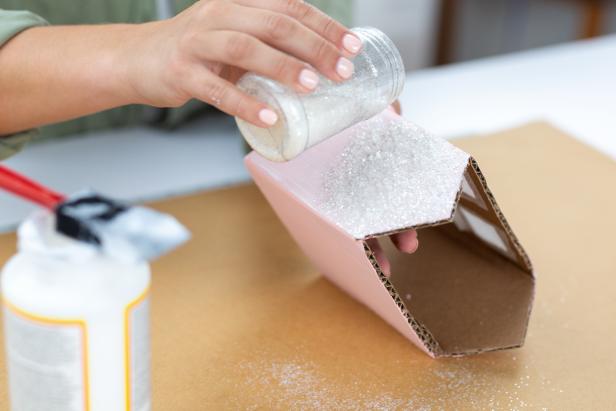
Draw a border around each window using a white paint pen. Working one side at a time, coat the walls with decoupage glue followed by disco glitter. Once fully coated, use hot glue to attach the roof. Finish by adding a glitter-coated scrap wood door and a miniature wreath for the ultimate dose of holiday bliss.


.-Battle-on-the-Beach-courtesy-of-HGTV.-.jpg.rend.hgtvcom.196.196.suffix/1714761529029.jpeg)


