DIY This Calendar You Can Use Year After Year
Start the year off right with a DIY calendar that’s both reusable and beautiful!
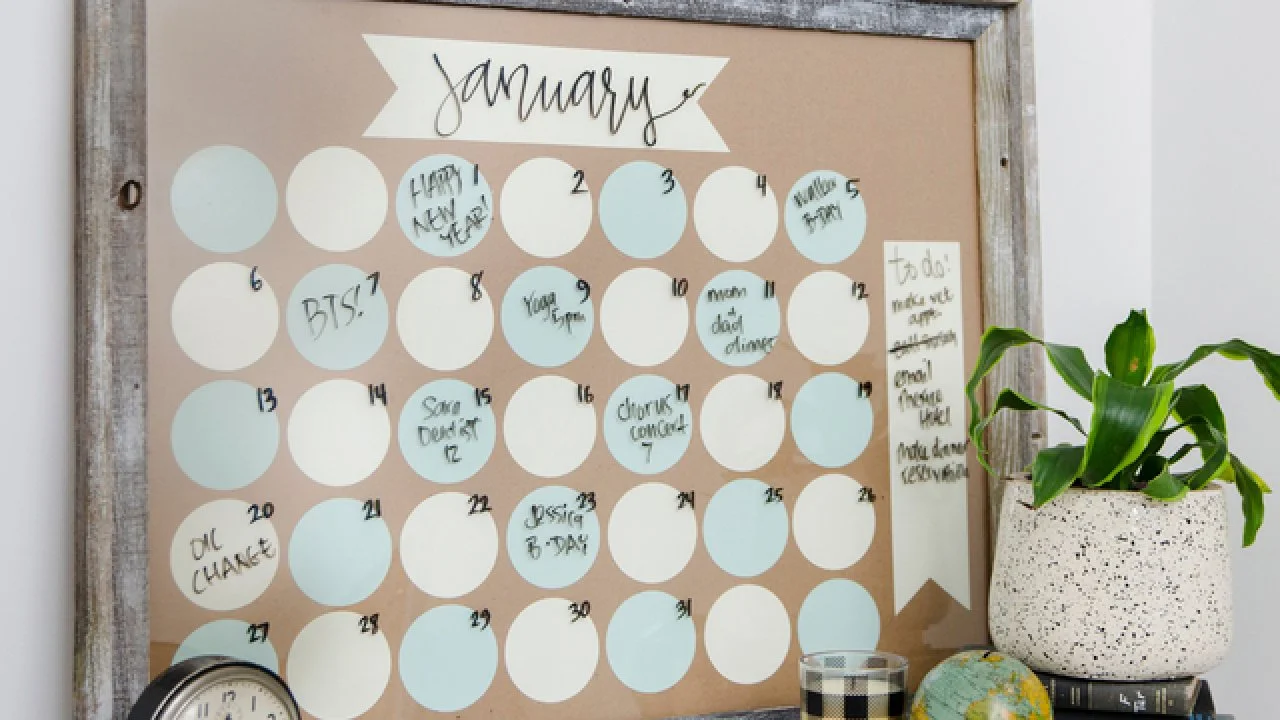
Wall calendars have many issues, but the two biggest are cost and style. And, unless they are of the dry erase variety, you are stuck having to buy a new one every year. Instead of spending too much on an eyesore, make your own with a beautiful frame and the DIY design of your liking.
Jalynn Baker
Jalynn Baker
Jalynn Baker
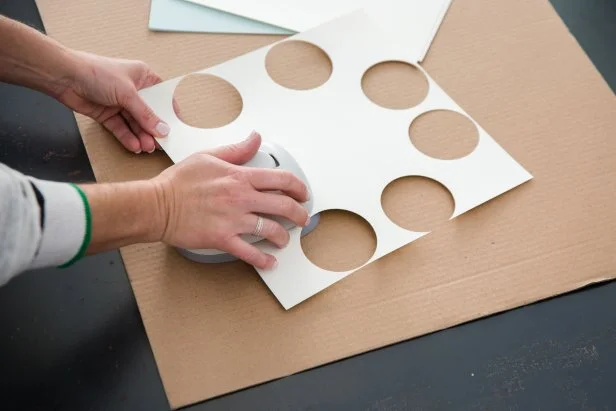
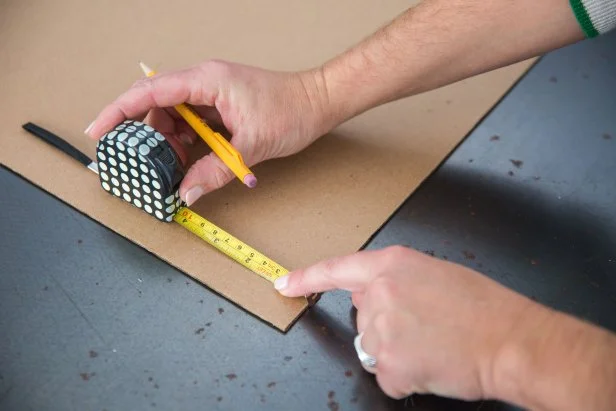
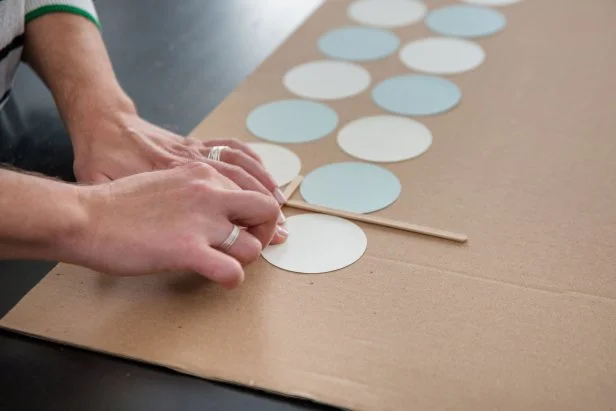
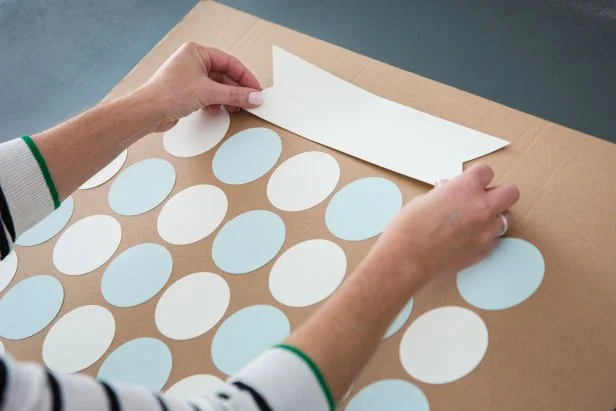
Begin by removing the cardboard backer from a 22-x-28-inch frame. Use a large circle punch to cut 35 circles out of scrapbook paper. Using a tape measure, create margins by making two lines at the 1-inch mark at the end of each side. Using a ruler to keep level and a coffee stirrer for even spacing, stick the circles to the cardboard with a glue stick in five rows of seven. Start on the left side and leave space at the top and right side of the cardboard piece for a month label at the top and a to-do list on the side.
Jalynn Baker
Jalynn Baker
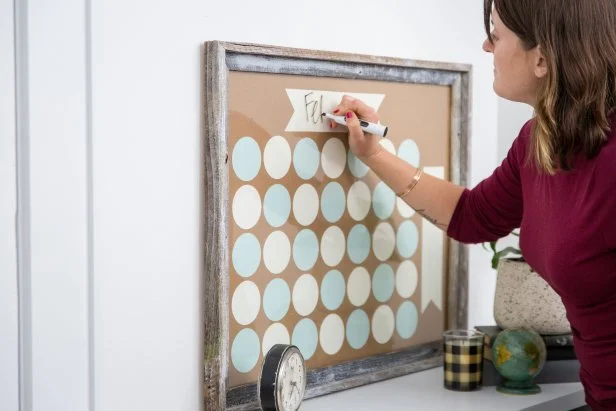
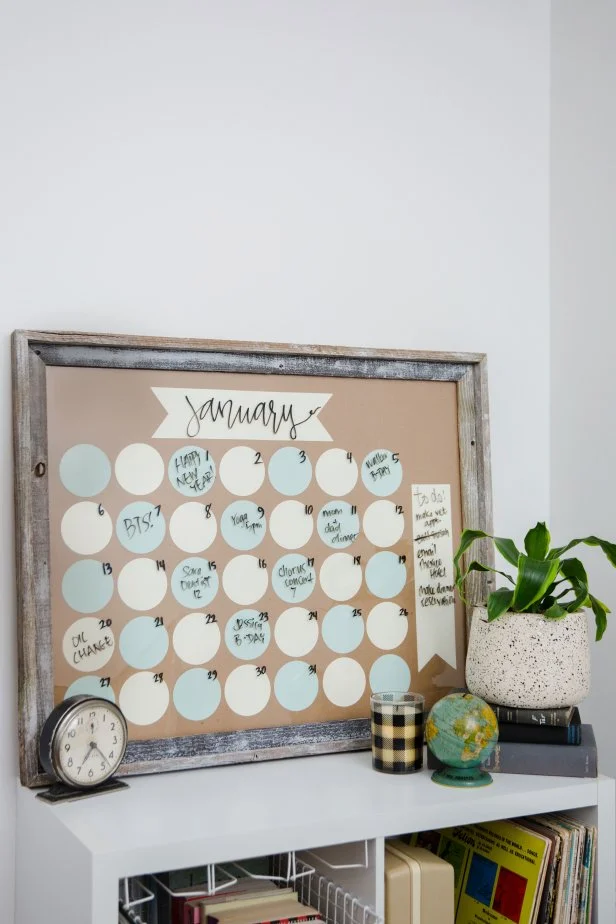
Place the newly decorated cardboard back in the frame and use a dry erase marker on the glass for a calendar you can update each month and use year after year.
Jalynn Baker
















.jpg.rend.hgtvcom.196.196.suffix/1738869041672.jpeg)








.jpg.rend.hgtvcom.231.174.85.suffix/1738869041672.webp)


