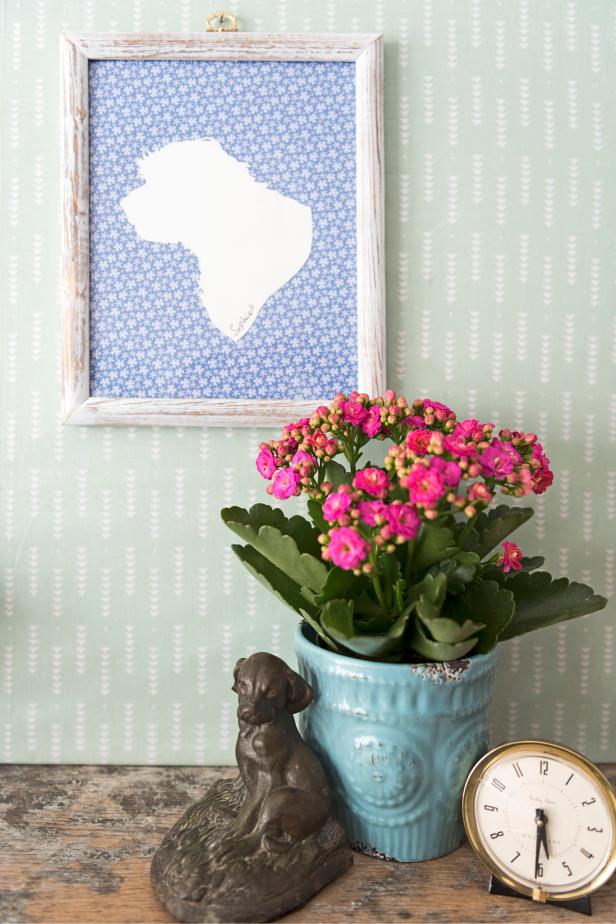
DIY Dog Silhouette Wall Art
Calling all dog moms and dads! Easily turn pics of your pups into eye-catching art that you or any pet-lover on your gift list will treasure.
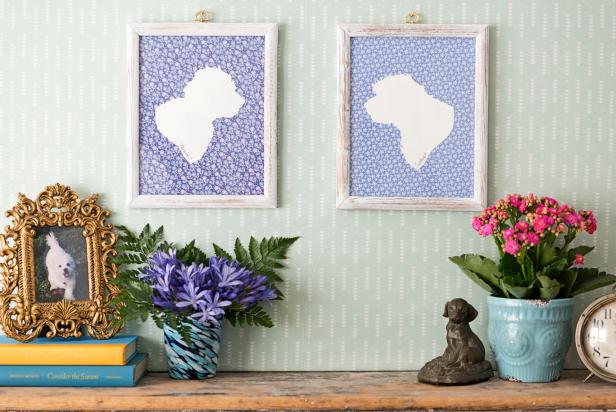
Sarah Busby; Styling by H. Camille Smith

Materials Needed
- silhouette photos of your pups, printed out
- small wooden wall frame
- decorative paper (gift wrap or card stock)
- white card stock
- X-Acto knife
- glue stick
- permanent marker
- brass ring hanger (check in the framing area of your local craft or hardware store)
- self-healing cutting mat
- window cleaner and paper towel
Print Photos of Your Pups
Position your furkid against a solid-colored background and snap a photo (your phone will work fine) that clearly captures the outline of their head and shoulders. Print photos onto standard copier paper, enlarging them if necessary to fit your desired frame. Tip: I placed a white board near a floor-to-ceiling window, positioned my pups, and waited till they were looking out the window to take their pics.
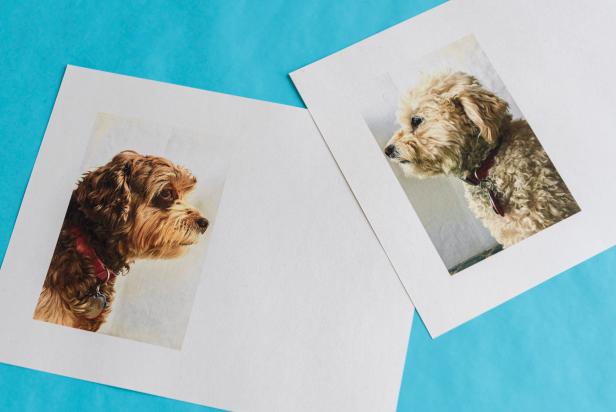
Sarah Busby
Attach to Card Stock
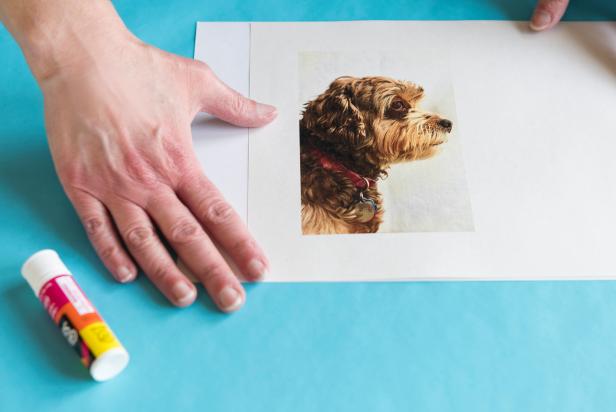
Use a glue stick to back your printed photo with white card stock. Tip: If, like me, your photos printed close to the paper's edge, position the card stock to allow a bit more room for cutting out your pup's shoulders.
Sarah Busby
Cut Out
Using a self-healing mat and X-Acto knife, cut out your pup's silhouette, being sure to include the physical characteristics (curly fur, long or short nose, erect ears, etc.) that make your furkid the cutest. Note: If necessary, continue the line of your dog's chest and shoulders with a pencil before cutting out.

Sarah Busby
Attach to Decorative Paper and Personalize
Pretty patterned paper will create a colorful background for your pup's silhouette. Using a glue stick, give the photo side of your cut-out a solid coat (Image 1), then flip over and attach to the center of the printed paper so just the white card stock side is now visible. In one corner, add their name or the date with a permanent marker (Image 2).

Sarah Busby

Sarah Busby
Frame + Add Ring Hanger
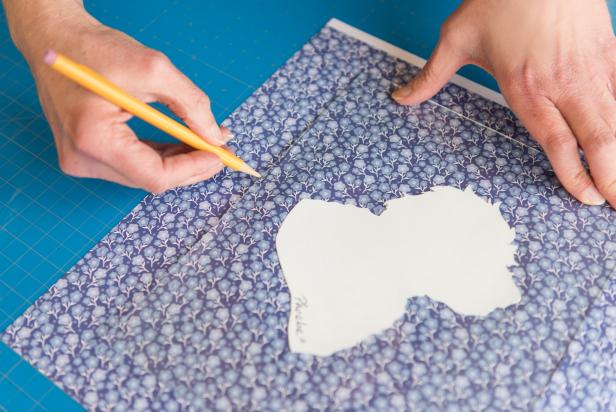
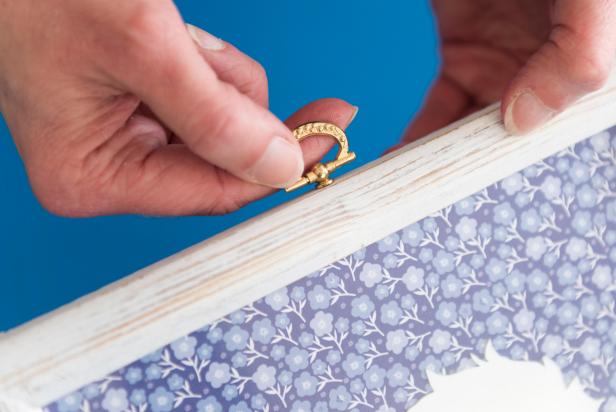
Using the glass that came with your frame as a template, mark, then cut the decorative paper to size (Image 1). Clean and replace the glass, then pop the finished silhouette in the frame and use the included tabs to seal it up. Find the center top of the frame, then carefully twist the brass ring hanger into the wood (Image 2). Tip: It may be helpful to make a small hole first with an awl or nail.
Sarah Busby
Sarah Busby
Display or Gift
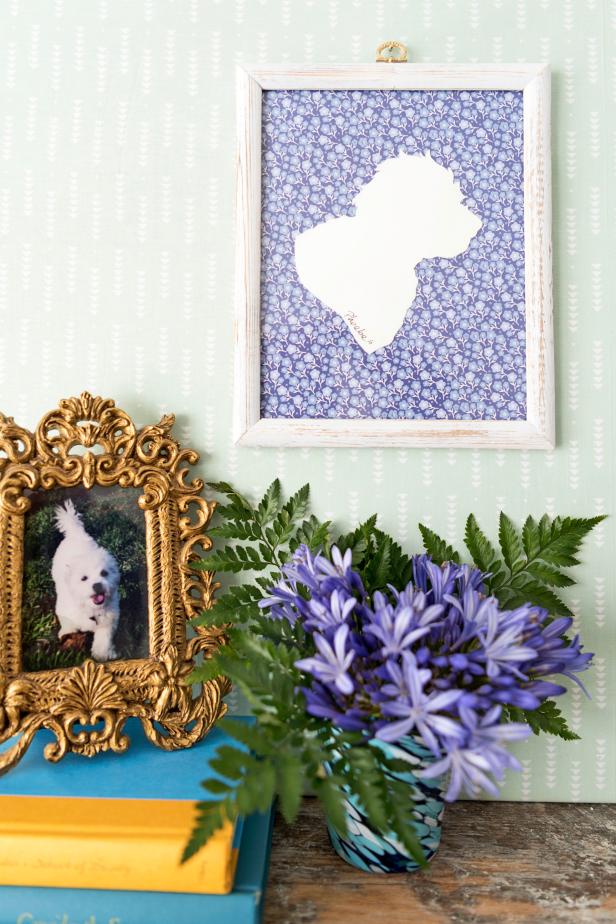
To hang, just tap a small nail through the ring hanger (Images 1 and 2). These sweet framed images also make great Mother's Day, Father's Day, birthday or Christmas gifts for all the dog lovers in your life.
Sarah Busby; Styling by H. Camille Smith
Sarah Busby; Styling by H. Camille Smith

.-Battle-on-the-Beach-courtesy-of-HGTV.-.jpg.rend.hgtvcom.196.196.suffix/1714761529029.jpeg)


