Craft a Party-Perfect Blooming Backdrop on a Budget
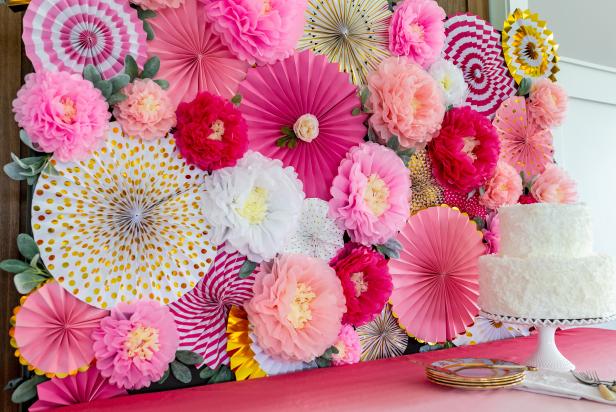
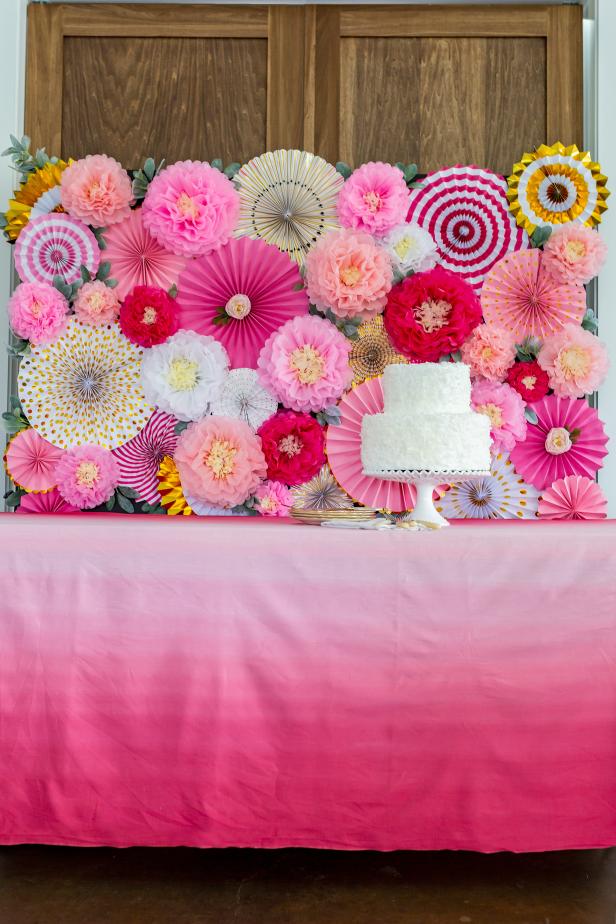
Make a big impact on a small budget with this DIY party prop that makes a stunning cake table backdrop or can act as a photo booth for weddings, birthdays, showers, graduation parties or any other celebration.
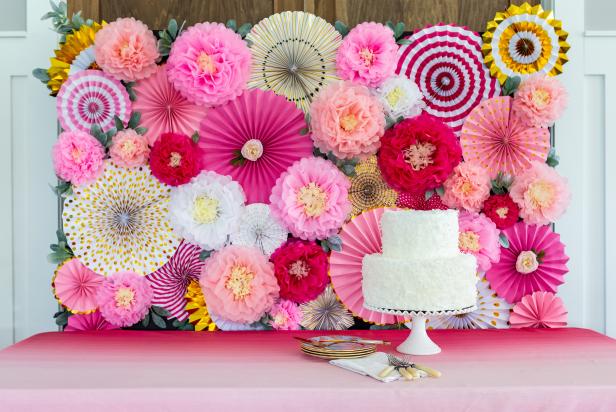
Cassidy Garcia; Styling by H. Camille Smith

Materials Needed
- tissue paper flower kits (in assorted sizes and shades of the same color)
- paper fan kits (in assorted sizes and patterns)
- (2) 32”x40” black foam boards
- hot glue gun and glue sticks
- 2 D-rings
- faux lamb’s ear or other faux greenery
- 5 wooden stir sticks (from your local hardware or paint store)
- scrap cardboard
- scissors
Create Tissue Paper Flowers
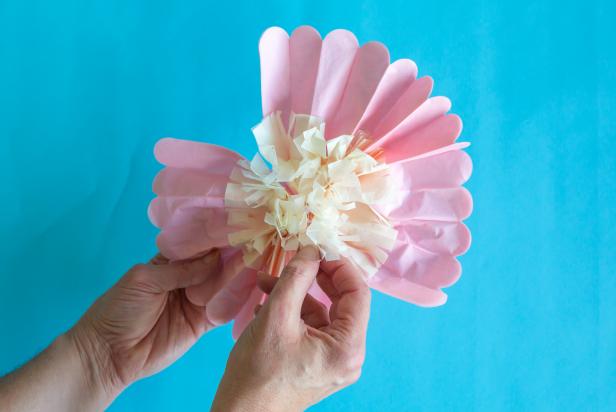
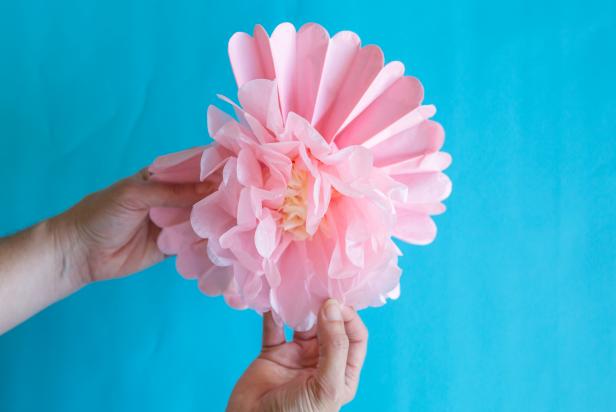
I created this project using a pre-cut kit, but you could also follow along with this tutorial to assemble your own tissue paper flowers. Either way, ensure that the central tie holding the folded tissue paper is secure, then, starting with the center (Image 1), carefully unfold and fluff the fragile tissue paper layers (Image 2).
Cassidy Garcia; Styling by H. Camille Smith
Cassidy Garcia; Styling by H. Camille Smith
Create Paper Fans
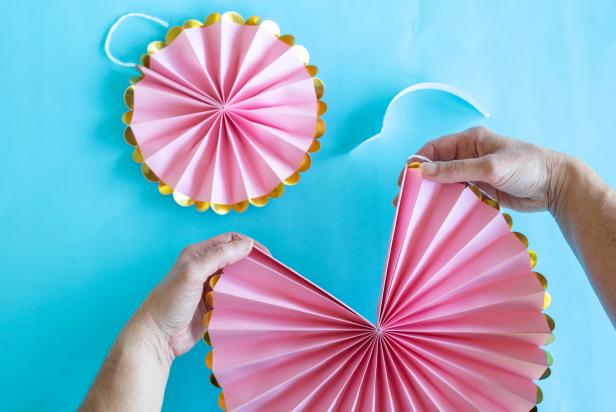
Far easier to assemble than the flowers, just peel off the paper backing concealing the adhesive strip and press the fan’s two sides together.
Cassidy Garcia; Styling by H. Camille Smith
Join Foam Boards
Lay black foam boards side by side. Evenly place wooden stir sticks along the seam between the two boards (Image 1), then lift up and firmly attach with hot glue (Image 2).
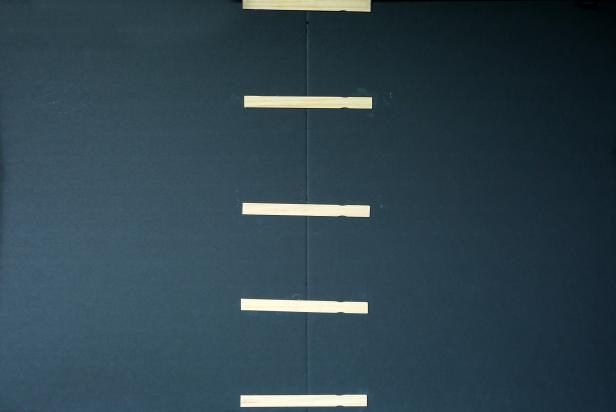
Cassidy Garcia; Styling by H. Camille Smith
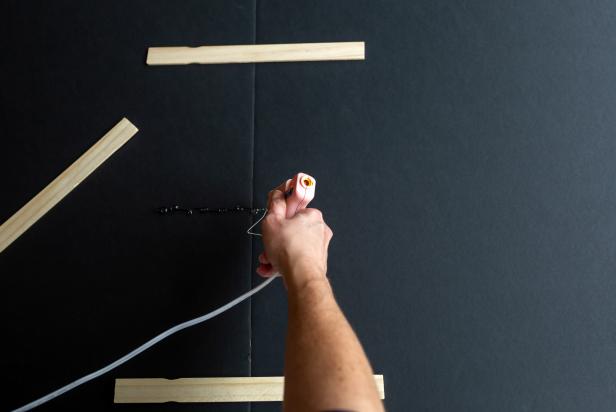
Cassidy Garcia; Styling by H. Camille Smith
Attach Flowers + Fans
Flip joined boards over and, starting in the center, attach paper fans and flowers to the foam using hot glue (Image 1). As you go, alternate the flowers’ and fans’ color, size and pattern to create an appealing design (Image 2).
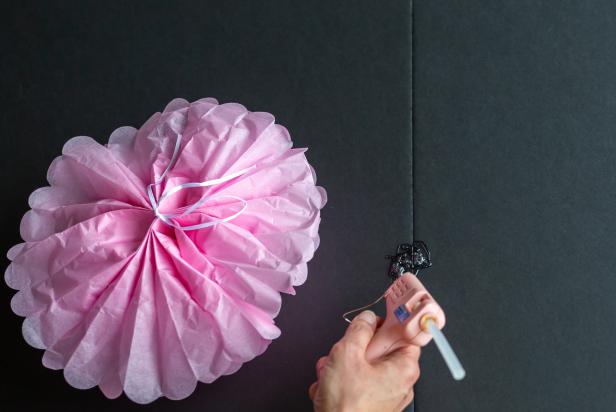
Cassidy Garcia; Styling by H. Camille Smith
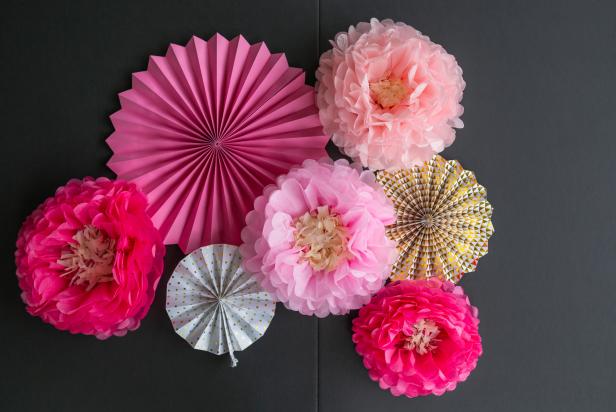
Cassidy Garcia; Styling by H. Camille Smith
Vary Heights
Give an added layer of dimension, and make it easier to layer, by creating risers for some of the fans or flowers. Just cut several small squares from a leftover bit of cardboard (Image 1) and join cardboard pieces together 2-3 layers high (Image 2). To attach, glue cardboard riser to the back of the fan or flower (Image 3) before gluing onto foam board (Image 4).
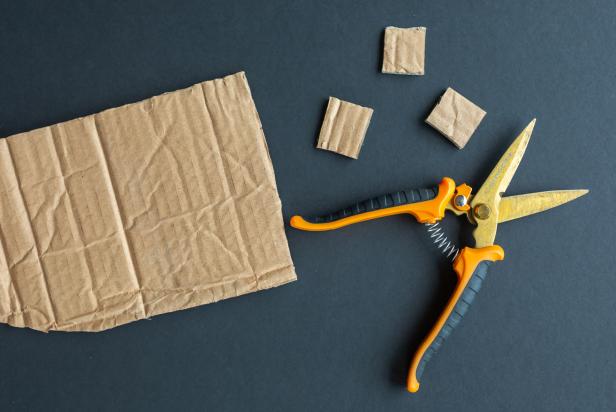
Cassidy Garcia; Styling by H. Camille Smith

Cassidy Garcia; Styling by H. Camille Smith
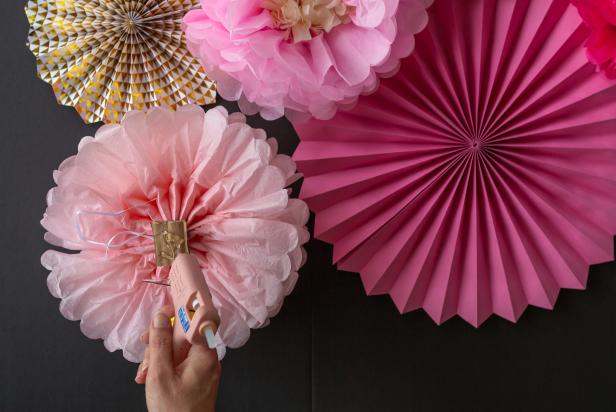
Cassidy Garcia; Styling by H. Camille Smith
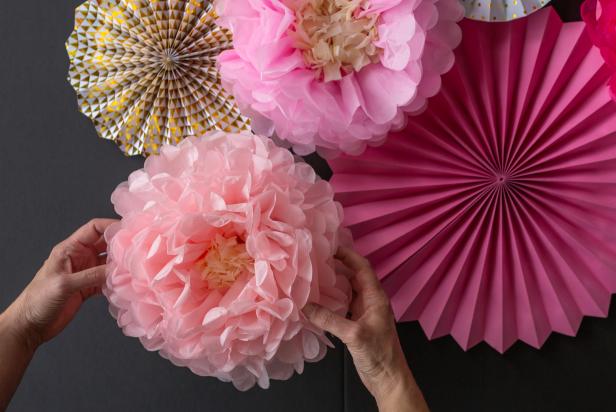
Cassidy Garcia; Styling by H. Camille Smith
Fill in Gaps + Complete Edges
Use the smallest fans or paper flowers to fill in larger gaps. Tip: You can even cut larger fans in half for this purpose. For even smaller gaps, tuck in short sprigs of faux lamb’s ear or other silk greenery, secured with hot glue (Image 1). Also, use smaller elements, including faux greenery to overlap the boards' edges (Image 2).
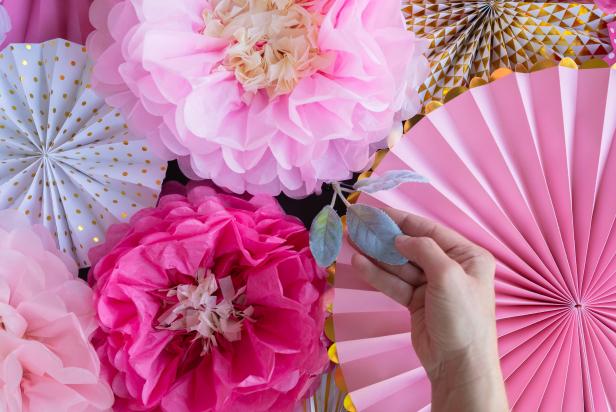
Cassidy Garcia; Styling by H. Camille Smith
Cassidy Garcia; Styling by H. Camille Smith
Prep for Hanging
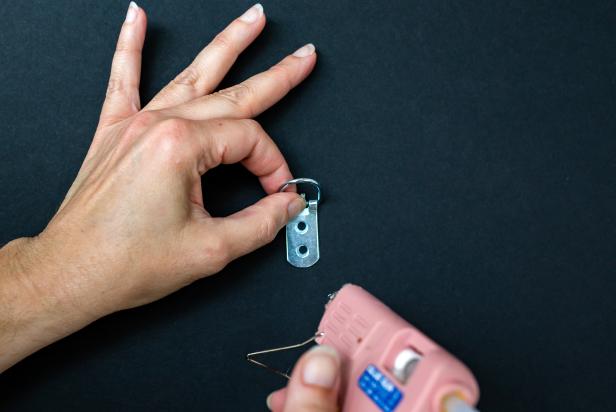
Use hot glue to add a pair of D-rings to the back of the board or, alternately, the finished backdrop is so light that you can just use brads to tack it directly to the wall.
Cassidy Garcia; Styling by H. Camille Smith
Get Your Party On
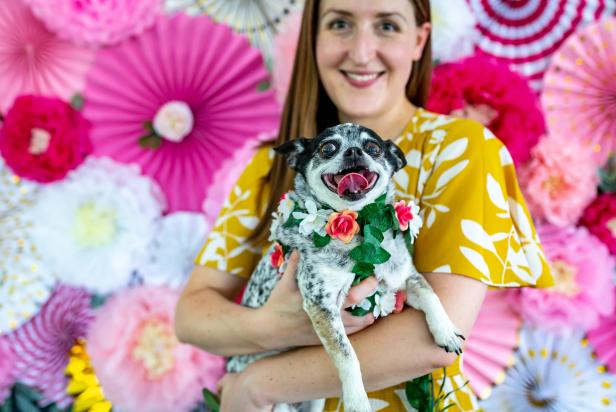
Use this flower-tastic backdrop for a party photo booth (Image 1) or as part of a wedding cake table (Image 2). Complete the look with color-coordinated table linens (Image 3).
Cassidy Garcia; Styling by H. Camille Smith

Cassidy Garcia; Styling by H. Camille Smith
Cassidy Garcia; Styling by H. Camille Smith

.-Battle-on-the-Beach-courtesy-of-HGTV.-.jpg.rend.hgtvcom.196.196.suffix/1714761529029.jpeg)


