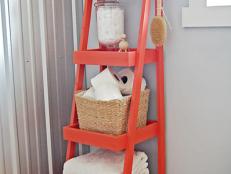
Cottage Bathroom Storage Cabinet
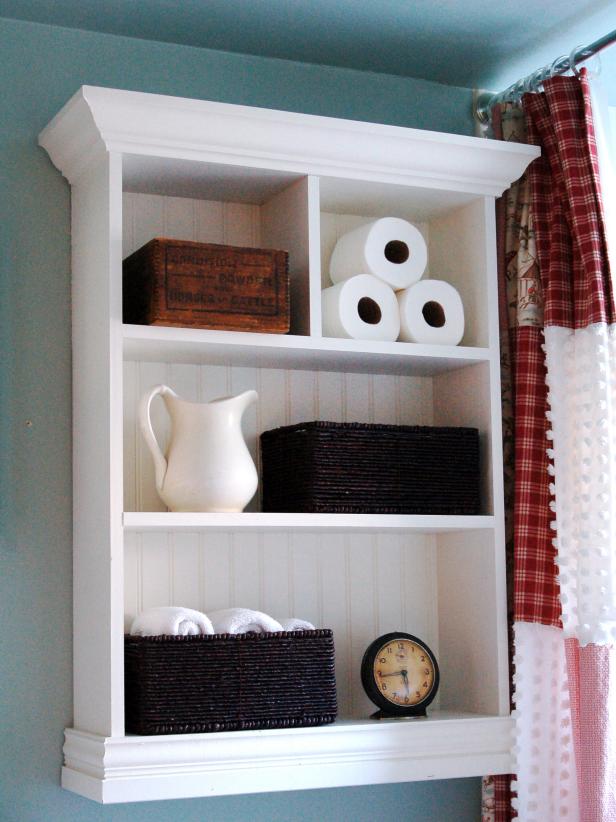

Materials Needed:
- 1" x 8" board, 36" long (2)
- 1" x 8" board, 24" long (4)
- 1" x 8" board, 9-3/4" long (1)
- crown molding, 25-1/2" long (1)
- crown molding, 7-1/4" long (2)
- base molding, 25-1/2" long (1)
- base molding, 7-1/4" long (2)
- sheet of beadboard, 25-1/2" x 36" (1)
- 1" x 2" board, 23" wide (1)
- compound miter saw or miter box with hand saw
- measuring tape or ruler
- level
- hammer
- small nails
- drill
- 20 wood screws, 1-1/4"
- wood filler
- putty knife
- sandpaper
- pencil
- 2-1/2" sash brush
- primer
- latex paint
- "L" bracket
Mark Shelf Layout
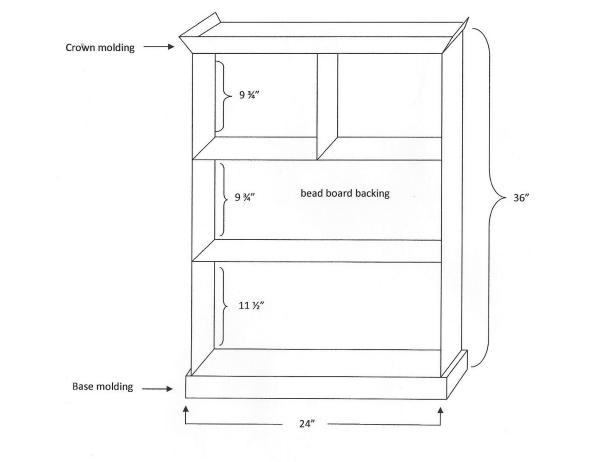
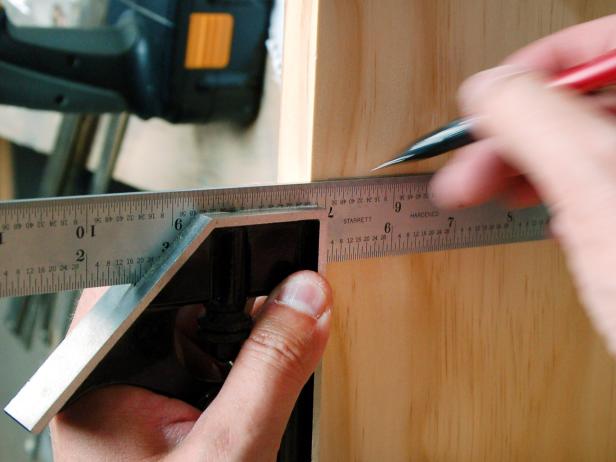
Lay both side pieces flat on a table with insides facing up. Using the diagram as guide, make pencil marks on both pieces of wood where shelves will be attached. Tip: If a power saw is unavailable, bring the lumber list to a local hardware store and have shelves cut there.
Attach Shelves to Sides
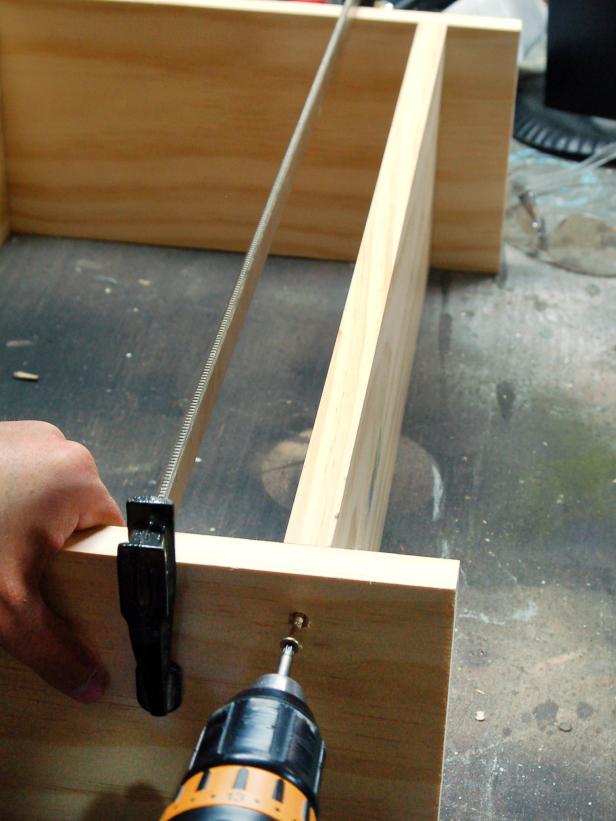
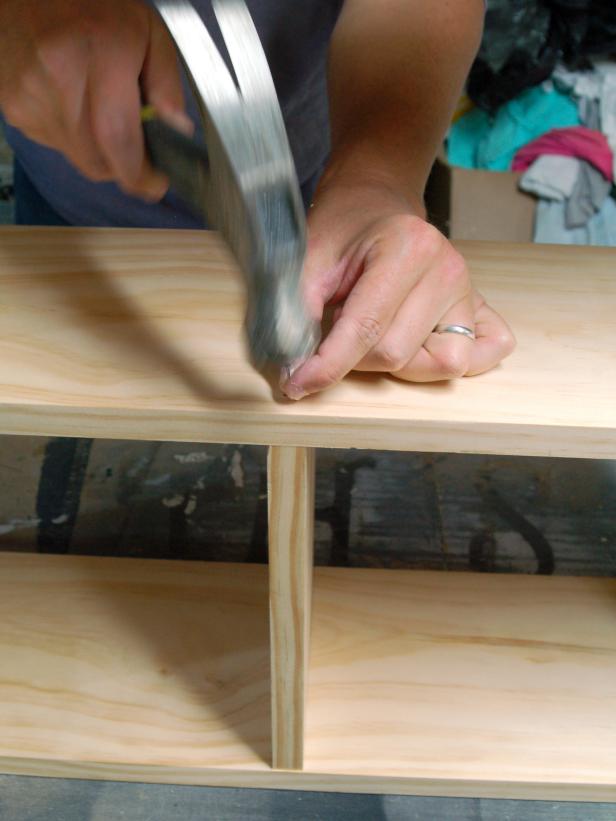
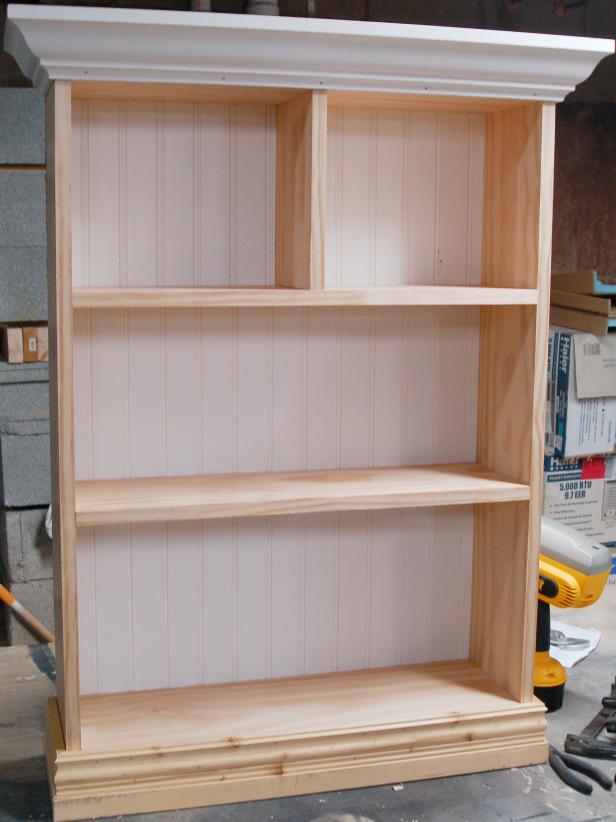
Use diagram as a guide and loosely assemble the cabinet on a flat surface. Working top to bottom, line up shelf edges perfectly with pencil marks. The bottom shelf should be positioned two inches from the bottom of length pieces to leave room for the installation cleat. This 2-inch gap will be covered by base molding. Holding shelf firmly in one hand, drill pilot holes. Drive screws through pilot holes until shelf is tight against side. Repeat on opposite side and until all four shelf-length pieces are securely fastened to sides. If vertical piece is desired on the top shelf, center a piece of wood and attach with nails. Tip: Use woodworking clamp to hold sides and shelf snugly together.
Attach Beadboard Backing
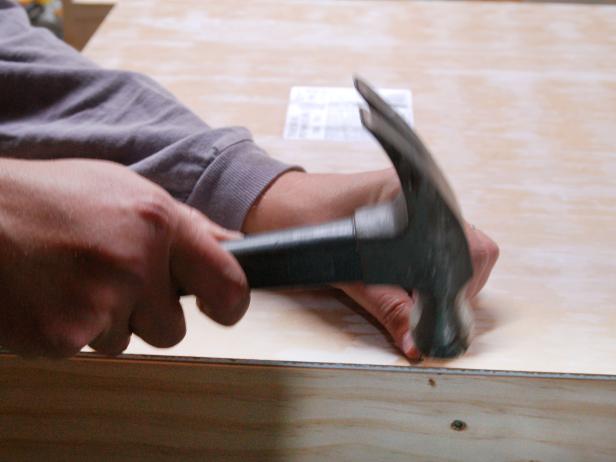
Position shelving unit face down on flat surface. With the lines on the beadboard running top to bottom, lay the beadboard face down on the shelving unit. Align the edges of the beadboard with the edges of shelving unit, and tack in place with nails.
Attach Crown Molding
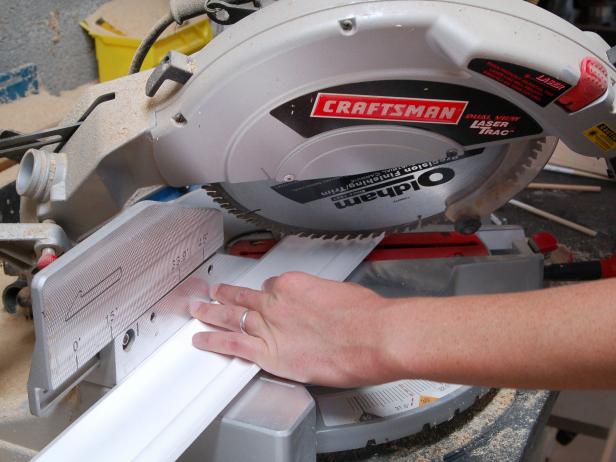
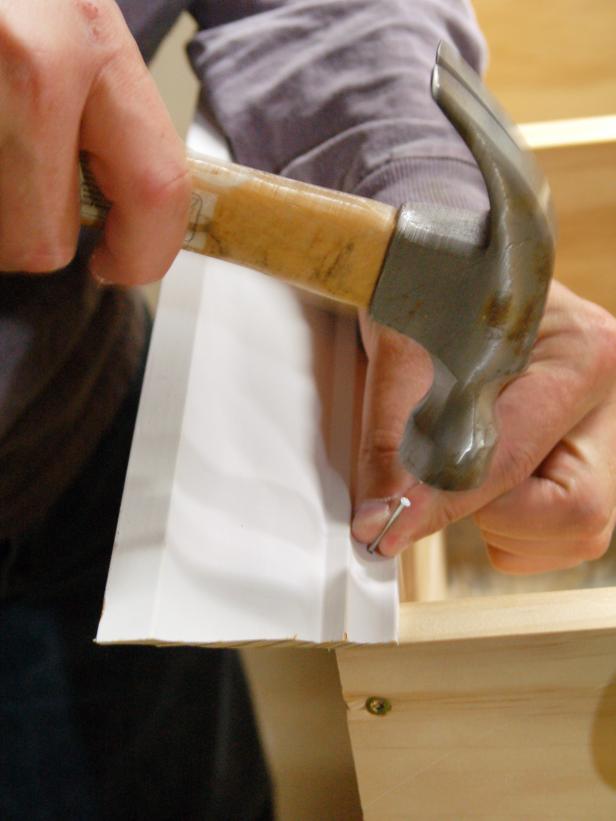
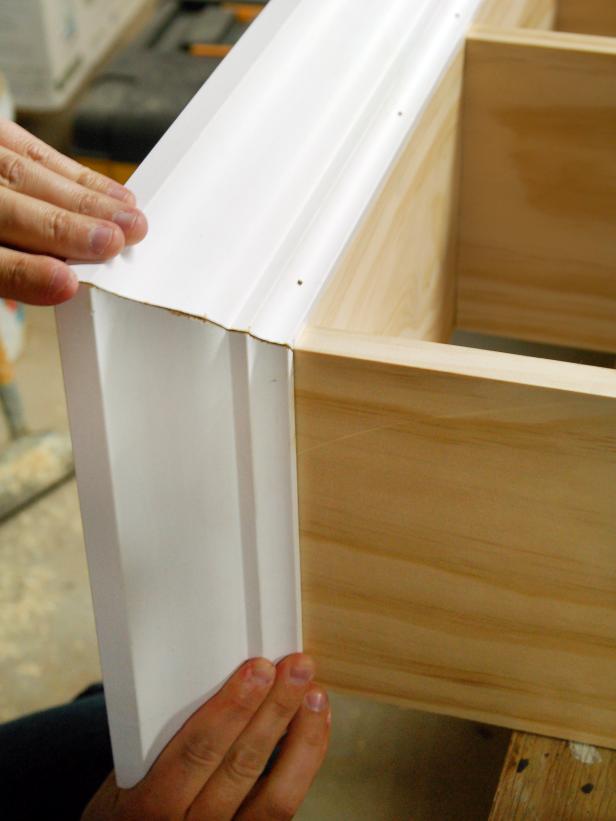
Making sure the inside miter is lined up perfectly with edges, hold the bottom of the front piece of crown molding flush to the top front edge of the shelving unit. Tack on with nails. Line up mitered edges perfectly and hold the bottom of the side piece of crown molding flush to the top side edge of shelving unit. Tack on with nails. Repeat process on opposite side. Tip: Consulting a crown molding "cheat sheet," which offers detailed instructions and settings, use a compound miter saw or miter box to make cuts.
Attach Base Molding
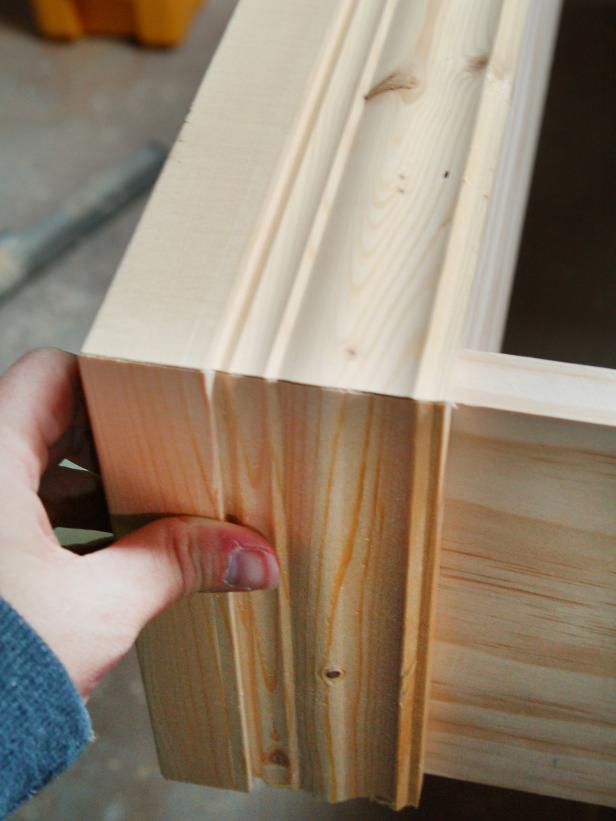
Making sure that the top of the base molding is flush with the top of the bottom shelf, repeat above process on the bottom of the shelving unit. Base molding will extend a bit beyond bottom edge of side piece. Tack with nails.
Putty and Sand
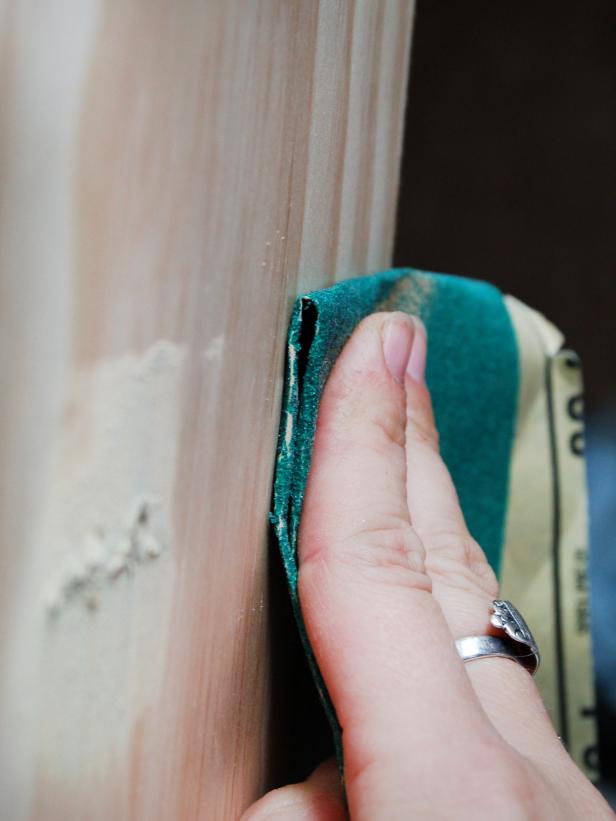
Use a putty knife and wood filler to fill screw and nail holes. Allow filler to dry and sand flush with surface.
Prime and Paint
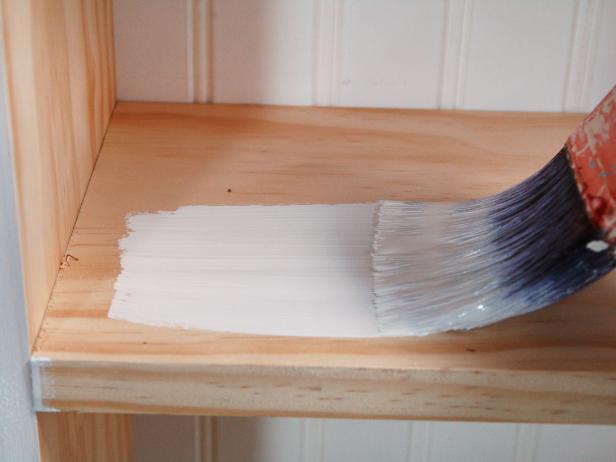
Apply all-purpose primer to shelf with a 2-1/2" sash brush. Make sure to paint underside of shelf, since it may be visible once shelf is hung. Allow dry time and apply two coats of latex paint. Tip: Lightly sanding between coats will minimize appearance of brush strokes.
Install Shelf
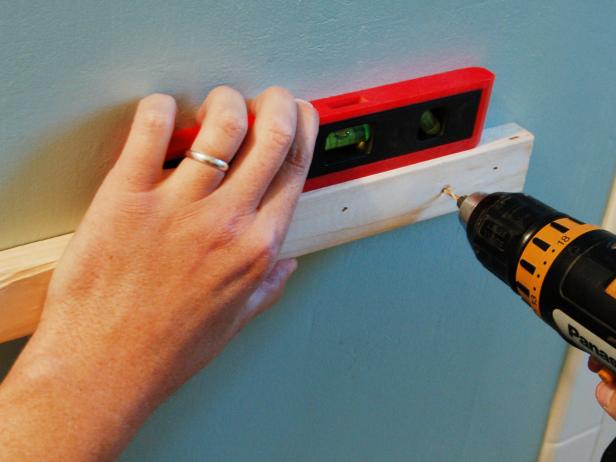
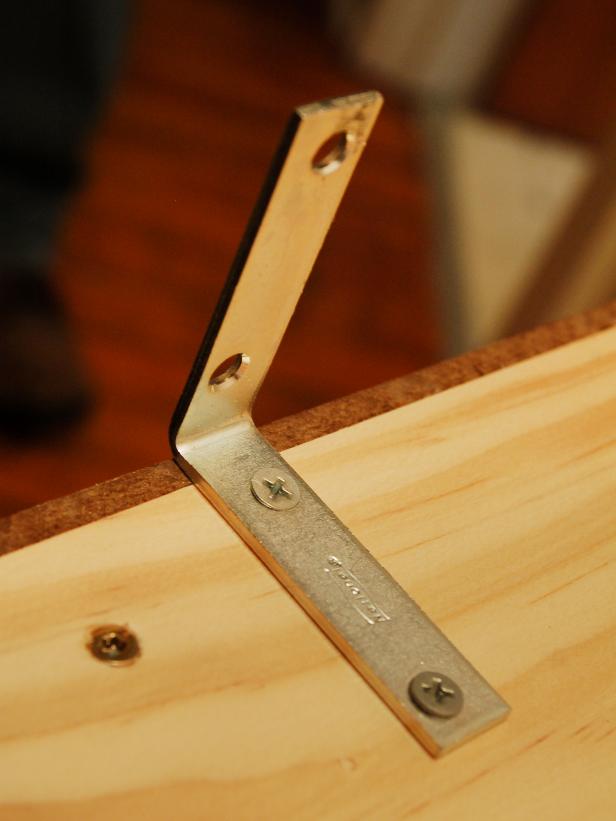
Determine placement of the cabinet. Position 1x2 board to fit on the wall under the bottom shelf and behind the base molding. Use a level to ensure the shelf will hang straight. Drill pilot holes through the board and wall. Insert screws to hold securely to the wall. Install the "L" bracket on top of the cabinet. Place the cabinet on the wall, resting on the cleat, and screw the "L" bracket into wall. Tack a few nails through the bottom shelf into the cleat to hold the shelf securely in place. Fill with baskets and toiletries. Tip: If installing in drywall, locate a stud to insert at least one screw in. If stud placement doesn't line up with shelf placement, use wall anchors.

.-Battle-on-the-Beach-courtesy-of-HGTV.-.jpg.rend.hgtvcom.196.196.suffix/1714761529029.jpeg)


