Get ready to go back to school with these adorable DIY crayon hair bows. Make them in every color of the rainbow so you can rock a different color every day of the week!
Show off a new color every day of the week with these cute, crafty and customizable DIY crayon hair bows. Whether your kids are heading back to school after the holidays or gearing up for a new school year in the summer, this is the perfect hair accessory to inspire their creativity.
We're sorry, there seems to be an issue playing this video. Please refresh the page or try again in a moment.If you continue to have issues, please contact us here.
Loading Video...
DIY Crayon Hair Bows
08:21
Karen Kavett goes back to school with a set of cute and colorful hair bows.
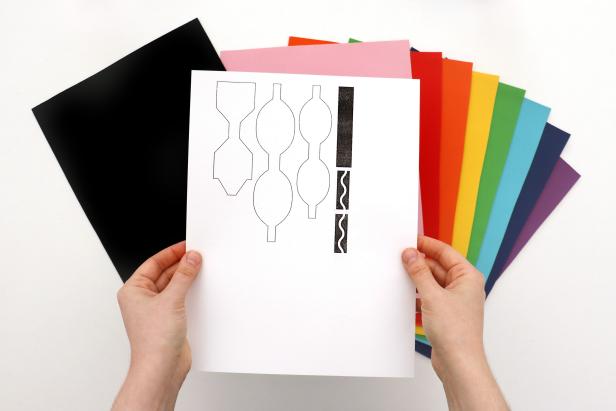
Print out the pattern onto card stock and cut out all of the pieces, which include the crayon shape and two oval patterns (Image 1 + 2).
Karen Kavett
Karen Kavett
Print Out the Pattern
Print out the pattern onto cardstock and cut out all of the pieces.
Photo By: Karen Kavett
Cut Out the Pattern
Print out the pattern onto cardstock and cut out all of the pieces.
Photo By: Karen Kavett
Trace the Design Onto Faux Leather
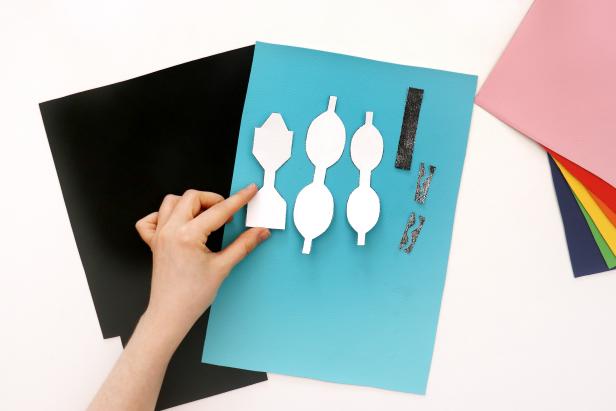
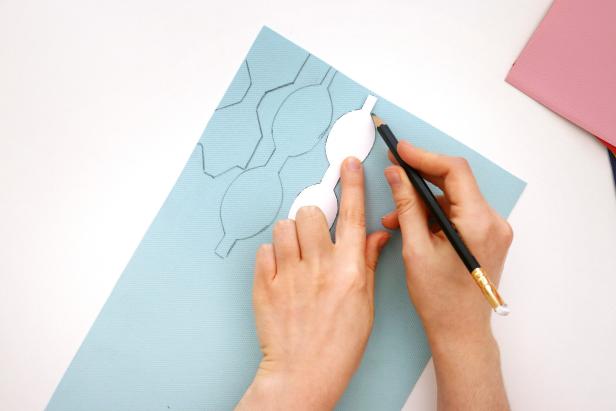
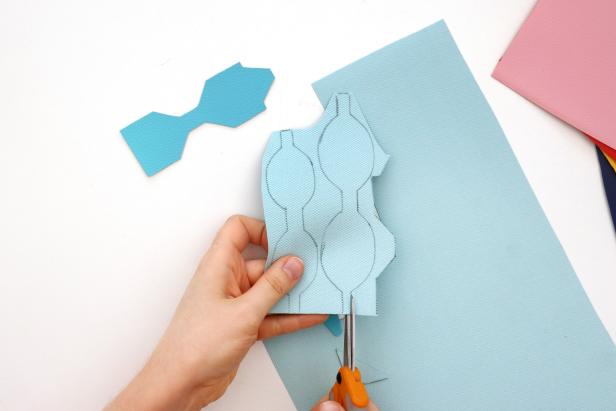
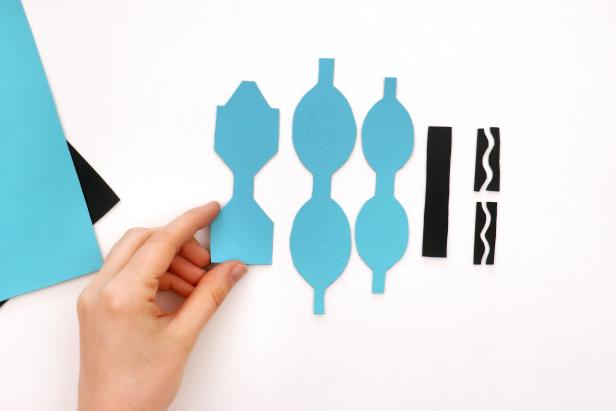
Trace the three white pieces onto the back of a piece of colorful faux leather (Image 1). Trace the black pieces onto the back of black faux leather. Cut out all of the pieces (Image 2 + 3).
Karen Kavett
Karen Kavett
Karen Kavett
Trace the Shapes
Trace the three white pieces onto the back of a piece of colorful faux leather. Trace the black pieces onto the back of black faux leather. Cut out all of the pieces.
Photo By: Karen Kavett
Cut Out the Shape
Trace the three white pieces onto the back of a piece of colorful faux leather. Trace the black pieces onto the back of black faux leather. Cut out all of the pieces.
Photo By: Karen Kavett
Cut Out Shapes
Trace the three white pieces onto the back of a piece of colorful faux leather. Trace the black pieces onto the back of black faux leather. Cut out all of the pieces.
Photo By: Karen Kavett
Start Gluing
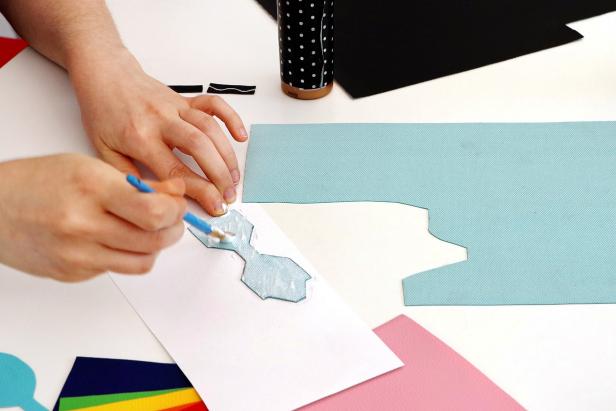
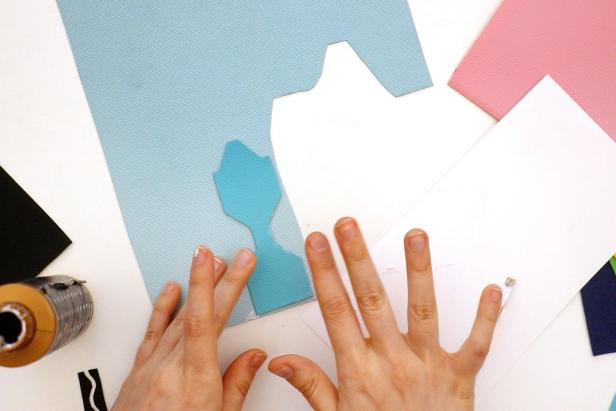
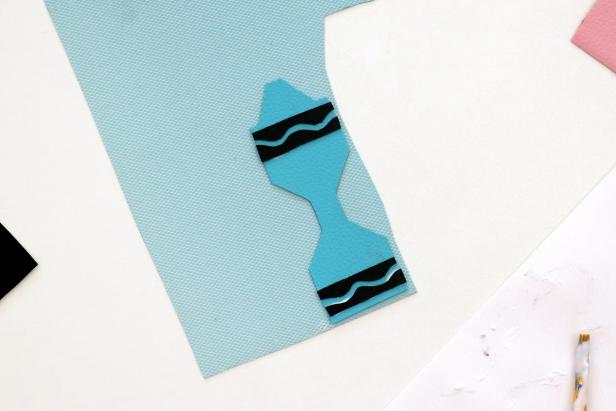
Use tacky glue to attach the crayon-shaped piece onto the back of the faux leather (Image 1 + 2). Glue the wavy black shapes on top (Image 3). Let dry completely.
Karen Kavett
Karen Kavett
Karen Kavett
Glue Pieces
Use tacky glue to glue the crayon-shaped piece onto the back of the faux leather. Glue the wavy black shapes on top. Let dry completely.
Photo By: Karen Kavett
Glue Pieces
Use tacky glue to glue the crayon-shaped piece onto the back of the faux leather. Glue the wavy black shapes on top. Let dry completely.
Photo By: Karen Kavett
Glue Pieces
Use tacky glue to glue the crayon-shaped piece onto the back of the faux leather. Glue the wavy black shapes on top. Let dry completely.
Photo By: Karen Kavett
Cut Out Your Crayon
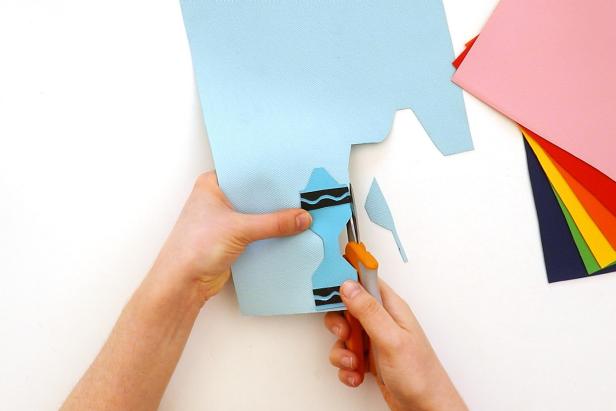
Once dry, cut out the crayon shape again (Image 1 + 2).
Karen Kavett
Karen Kavett
Cut Out the Crayon
Once dry, cut out the crayon shape again.
Photo By: Karen Kavett
Cut Out the Crayon
Once dry, cut out the crayon shape again.
Photo By: Karen Kavett
Glue on the Tabs
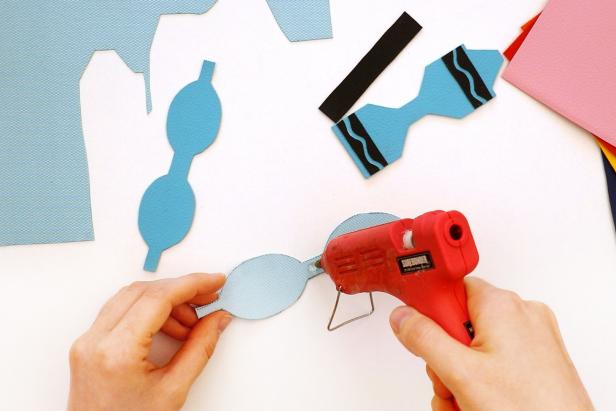
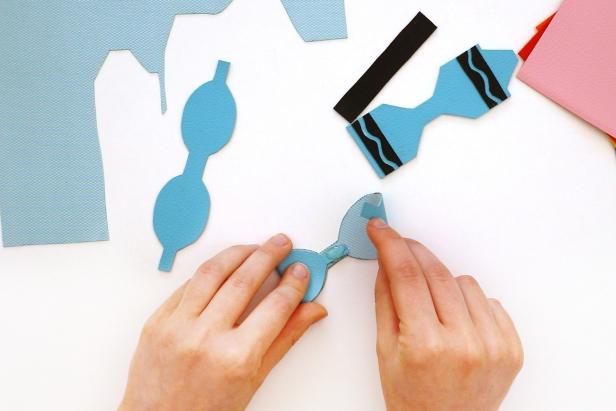
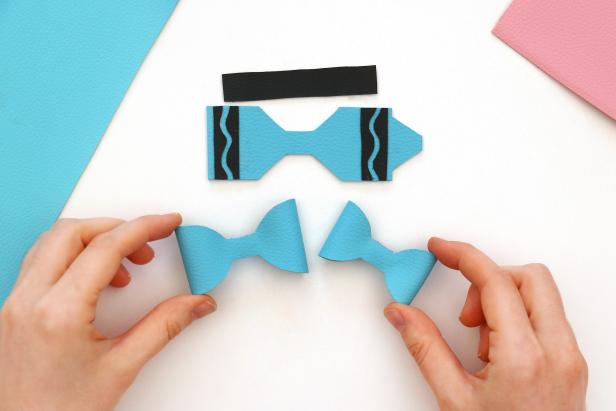
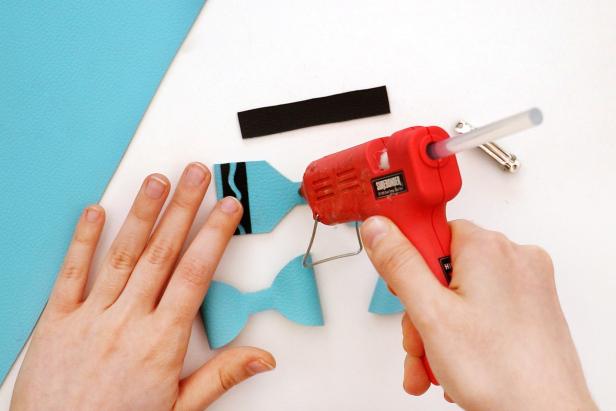
Use a low-temp hot glue gun to glue the tabs on each side of the oval pieces into the center (Image 1 + 2). You’ll end up with a large bow and a small bow (Image 3).
Karen Kavett
Karen Kavett
Karen Kavett
Create Bows
Use hot glue to glue the tabs on each side of the oval pieces into the center. You’ll end up with a large bow and a small bow.
Photo By: Karen Kavett
Create Bows
Use hot glue to glue the tabs on each side of the oval pieces into the center. You’ll end up with a large bow and a small bow.
Photo By: Karen Kavett
Create Bows
Use hot glue to glue the tabs on each side of the oval pieces into the center. You’ll end up with a large bow and a small bow.
Photo By: Karen Kavett
Glue It Together
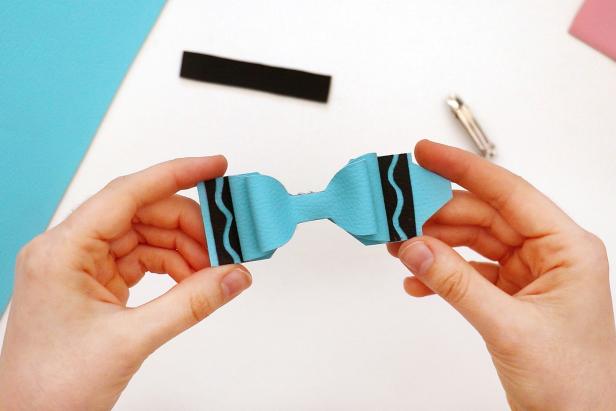
Use your hot glue gun to glue the two bows on top of the crayon shape (Image 1 - 3).
Karen Kavett
Karen Kavett
Karen Kavett
Glue Bow to Faux Leather Crayon
Use hot glue to glue the two bows on top of the crayon shape.
Photo By: Karen Kavett
Glue Bow to Faux Leather Crayon
Use hot glue to glue the two bows on top of the crayon shape.
Photo By: Karen Kavett
Glue Bow to Faux Leather Crayon
Use hot glue to glue the two bows on top of the crayon shape.
Photo By: Karen Kavett
Add the Clip
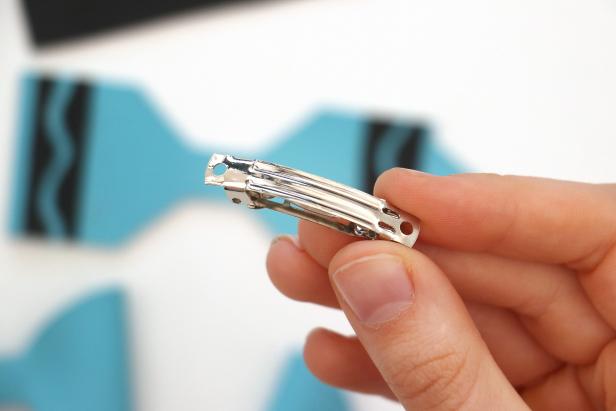
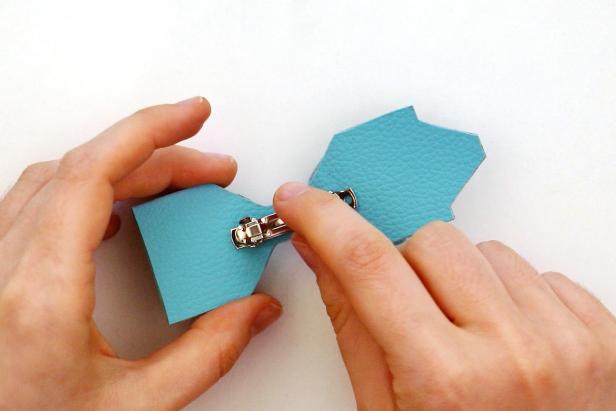
Hot glue a hair clip to the back of your design, making sure the hinge faces the front of the bow (Image 1 + 2).
Karen Kavett
Karen Kavett
Add Clip
Hot glue a hair clip to the back, making sure the hinge faces towards the front of the bow.
Photo By: Karen Kavett
Add Clip
Hot glue a hair clip to the back, making sure the hinge faces towards the front of the bow.
Photo By: Karen Kavett
The Finishing Touches
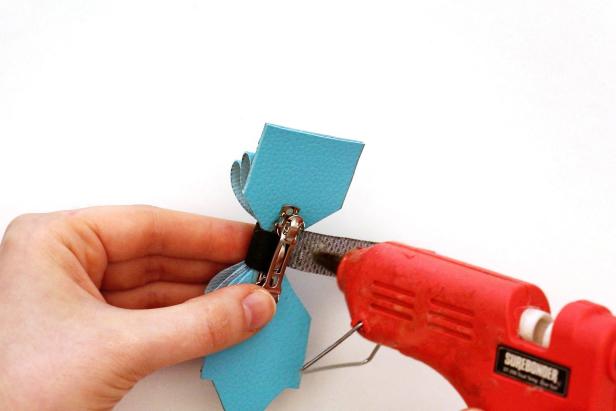
Add hot glue to the end of the black rectangle (Image 1). Glue the rectangle so it covers the bottom of the hair clip. Use a toothpick to help press it into place (Image 2). Let dry.
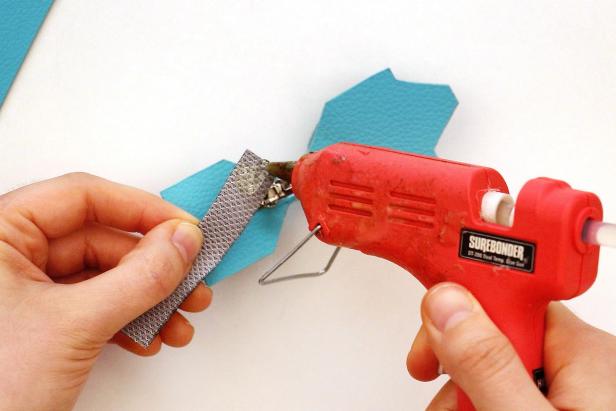
Karen Kavett
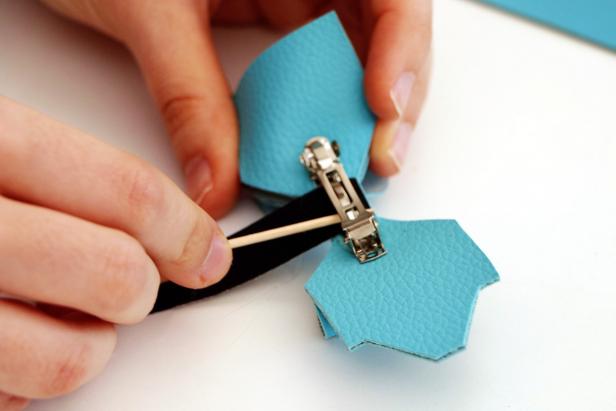
Karen Kavett
Add Center
Add hot glue to the end of the black rectangle. Glue the rectangle so it covers the bottom of the hair clip. Use a toothpick to help press it into place. Let dry. Add more glue to the center of the bow and wrap the rectangle around. Let dry. Add glue to the next section of the rectangle and feed it back under the hair clip, pulling it tight and pressing it into place with a toothpick. Trim the excess fabric.
Photo By: Karen Kavett
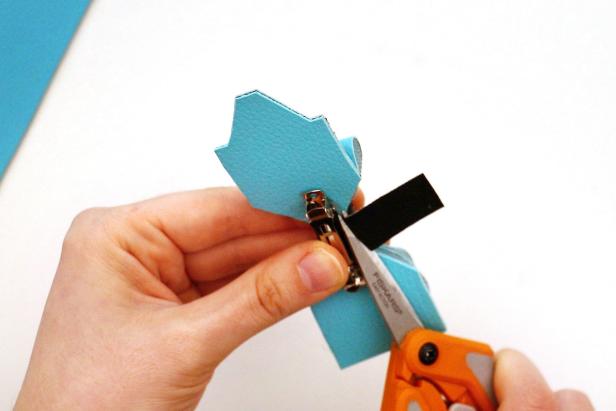
Add more glue to the center of the bow (Image 1) and wrap the rectangle around (Image 2). Let dry. Add glue to the next section of the rectangle and feed it back under the hair clip, pulling it tight and pressing it into place with a toothpick (Image 3 + 4). Trim the excess fabric (Image 5).
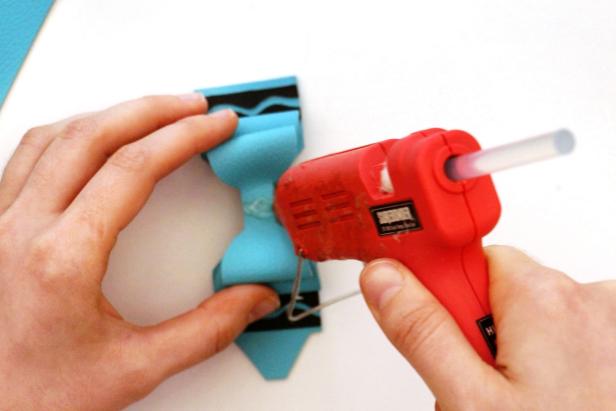
Karen Kavett
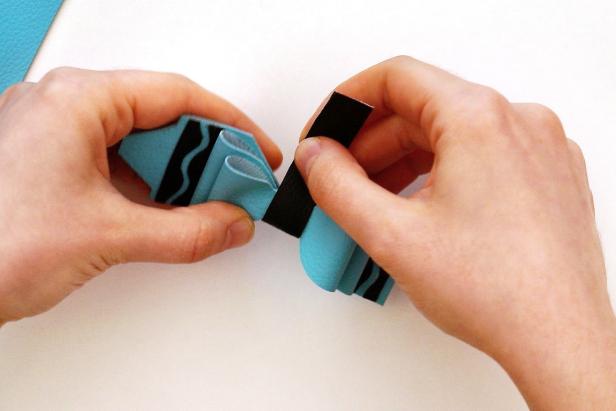
Karen Kavett
Karen Kavett
Karen Kavett
Karen Kavett
Add Center
Add hot glue to the end of the black rectangle. Glue the rectangle so it covers the bottom of the hair clip. Use a toothpick to help press it into place. Let dry. Add more glue to the center of the bow and wrap the rectangle around. Let dry. Add glue to the next section of the rectangle and feed it back under the hair clip, pulling it tight and pressing it into place with a toothpick. Trim the excess fabric.
Photo By: Karen Kavett
Show Off Your DIY Crayon Hair Bows + Make More
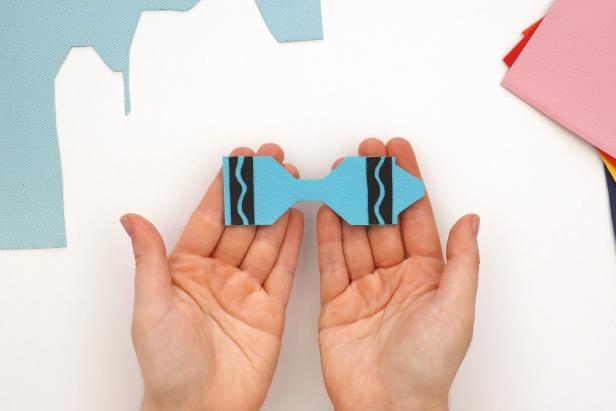
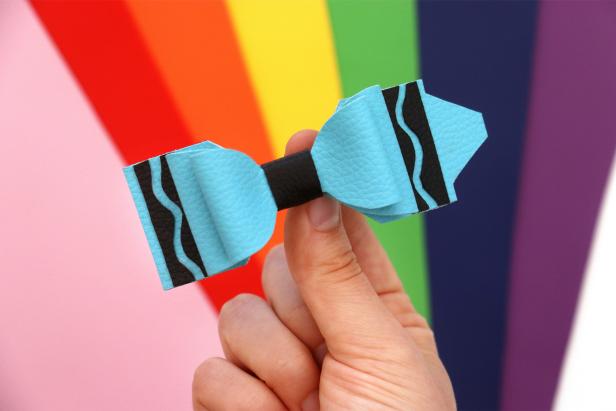
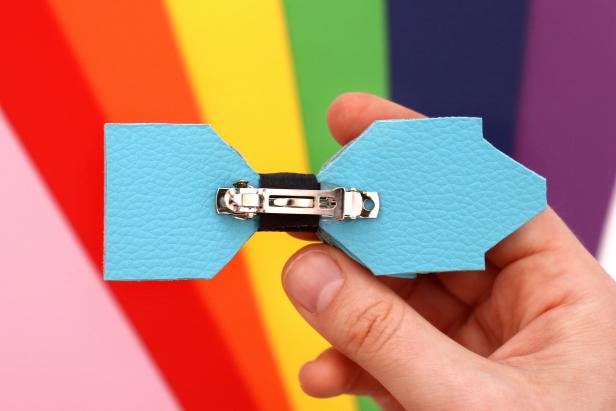
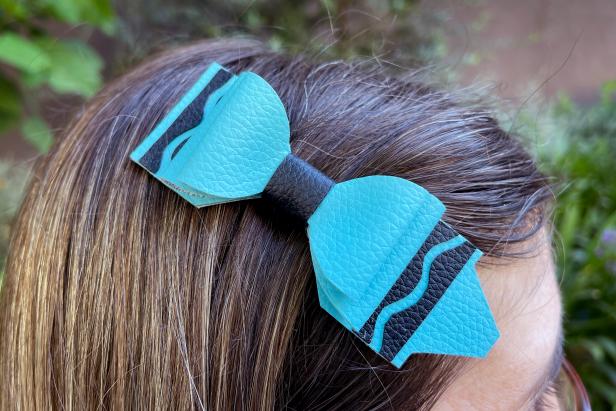
You're all done! Show off your crafting skills (Image 1 - 3) and then make DIY crayon hair bows in every color of the rainbow (Image 4)!
Karen Kavett
Karen Kavett
Karen Kavett
Karen Kavett
Finished Bow
Make more crayon hair clips in every color of the rainbow!
Photo By: Karen Kavett
Finished Bow
Make more crayon hair clips in every color of the rainbow!
Photo By: Karen Kavett
Finished Bow
Make more crayon hair clips in every color of the rainbow!
Photo By: Karen Kavett
Finished Bow
Make more crayon hair clips in every color of the rainbow!
It’s time to hop into some spring crafting. Use everyday craft materials and a sheet of moss to turn a plain paper mache egg into an adorable Easter Bunny gnome.
Who isn’t feeling the stress these days? Take a moment to calm down and try this fun, crafty project that will help you sparkle your way into tranquility. Learn how to make calming DIY glitter jars.
Mix up this spring DIY in a jiffy using plastic Easter eggs and some basic kitchen and bath supplies. Then sneak a few bath bombs into an Easter basket.
Looking for the perfect headgear for Halloween? Craft one of these easy-to-make headbands — googly monster eyes, spiderweb, deely bobber antenna, a giant spider or a crown. Kids and adults will love crafting and wearing these fun and festive Halloween headbands.
This pretty DIY skirt looks adorable as a flower girl dress, a Halloween costume, for ballerinas-in-training or just for the fun of it. Almost no sewing is involved to create this classic tulle tutu, making it a great project for beginner-level crafters.
Hunting for eggs isn't the only Easter activity. This year, keep the candy coming and the games going with some clever ideas for celebrating the season.
Subscribe now to get our latest craft projects and DIYs delivered to your inbox.
By entering your email address, you agree to our Terms of Use
and acknowledge the Privacy Policy.
HGTV and
its affiliates
may use your email address to provide updates, ads, and offers.
To withdraw your consent or learn more about your rights, see the
Privacy Policy.