4 Ways to Convert Lawn to a Flower Bed
There are multiple methods for removing grass to create garden beds. Some are labor intensive while others just take time and patience. Here are four chemical-free ways to turn your lawn into your garden.

Whether you are looking to create a garden space for vegetables or want to add some curb appeal with flower beds, properly converting grass to rich garden soil is key to planting success. There are multiple ways to accomplish this task and choosing the best for you and your space depends on a few factors, including time, necessary equipment and physical difficulty.
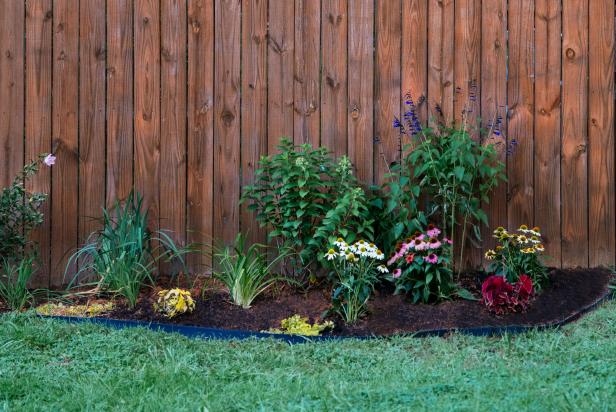
Tools and Materials:
Each method requires different materials.
- garden hose
- garden stakes
- edger
- flat shovel
- heavy, clear plastic sheeting
- newspapers or cardboard
- compost and/or other organic material
- rototiller (optional)
1. Determine Layout
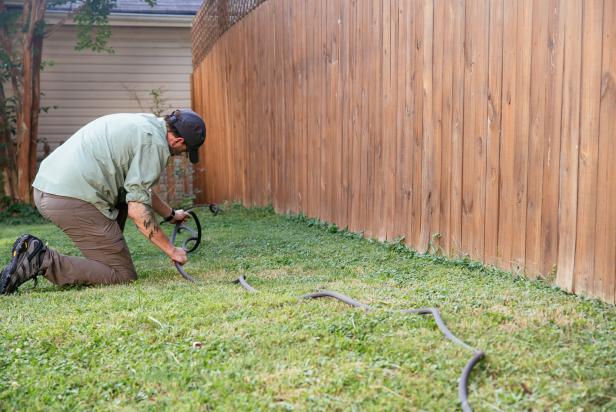
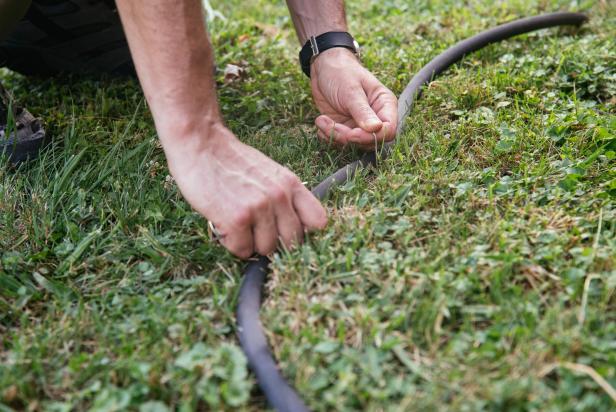
Plot your garden space. For a border bed with curved edges, lay out the garden hose on your grass and use it to mark curves for your bed. Once you like the look of the layout, temporarily secure the hose with garden stakes. For a square garden, the typical size is 4 feet x 4 feet. Use a square, a string and stakes to mark your new garden space.
2. Cut the Edge
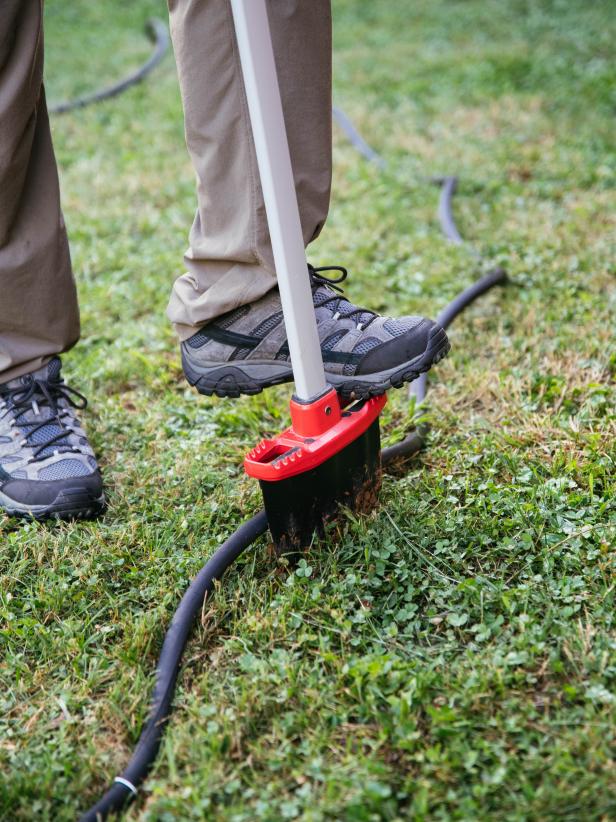
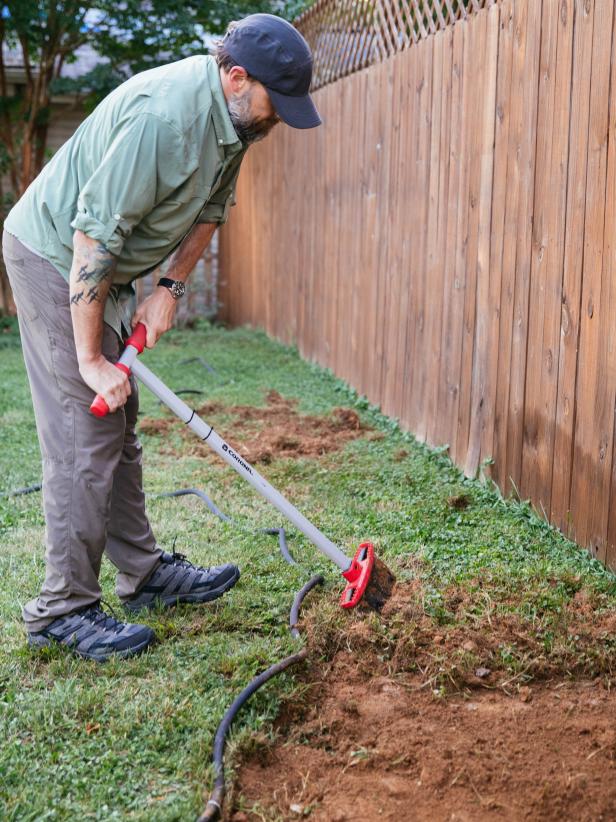
Using a garden edger or a flat shovel, follow the edge of your marked line, digging straight down and then tilting the handle toward you so the soil is loosened at a 45-degree angle.
3. Choose Your Method
At this point, you have a few options. Permanently getting rid of grass can be quite a chore. Removing or killing every bit of the grass down to the ends of the roots is the only way to assure it won’t pop back up in your bed down the road. There are multiple ways to effectively remove grass from the area and prep the soil for planting. Each method has advantages and disadvantages, including the time required and ease of the task, so you will want to determine which is best for you.
The four most common methods are:
- Killing the grass with vinegar or another organic herbicide
- Digging the garden area by hand
- Killing the grass by “baking” it under clear plastic
- Using the “lasagna” gardening method
Method 1: Spray With Vinegar
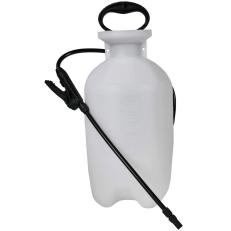
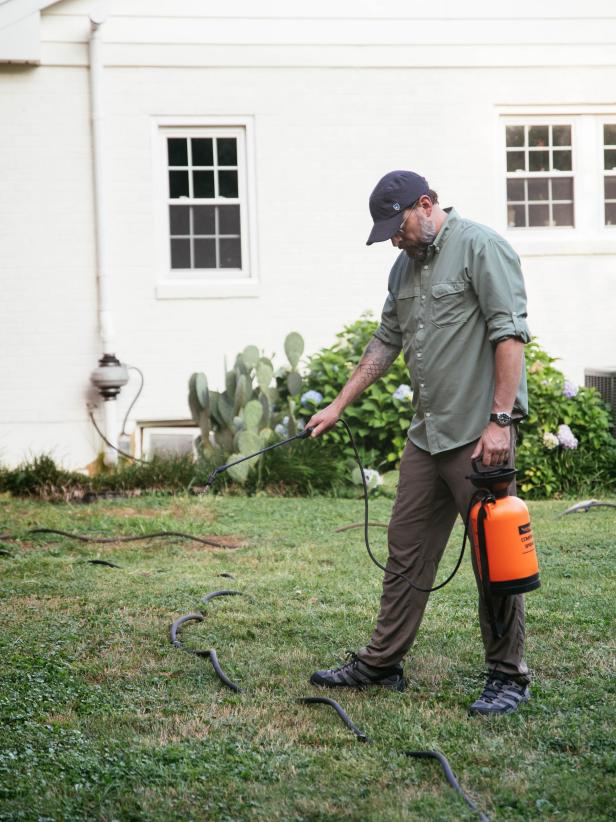
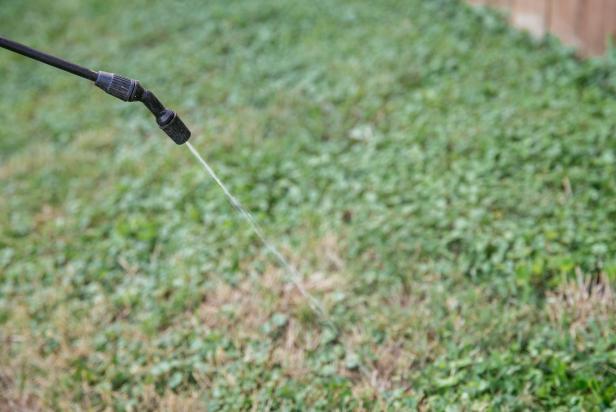
Vinegar kills grass and weeds by drawing moisture out of the plant. However, in order for it to work properly, the vinegar needs to be at least 20 percent acetic acid. Common pickling vinegar is only 5-7 percent, so you’ll need a horticulture vinegar to accomplish the job. Put the vinegar into a spray bottle and spray directly onto the leaves and stalks of the grass. You will need a few days with warm sun and no rain for the acid to soak into the grass. Multiple applications will be necessary to kill the grass. The vinegar won’t harm the soil, but avoid this method on a windy day, because overspray could kill the grass around the bed. You may even want to use cardboard as a barrier to protect your lawn. Additionally, 20 percent acetic acid can be corrosive to skin, so protect yourself with long pants and sleeves while spraying.
Pros:
- Vinegar is natural and won’t damage the soil.
- Vinegar is inexpensive and easy to apply.
Cons:
- While the vinegar will kill the plants above ground, it may not kill the roots, so some digging will be necessary to ensure the grass doesn’t return.
- Vinegar can be corrosive to the skin.
- This method requires a bit of patience and multiple applications.
Shop Products
Method 2: Dig By Hand
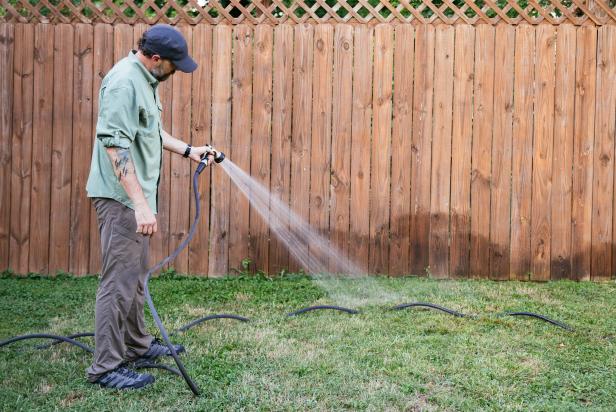
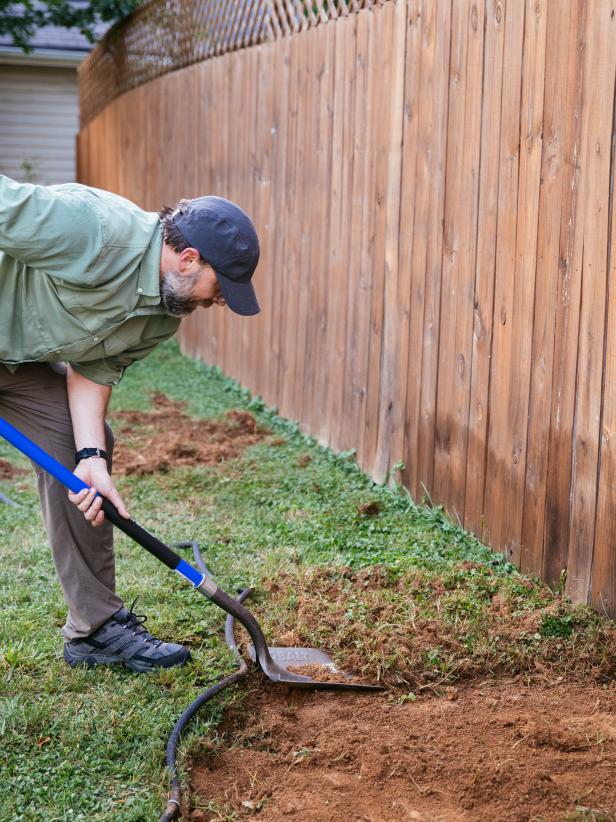
Digging the garden by hand is certainly the most labor-intensive method, but also the fastest. If you want a fully prepped garden space in just a day, this method is definitely your best bet. Begin by watering the area thoroughly to soften the soil. Working in rows, use an edger or spade to score and break up the lawn throughout the area. Use a flat shovel to remove the grass. Be sure to remove at least the top 2 to 3 inches of soil and all of the roots. Depending on the quality of your soil, it is likely you will need to add topsoil or a soil amendment such as compost. Break up the remaining soil with a mattock or a rototiller, add the topsoil and/or amendment and combine thoroughly. You can then plant immediately.
Pros:
- It’s fast. This is the only method that can be used to prepare a garden bed from start to finish in one day.
Cons:
- Digging by hand is tough. The physical demands of this method might be best suited for those without back or joint issues.
Method 3: Harness the Sun
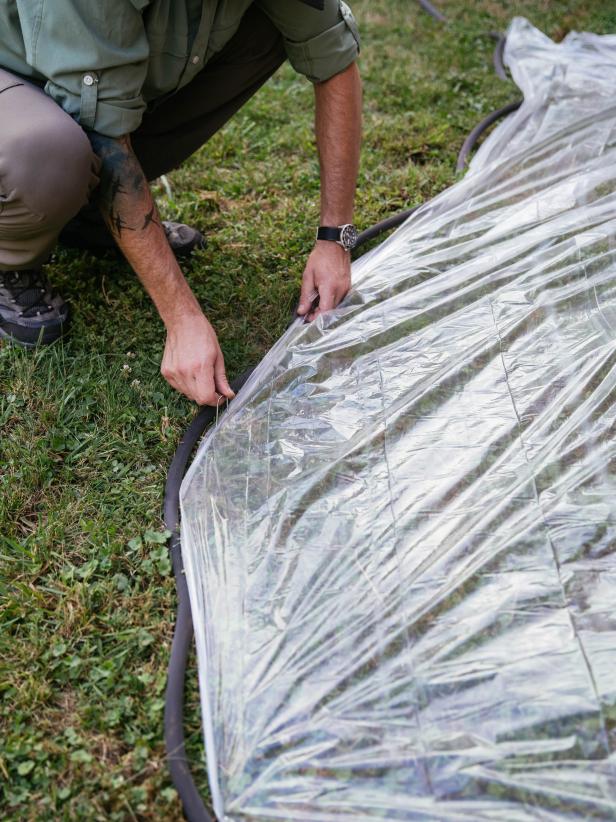
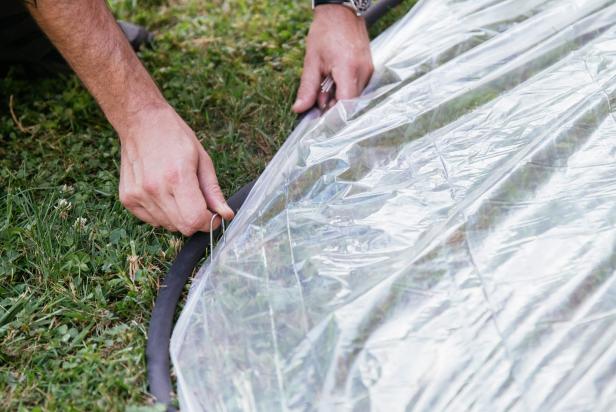
Solarizing is using the power of the sun to kill the grass by baking it under plastic. Place thick, clear plastic over the area to be killed and stake around the edge. The more sealed the edge is, the hotter the ground will become and the faster the method works. At a minimum, you will need to leave the plastic in place for six weeks of warm, sunny weather. Some weeds and tougher grasses can take as long as 12 to 24 weeks to fully die. Once the grass is dead, amend the soil with topsoil or compost, combining it well using a rototiller or mattock and rake. As long as you have left the plastic for an adequate amount of time to fully kill the roots, you don’t need to remove the dead roots. They won’t regrow and will decompose and nourish the soil. Amend the soil with topsoil or compost, combining it well using a tiller or mattock and rake, and you are ready for planting.
Pros:
- Solarizing requires very little physical labor.
Cons:
- This method requires a lot of time, patience and planning, as well as optimal weather conditions. Areas with cooler temps or shorter growing seasons may not have enough continuous heat for this method to work.
Method 4: Layer Like Lasagna
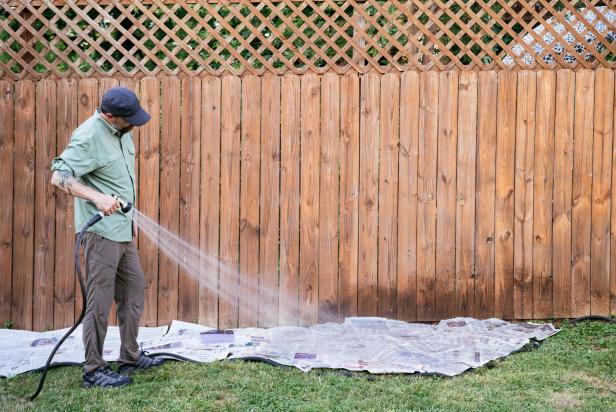
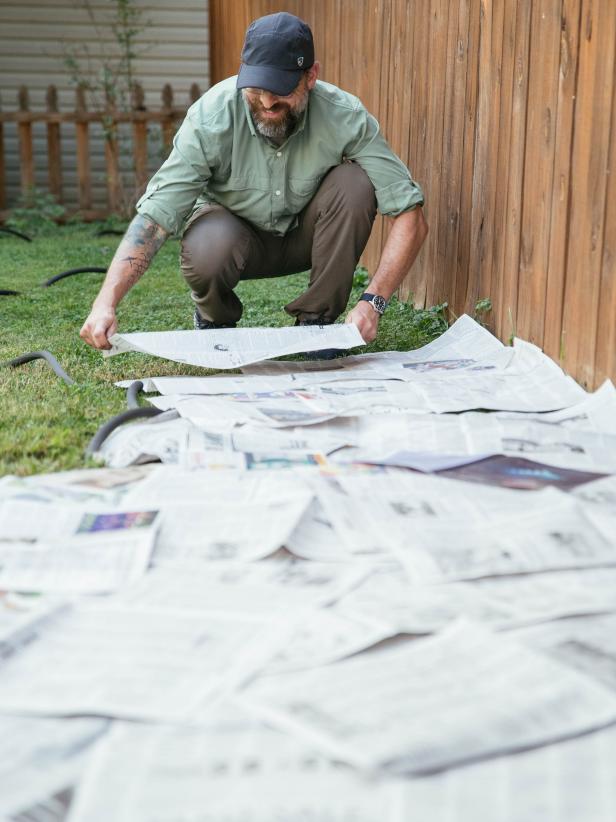
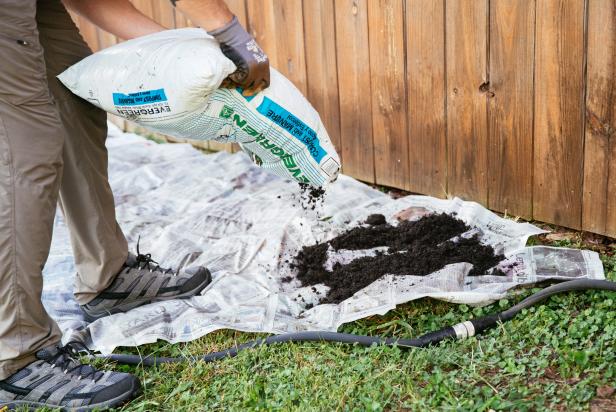
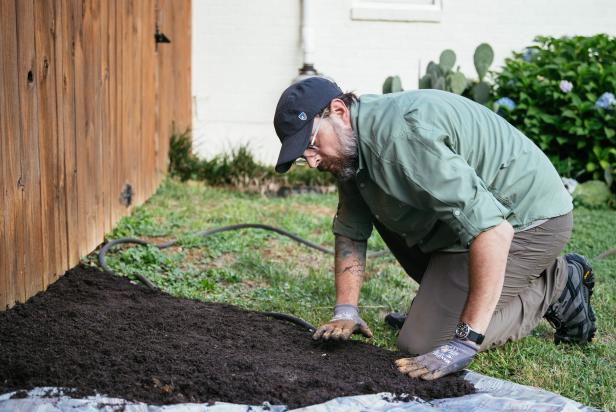
The lasagna method utilizes organic materials to simultaneously smother grass and weeds while enriching the soil for planting. Start with a layer or two of newspaper or cardboard over the grass. This layer effectively blocks light from reaching the grass, causing it to die over time. Wet the paper to help keep it in place. Then, layer additional organic material over the paper (like layers of lasagna). You can use grass clippings, compost, pine needles, shredded newspaper, coffee grounds and/or fruit and vegetable scraps. Finish the bed with a thick layer of compost and mulch. Over time, as the grass is smothered by the paper, the organic material breaks down, creating rich, nutrient-dense soil. Fall is the optimal time to utilize the lasagna method, giving the organic material time to break down over the winter. Typical wetter winter weather also aids in the decomposition process. The bed should be ready for spring planting. Amending the soil further is not necessary.
Pros:
- Very little physical labor is involved. Microorganisms do the work.
- The final result is rich soil that is excellent for planting.
Cons:
- Lasagna gardening requires planning and patience for the best result. While it is possible to plant the bed immediately, allowing a few months of decomposition will ensure the healthiest soil.
5. Add Garden Edging
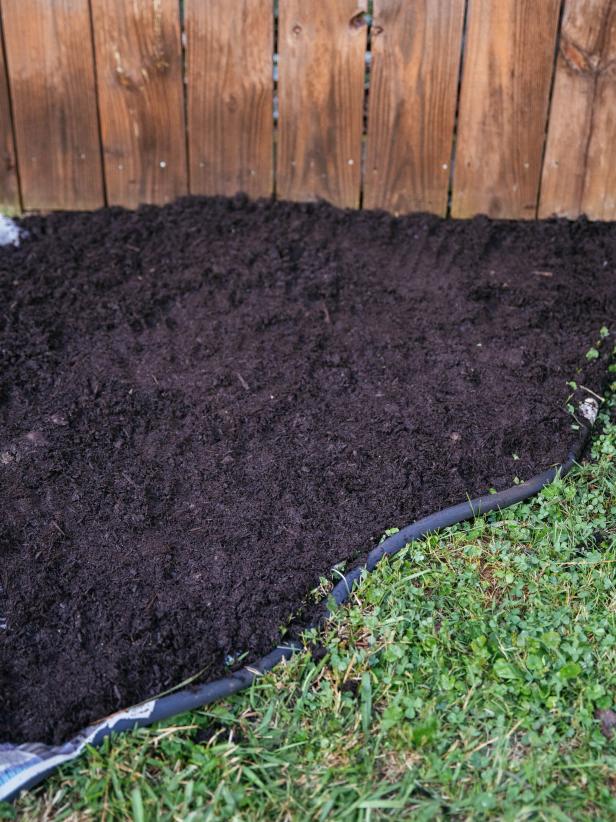
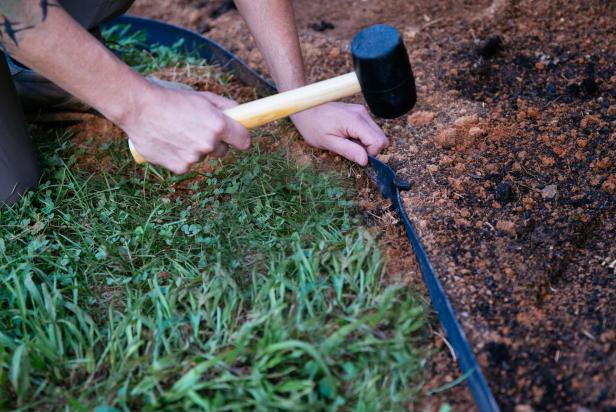
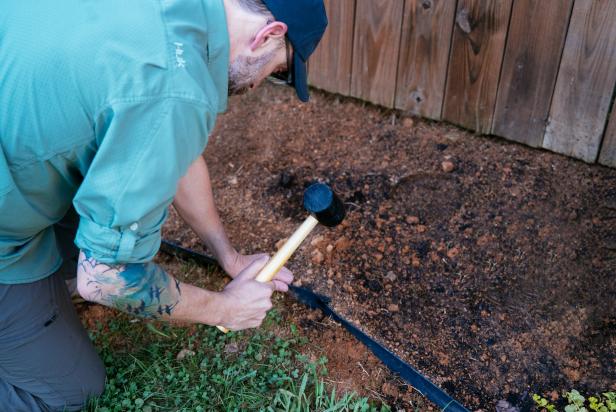
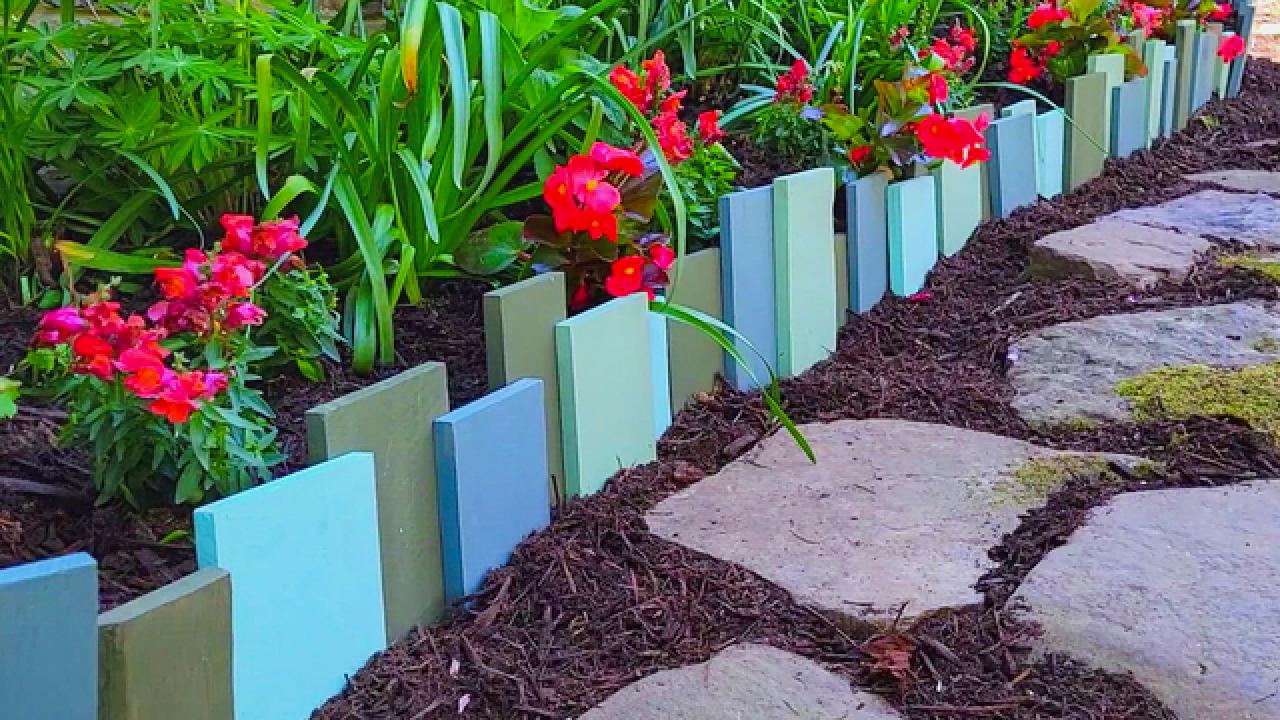
Once you have your garden soil prepared, you don’t want the grass to spread back into your garden space. Creating a barrier between the garden and lawn will help prevent this. Stone, brick or plastic garden edging can keep the grass in the lawn and out of your beds. Bury the bricks or edging into the ground a few inches and maintain by immediately pulling any grass you see along the edge.
6. Plant the Garden
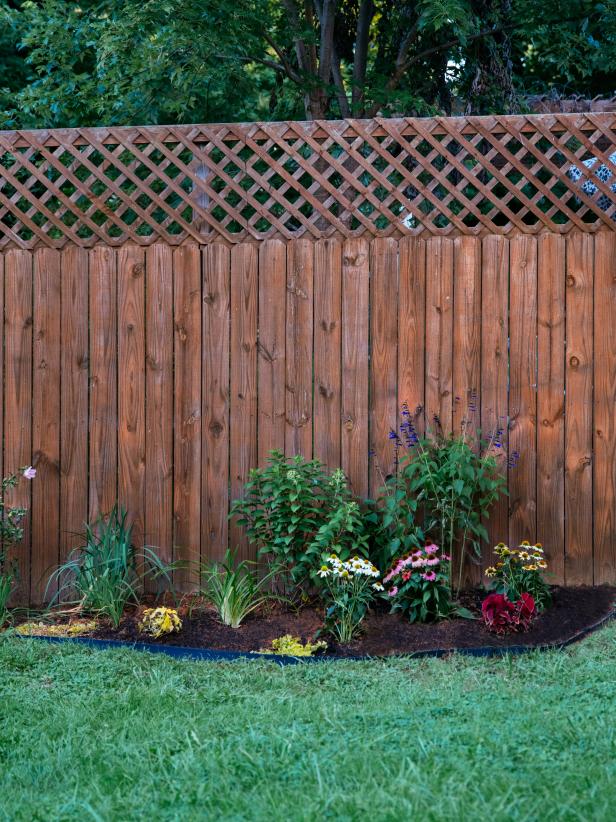
Whether you are planting a backyard vegetable garden, adding interest with landscaping elements or building a floral oasis, you can be certain that you are creating a garden space you will love for years to come.

.-Battle-on-the-Beach-courtesy-of-HGTV.-.jpg.rend.hgtvcom.196.196.suffix/1714761529029.jpeg)


